


1
1
5
EN
EN
Function Setup
Others
EditingPlaybackRecording
Basic Setup
ConnectionsIntroduction Español
TROUBLESHOOTING
Before requesting service for this unit, check the table below for a possible cause of the problem
y
ou are experiencing.
S
ome simple checks or a minor adjustment on
y
our part ma
y
eliminate the problem and restore proper operation
.
Symptom Remedy
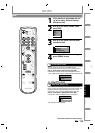
POWER
T
h
e
p
ower
d
oes not turn on.
•
C
h
ec
k
t
h
at t
h
e AC power cor
d
is connecte
d
secure
ly
.
•
B
atte
ri
es
of
t
h
e
r
e
m
ote
co
n
t
r
o
l
a
r
e
w
ea
k
.
The unit turns on automaticall
y
without an
y
operation.
•
The unit turns on automaticall
y
2 seconds before the timer recording
.
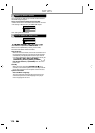
”
Language
”
menu appears ever
y
time
t
h
e
p
ower turns on
.
• The unit ma
y
not have been turned o
ff
correctl
y
. Finish up the language setting
proce
d
ure
by
se
l
ecting a
l
anguage in
”
L
an
g
ua
g
e
”
m
e
n
u.
P
r
ess
[O
K
]
to
act
iv
ate
the
settin
g
, then press
[
STANDBY/ON
yy
]
to turn the unit to the standb
y
mode.
D
o not disconnect the AC power cord be
f
ore placing the unit in the standb
y
mode
.
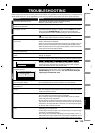
GENERAL
T
he unit does not
f
unction.
•
“
” or error message appears i
f
the operation is prohibited.
•
B
atte
ri
es
o
f
t
h
e
r
e
m
ote
co
n
t
r
o
l
a
r
e
w
ea
k
o
r
e
xh
austed.
No
p
icture, sound or menu a
pp
ears on
the
sc
r
ee
n
.
•
Check if the connections are made securel
y
and correctl
y
.
•
Check i
f
the cables are damaged.
•
Check i
f
a correct external input channel is selected on your TV. (Re
f
er to page 22.)
• Check if
y
ou have completed the channel setting. (Refer to pages 29-31.)
• W
h
i
l
e t
h
e setup menu or timer programming
d
isp
l
ay is s
h
own, or w
h
i
l
e t
h
e
screen saver is active, t
h
e au
d
io is mute
d
.
C
l
oc
k
setting an
d
c
h
anne
l
setting
cannot be per
f
ormed.
•
I
f
a recording is in progress, these operations cannot be per
f
ormed.
T
ime
j
umps/Auto Clock set’s incorrect
t
im
e.
•
Set the “Auto Clock Setting” to “OFF” on page 103 and tr
y
“Manual Cloc
k
Settin
g
” on pa
g
e 34.
Th
e unit
d
oes not operate proper
ly
.
•
Mo
i
stu
r
e
has
co
n
de
n
sed
in
s
i
de
the
u
ni
t.
R
e
m
o
v
e
the
d
i
sc
a
n
d
lea
v
e
the
u
ni
t
turned on
f
or about 2 hours until the moisture evaporates. (Re
f
er to page 3.
)
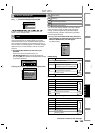
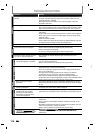
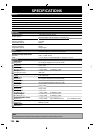
“Repairing” appears on t
h
e TV screen.
Repairing
f
ormatting or editing (even a
f
ter “Repairing” disappears), a repairing
process will begin automatically just a
f
ter turning the unit on again.
It may ta
k
e severa
l
minutes up to severa
l
h
ours
.
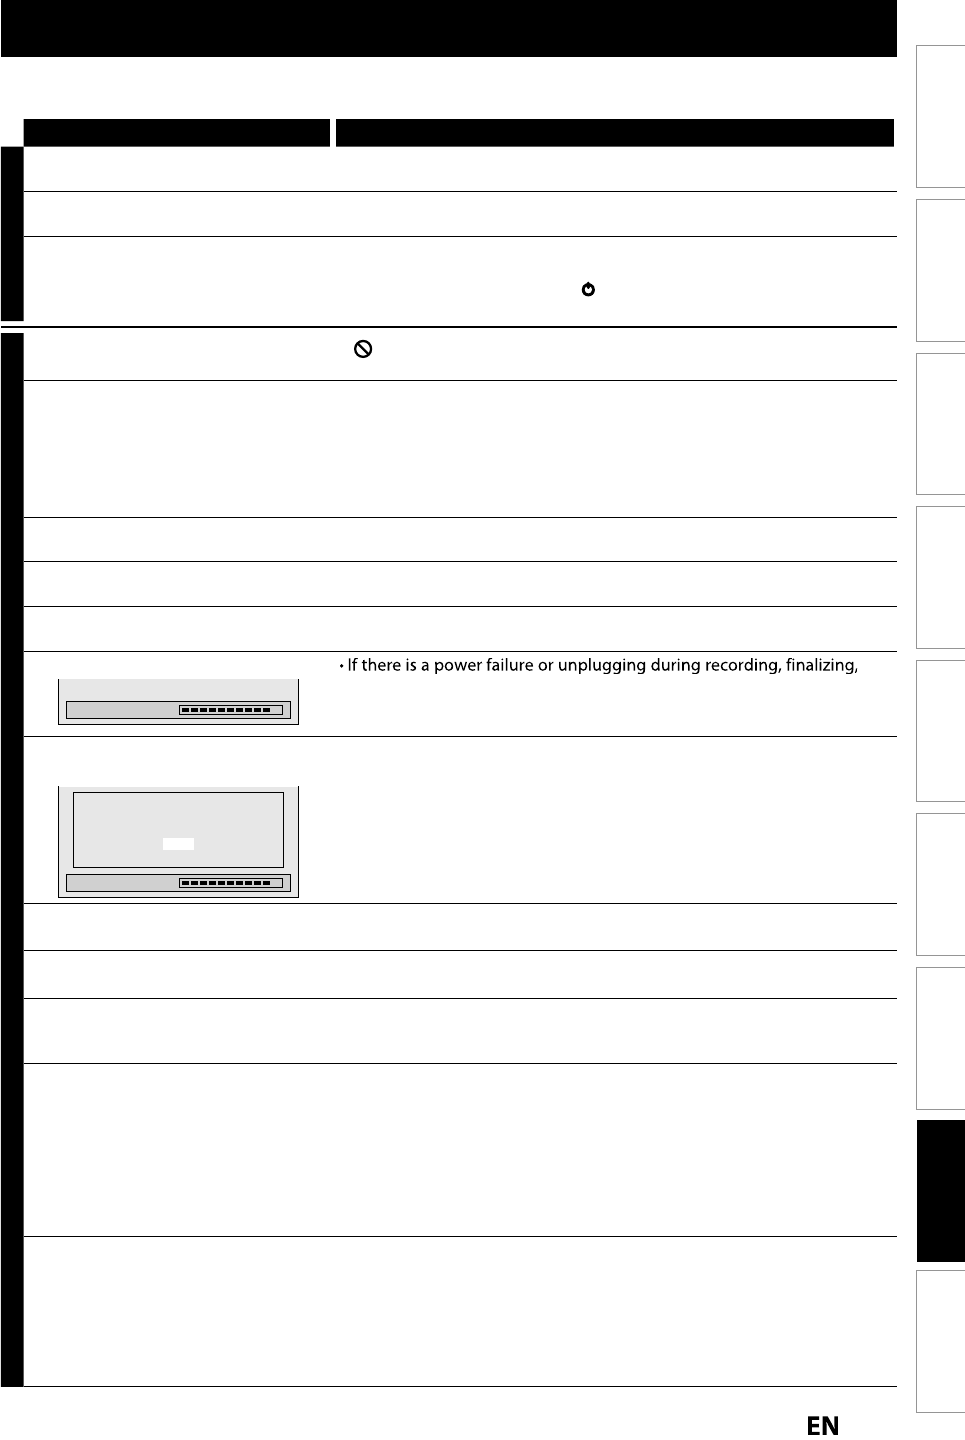
I
n case
y
ou intend to cancel the
repairin
g
process.
Repairing
Do you want to cancel a repairing
process? When selecting “Yes”,
the disc may not be usable.
Yes
No
•
If
y
ou intend to cancel the repairing process, press
[
A
OPEN/CLOSE
]
o
n the front
p
anel, then select “Yes” and
p
ress
[
OK
]
. After that,
p
ress
[
OPEN/CLOSE
A
]
to
ta
k
e
out
t
h
e
d
i
sc.
T
he disc canceled durin
g
the
repairin
g
process MAY NOT work
.
The clock displa
y
does not appear in
the front panel displa
y
.
•
Check that the AC power cord is connected securel
y
.
•
(In case of power failure) Check the breaker and clock settin
g
.
When
y
ou forget the password for
p
arenta
l
l
oc
k
.
•
Please cancel the password and the set level. (Refer to pa
g
e 105.)
No ana
l
og TV c
l
ose
d
captions are
ou
t
pu
t
.
•
I
f
you are using HDMI connection to watch the TV programs through
t
h
is unit, ana
l
og TV c
l
ose
d
caption cannot
b
e output. Try using anot
h
er
o
utput connection to t
h
e TV
.
DV si
g
nal cannot be input.
•
Before connection, turn on the
p
ower su
pp
lies for both this unit and the
DVC, and make sure that these units have sto
pp
ed.
•
Onl
y
a “DVC-SD” signal can be input
f
rom the DVC to this unit. Other
t
y
pes of signals are not supported.
•
Do not connect any device other than the DVC. Even i
f
a recorder or PC
with another DV terminal is connected, the DV
f
unction will not operate.
•
If the DVC is not recognized after connection, turn off the power suppl
y
fo
r
t
h
e
u
ni
t
a
n
d
r
e
-
co
nn
ect
t
h
e
DV
C.
T
h
e DVC cannot
b
e o
p
erate
d
wit
h
t
h
is
u
n
it.
•
Signal input or DVC operation from this unit ma
y
be disabled
depending on the t
y
pe o
f
DVC.
•
I
f
a DVC signal cannot be input, use an external input (L1/L2)
f
or analog
c
onnection via au
d
io/vi
d
eo ca
bl
es.
•
DVC control ma
y
be disabled depending on the t
y
pe of DVC, even in a
mode other than camera mode. In this case
,
switch to HDD/DVD control
and execute the normal recordin
g
procedure while operatin
g
the DVC.