


33
EN
EN
Connections
Basic Setup
Recording Playback EditingIntroduction Function Setup Others
Español
Connections
B
as
i
c SetupBasic Setup
Recording Playback EditingIntroduction Function Setup Others
Español
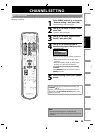
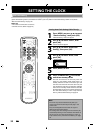
SETTING THE CLOCK
Note
f
or auto clock setting
• The clock ma
y
set itself automaticall
y
after this unit
receives the antenna/cable si
g
nal and plu
g
in the
p
ower cord.
• If the clock is not set correctl
y
, timer recording does
not wor
k
proper
ly
.
• Analog o
ff
the air broadcasts have ended. Analog
auto c
l
oc
k
setting wi
ll
no
l
onger
b
e avai
l
a
bl
e except
via Ca
bl
e TV. Try
d
igita
l
auto c
l
oc
k
setting in t
h
is
case
.
• For digital auto clock setting, incorrect time ma
y
be
obtained dependin
g
on the broadcast information.
If this occurs, set the “Auto Clock Settin
g
“ to “OFF” at
step 4 and tr
y
“Manual Clock Setting“ on pa
g
e 3
4
.
M
anua
l
Auto C
l
oc
k
Settin
g
If
t
h
e
u
ni
t
c
h
ooses
a
n in
co
rr
ect
PB
S
c
h
a
nn
e
l
o
n
Cab
l
e
TV, set the PBS channel manuall
y
b
y
following the steps
be
l
o
w
.
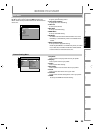
1
Se
l
ect “Manua
l
” at step 4 in “Ana
l
og
Auto C
l
oc
k
Setting (Ca
bl
e TV on
l
y)”
on page 32, t
h
en press [OK].
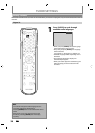
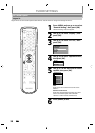
2
Use
[
the Number buttons
]
or
[
K
/
L
]
t
o enter
y
our Cable TV Analog PBS
c
h
anne
l
num
b
er, t
h
en press [OK].
Set Channel No.
CH 1
3
Press [MENU] to exit an
d
turn t
h
e
unit to t
h
e stan
db
y mo
d
e.
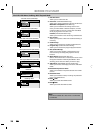
Digita
l
Auto C
l
oc
k
Setting
1
Press [MENU] an
d
use
[
K
/
L
] to se
l
ect
“Genera
l
Setting”, t
h
en press [OK].
“
General Settin
g
” menu will appear.
2
Use
[
K
/
L
]
to select “Clock”
,
then
p
ress [OK].
“
C
l
oc
k
” menu wi
ll
appear.
3
Use
[
K
/
L
]
to select “Auto Cloc
k
Settin
g
”, then press [OK].
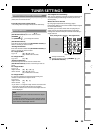
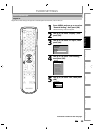
4
Use
[
K
/
L
]
to se
l
ect “Manua
l
”
,
t
h
en
p
ress
[O
K
]
.
Auto Clock Setting
OFF
Auto
Manual
Ena
bl
e Manua
l
o
p
eration to se
l
ect t
h
e DTV
C
hannel
f
or receivin
g
the Clock Data and
se
l
ecting
y
our Time Zone
b
e
l
ow.
5
Press
[
{
] to highlight “CH”. Press
{
[
K
/
L
] to se
l
ect “DTV”, t
h
en press
[
B
]
.
Set Channel No.
DTV 1
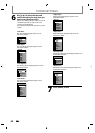
6
Use
[
t
h
e Num
b
er
b
uttons
]
or
[
K
/
L
]
t
o enter t
h
e
d
esire
d
ma
j
or c
h
anne
l
number to receive the Clock Data
,
t
hen
p
ress [OK].
T
ime ad
j
ustment for each time zone
A
t
l
a
n
t
i
c
G
MT
(
Greenwich Mean Time
)
- 4 hour
s
Easte
rn
G
MT
(
Greenwich Mean Time
)
- 5 hour
s
Ce
n
t
r
a
l
G
MT
(
Greenwich Mean Time
)
- 6 hour
s
Mou
n
ta
in
G
MT
(
Greenwich Mean Time
)
- 7 hour
s
Pac
ifi
c
G
MT
(
Greenwich Mean Time
)
- 8 hour
s
Al
as
k
a
G
MT
(
Greenwich Mean Time
)
- 9 hour
s
Ha
w
a
ii
G
MT
(
Greenwich Mean Time
)
- 10 hour
s
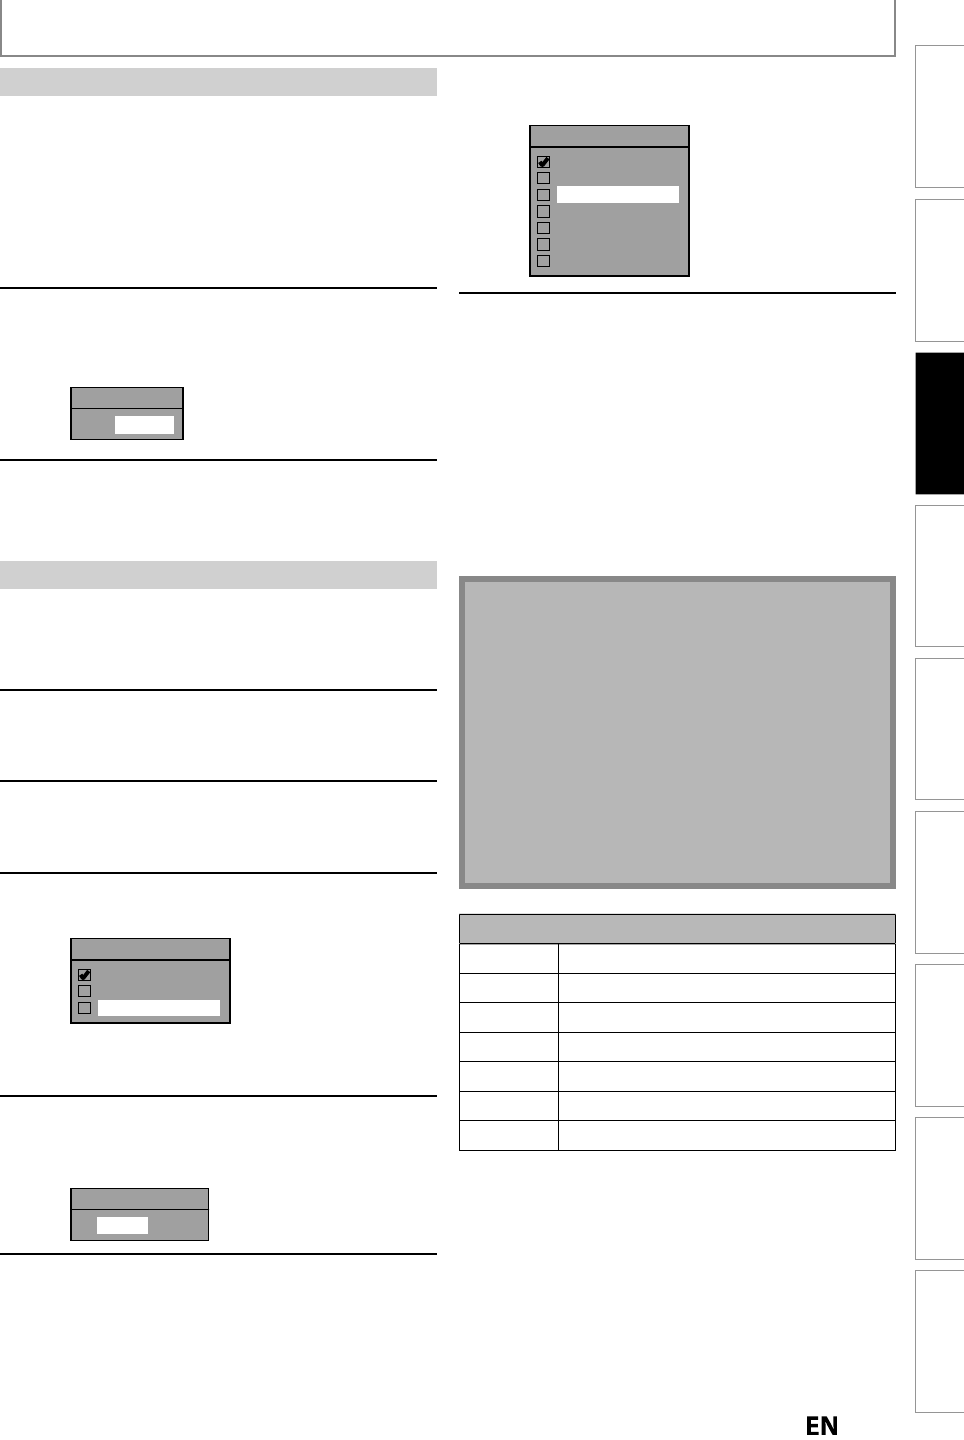
7
Use
[
K
/
L
]
to se
l
ect t
h
e
d
esire
d
time
zone, t
h
en
p
ress [OK].
Time Zone
Atlantic
Eastern
Central
Mountain
Pacific
Alaska
Hawaii
8
Press
[
MENU
]
to exit and turn the
unit to the standb
y
mode.
This unit will search for the time onl
y
when the
power is in the standb
y
mode. Initiall
y
leave it in
standb
y
mode for at least 15 minutes to give this
unit time to set t
h
e c
l
oc
k
. Once t
h
e c
l
oc
k
is set, t
h
e
unit receives t
h
e c
l
oc
k
d
ata at 12:00 am & 12:00
p
m
when unit is in standb
y
mode. Check the time after
the Auto Clock was set
,
i
f
it is incorrect time then set
t
h
e “Auto C
l
oc
k
Settin
g
“ to “OFF” in step 4 a
b
ove.
T
h
en tr
y
“Manua
l
C
l
oc
k
Setting“ on page 34
.