Recording
06
53
En
English
Simultaneous recording and
playback
A feature called Chase Play makes it possible to watch a
recording in progress from the start of the recording (as
in, playback is ‘chasing’ the recording). For example,
perhaps you have to miss the first 30 minutes of a movie
on TV; you can start recording, then start watching the
movie, from the beginning, while the recorder is still
recording 30 minutes ahead of you.
In fact, you’re not just limited to watching the recording
in progress; you can watch anything else already on the
DVD by selecting it from the Disc Navigator screen (see
Using the Disc Navigator with recordable discs
on
page 36).
Important
• Note that you must use a DVD-RW Ver. 1.1/2x disc to
be able to use this feature.
• Unrecorded DVD-RW discs initialized on another
recorder may not be able to use this feature.
• During recording, press
PLAY to start playback
from the beginning of the current recording, or press
DISC NAVIGATOR and select another title to play
from there.
You can use all the usual playback controls, such as
pause, slow-motion play, scan and skip.
• To stop playback, press
STOP
(recording will
continue).
• To stop recording, press
STOP REC
(playback will
continue).
Note
• You can’t start playback immediately after recording
starts.
• When scanning, no sound is output if the recorder is
also recording (see
Scanning discs
on page 37).
• You can’t use this feature during Auto Start
Recording, or in Auto Start Recording standby.
Recording from an external
component
You can record from an external component, such as a
camcorder or VCR, connected to one of the recorder’s
external inputs.
1 Make sure that the component you want to
record from is connected properly to the DVD
recorder.
See Chapter 2 (
Connecting up
) for connection options.
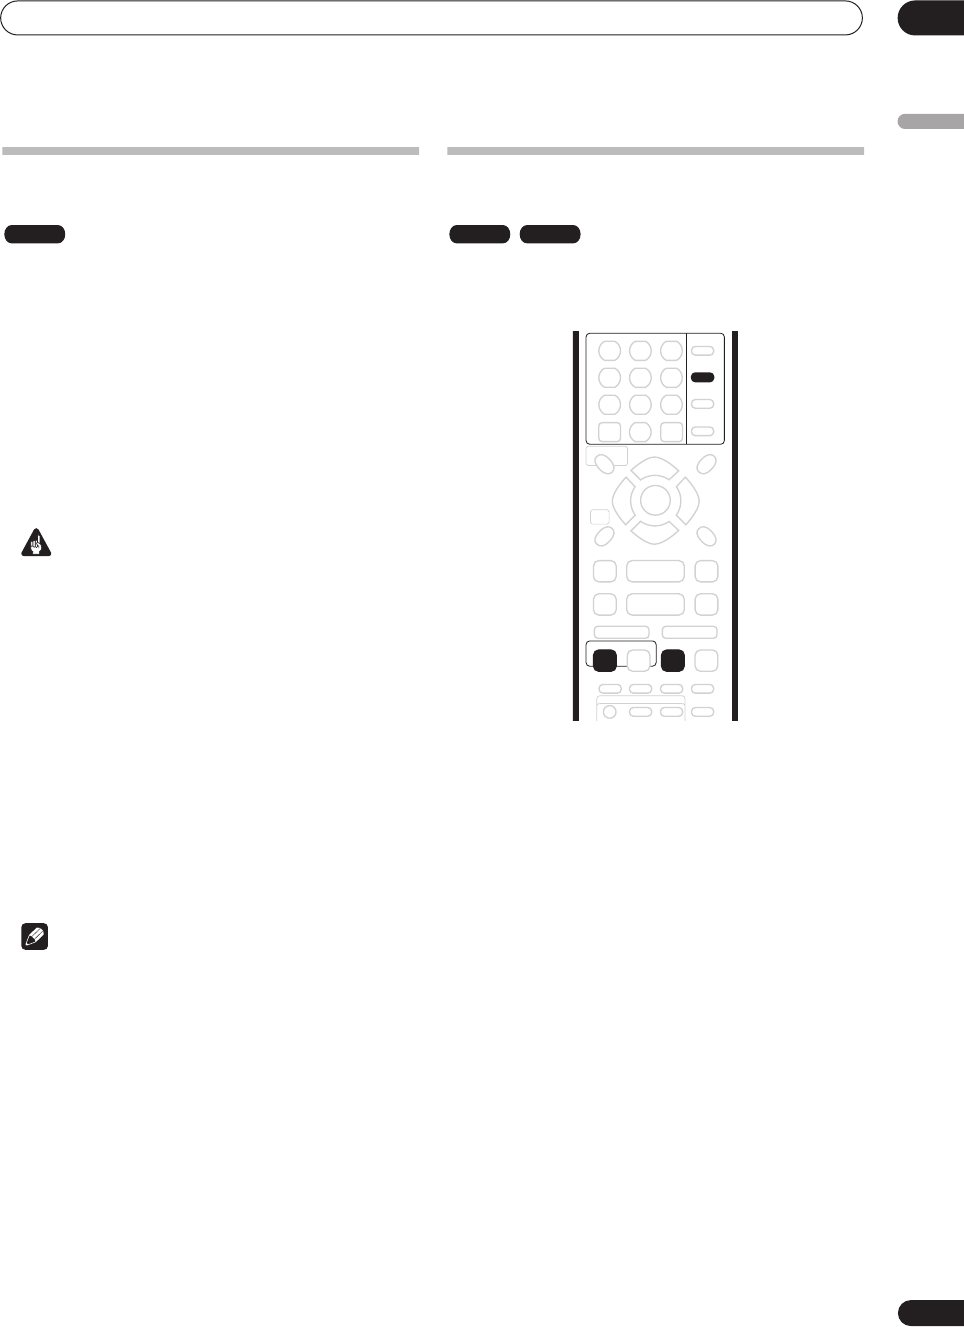
2 Press INPUT SELECT repeatedly to select one of
the external inputs to record from.
There are three analog inputs and a DV digital input. The
current input is shown on-screen and in the front panel
display:
•
AV2/L1
– Input 1
•
L2
– Input 2 (front panel)
•
L3
– Input 3/Auto Start Rec
•
DV
– DV input/output (front panel)
Check that the
Audio In
settings for
External Audio
,
Bilingual Recording
and
DV Input
are as you want them
(see
Audio In settings
on page 81).
• If the aspect ratio is distorted (squashed or
stretched), adjust on the source component or your
TV before recording.
3 Set up the recorder.
• Use
REC MODE
to set the recording quality. See
Setting the picture quality/recording time
on page 46
for detailed information.
VR mode VR mode Video mode
INPUT
SELECT
ENTER
CLEAR
REC
REC MODE
ì
DVR-03_EU.book 53 ページ 2003年7月28日 月曜日 午後7時19分


