SAVING (COPYING) RECORDED VIDEO6
English 39
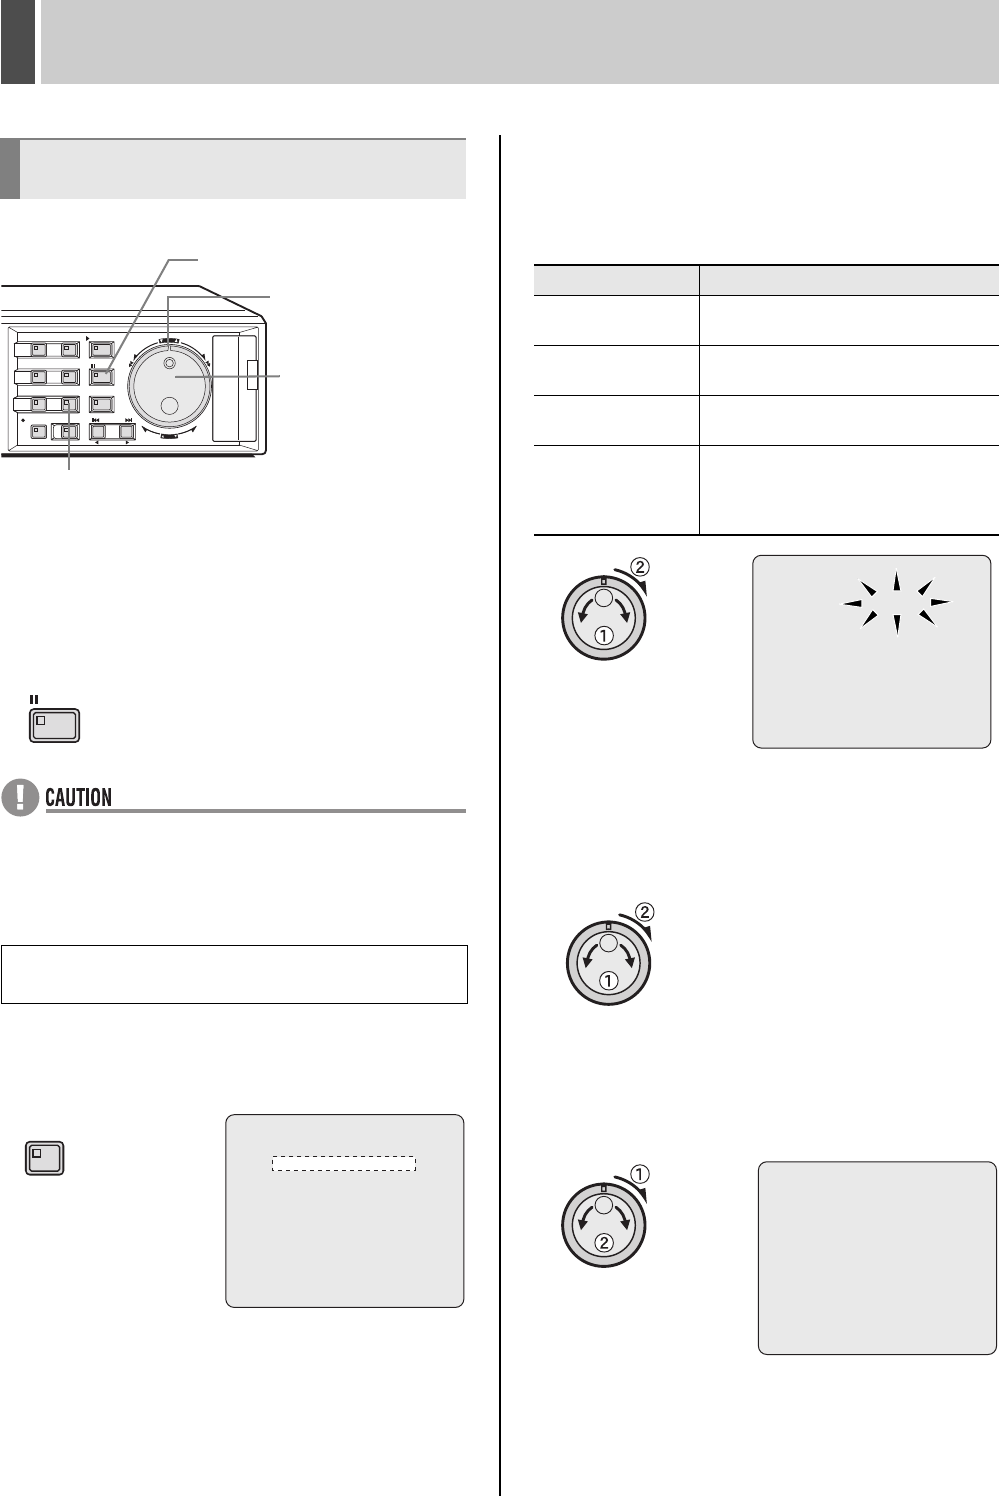
1 Play video from the normal recording
area or the alarm recording area.
2 Press the [STILL] button when the frame
to be copied is displayed.
z Images from all cameras cannot be copied
simultaneously. Use the appropriate [CAMERA
SELECT] button to select the camera whose video is to
be copied.
3 Press the [COPY] button.
The COPY indicator lights up and the <COPY> screen is
displayed.
4 Turn the jog dial to select “COPY TO”,
and then turn the shuttle dial clockwise.
“ARCHIVE AREA” starts to flash.
[Settings] ( indicates default setting)
5 Turn the jog dial to select “ARCHIVE
AREA”, and then turn the shuttle dial
clockwise.
The cursor moves to “HOW MANY”.
6 Turn the shuttle dial clockwise, and
then turn the jog dial to set “HOW
MANY” to “10”.
Any value between 1 and 60 can be set.
Copying video to the hard disk’s
archive area
Example: Copying a specified 10-second
portion of video
CARDCARD
MENU
RESET
EJECT
[COPY] button
Shuttle dial
Jog dial
[STILL] button
STILL
COPY
COPY TO : ARCHIVE AREA
HOW MANY: 1 PICTURES
START ->
FORMAT : COMPACT FLASH
FORMAT START ->
CHANGE:JOG SET:SHUTTLE
Setting Description
ARCHIVE AREA
Video will be copied to the archive area.
(JP.39)
COMPACT FLASH
Video will be copied to a CompactFlash
card. (JP.41)
CF->PRINT
Copy to a CompactFlash card and print
directly from a printer. (JP.43)
CD-R/RW
Copy to a CD-R/RW. This is only
displayed when a recordable CD-R/RW
drive is connected to the digital video
recorder. (JP.45)
COPY TO : ARCHIVE AREA
HOW MANY: 1 PICTURES
START ->
FORMAT : COMPACT FLASH
FORMAT START ->
CHANGE:JOG SET:SHUTTLE
COPY TO : ARCHIVE AREA
HOW MANY: 10 PICTURES
START ->
FORMAT : COMPACT FLASH
FORMAT START ->
CHANGE:JOG SET:SHUTTLE
e00_l8hbg_us_7.book Page 39 Thursday, November 25, 2004 1:44 PM
