65
Managing Clip Lists
Chapter 4 Scene Selection
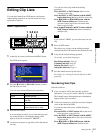
Use the supplied PDZ-1 Proxy Browsing Software.
For details, see the PDZ-1 online help.
Managing Clip Lists
After you create or edit a clip list, you can use the CLIP
menu to save it to disc, load it from disc into unit memory,
and delete it from the disc.
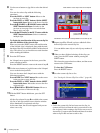
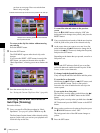
Displaying the CLIP menu
Hold down the SHIFT button and press the SUB CLIP
button.
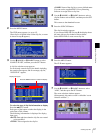
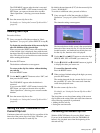
In the thumbnail list screen and the clip list screen, you can
display the CLIP menu by pressing the MENU button.
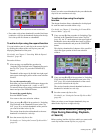
The CLIP menu items you can display and select vary with
the operating state of the unit (see the following table).
a) Displayed only in operating thumbnail list screen
b) Displayed only in operating the clip list screen
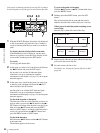
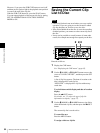
To clear the CLIP menu from the screen
Press the MENU button (or hold down the SHIFT button
and press the SUB CLIP button).
Item Operation (reference page)
CLIP INFORMATION Select the information displayed
beneath thumbnails (see page
66)
LOAD CLIP LIST Load a clip list from the disc into
the current clip list (see page
66)
SAVE CLIP LIST Save the current clip list to disc
(see page 64)
DELETE CLIP LIST Delete a clip list from the disc
(see page 66)
SORT CLIP LISTS BY You can sort the clip lists by
name or date and time of
creation (see page 66).
SET INDEX PICTURE
a)
Change the thumbnail image
(index picture) of a clip (see
page 44)
ADD
a)
Add sub clips to the current clip
list (see page 56)
MOVE
b)
Reorder sub clips (see page 61)
TRIM
b)
Change the In point or Out point
of a sub clip (see page 62)
DELETE
b)
Delete unnecessary sub clips
(see page 63)
TC PRESET
b)
Change the start timecode for
the current clip list to a desired
value (see page 63)
DELETE CLIP Delete a clip
LOCK/UNLOCK CLIP Lock or unlock a clip
LOCK OR DELETE ALL
CLIPS
Lock or delete all clips
DELETE SHOT MARK Delete a shot mark


