


88
System Menu
Chapter 6 Menus
• If you power off the unit before a save operation is
completed, settings may be lost. Wait until the save
is completed before powering off the unit.
• If, instead of pressing the SET button, you press the
MENU button, the new settings are not saved. The
message “ABORT !” appears in the monitor video
section and “Abort !” in the time data display section
for about 0.5 second, and the system exits the menus.
To change more than one setting, be sure to press the
SET button after making the settings.
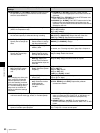
Meanings of indications on the menu
screen
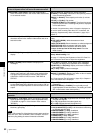
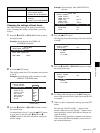
Displaying enhanced items
The factory default setting is not to display enhanced
items.
To display enhanced items, set the menu item MENU
GRADE to “ENHANCED”, following the procedure in
the previous section “Changing the settings of basic
items”. In step 1, first select “MENU GRADE”, and next
select “ENHANCED”, then press the SET button to save
the setting in memory.
With this done, when you press the MENU button and the
,/OUT button to display the setup menu, all basic and
enhanced items on menu level 1 appear.
Changing the settings of enhanced items
To change the settings of enhanced items, first carry out
the procedure in the previous section “Displaying
enhanced items” then proceed as follows.
1
In the setup menu screen, repeat steps 2 to 7 of
“Changing the Settings of Basic Items”, and then use
the </IN, ,/OUT, M/MARK1, m/MARK2 buttons
to select a menu item and change the setting.
2
When you have completed the settings, press the SET
button.
The message “NOW SAVING...” appears in the
monitor video section, and “Saving...” appears in the
time data display section, while the new settings are
saved in memory.
When the saving operation is completed, the monitor
video section and time data display section return to
their normal indications.
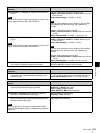
Returning menu settings to their factory
default settings
After making menu setting changes, to return settings to
their factory default settings (setting initialization), use the
following procedure.
To return a particular setting to its factory default
setting
In the section “Changing the settings of basic items” (page
87), carry out the procedure up to step 5, then with the
current setting displayed (in the example, if the factory
default setting has been changed, the current setting will be
TC MODE), proceed as follows.
1
Press the RESET button.
“OFF” (factory default setting) is selected.
2
Press the SET button.
Notes
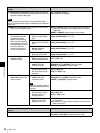
On-screen indication Meaning
Right-pointing arrow (c) at
the right of a menu item
See step 1 of the foregoing
operating procedure (see
page 87).
Pressing the ,/OUT button
switches to the next lower
menu level or to a setting
selection screen.
Left-pointing arrow (C) at
the left of a menu item
See step 2 of the foregoing
operating procedure (see
page 87).
Pressing the </IN button
returns to the previous (higher)
menu level.
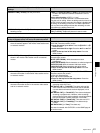
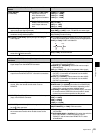
Character string at the
right of a menu item
Current setting of the menu
item
When shown with a colon (:):
the current setting is the
same as the factory default
setting.
See step 2 of the foregoing
operating procedure (see
page 87).
When shown with a raised
dot (•): the current setting
is different from the factory
default setting.
See the next item,
“Displaying enhanced
items”.
An * (asterisk) in a
complete list of settings
See step 4 of the foregoing
operating procedure (see
page 87).
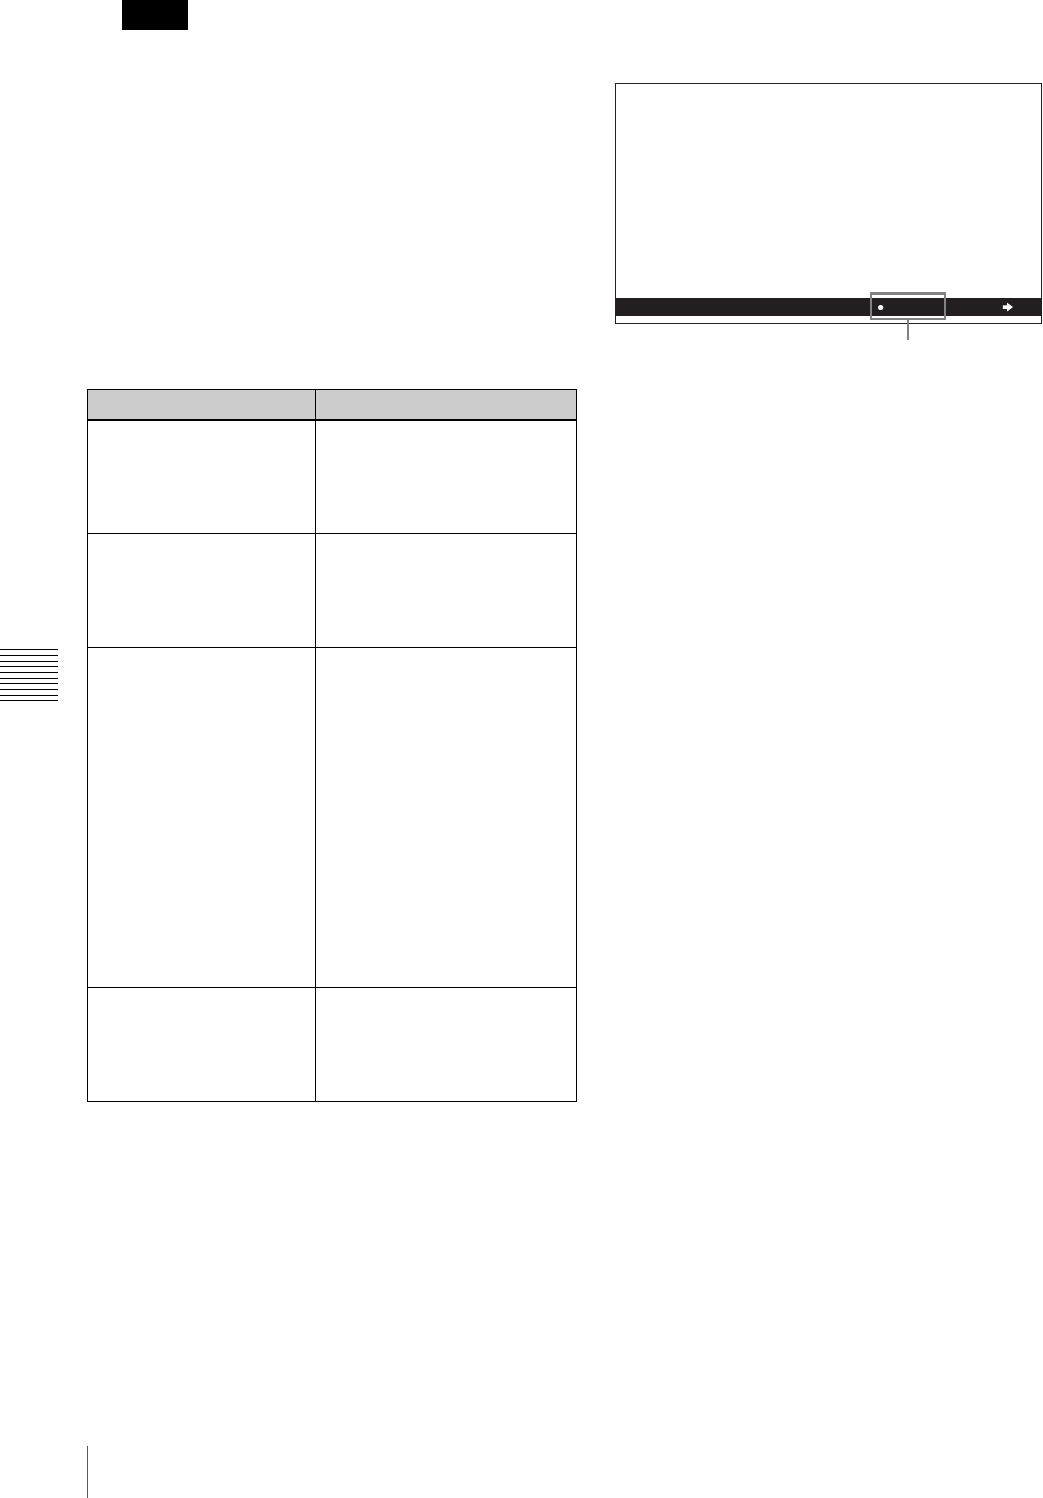
Factory default setting
SETUP MENU
OPERATIONAL FUNCTION
DISPLAY CONTROL
TIME CODE
DISC PROTECTION
VIDEO CONTROL
AUDIO CONTROL
INTERFACE SELECT
METADATA
SETUP BANK OPERATION
MENU GRADE
ENHAN
Current setting