38
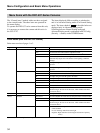
Menu Configuration and Basic Menu Operations
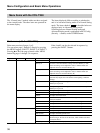
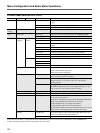
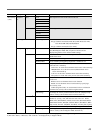
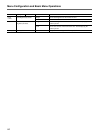
Menu Items with the CCU-TX50
The “Control items” marked with
z
are those assigned
to the control knobs. The other items are operated on
the menu display.
Paint menu (with the CCU-TX50)
Paint menu consists of pages 1 to 5.
You can select page 1 through 3 directly by pressing
the MENU buttons, PAINT 1, PAINT 2, or PAINT 3.
Pressing v or V of the page selected with a MENU
button flip pages 1 through 5 in sequence.
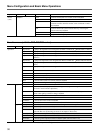
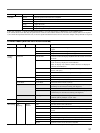
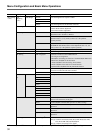
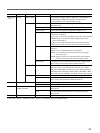
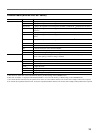
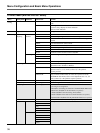
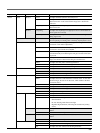
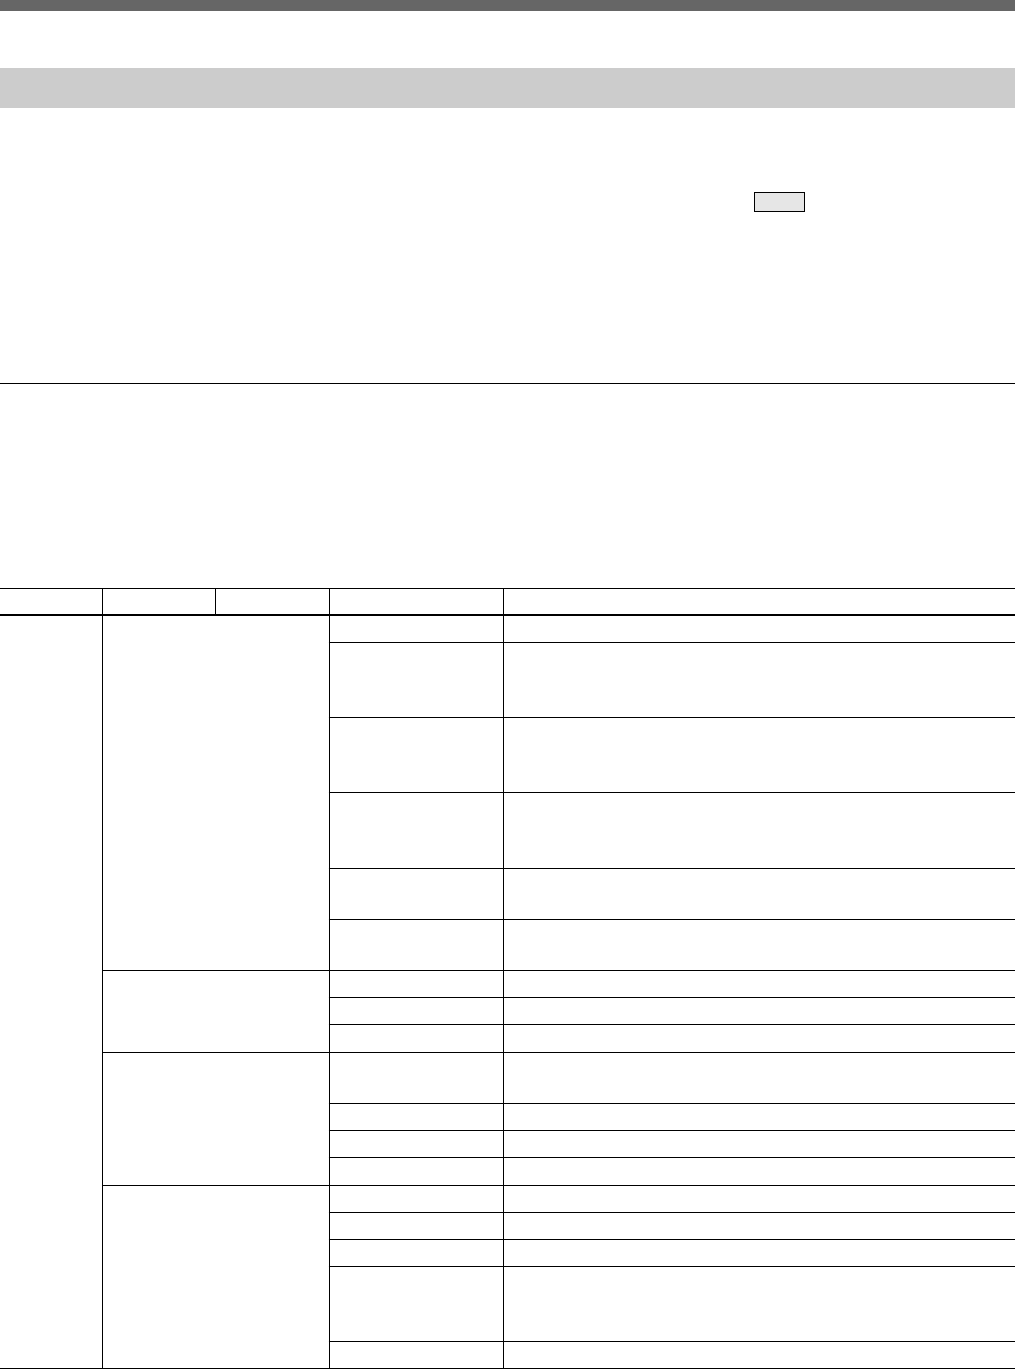
Page Menu Submenu Control item Function
Paint 1 White White Preset To retrieve the white balance settings preset by the camera
Memory A To retrieve the white-balance settings stored in Memory A. The
retrieved settings can be adjusted in Auto or Manual mode (the
adjusted values are stored in Memory A).
Memory B To retrieve the white-balance settings stored in Memory B. The
retrieved settings can be adjusted in Auto or Manual mode (the
adjusted values are stored in Memory B).
ATW To turn ON/OFF the Auto Tracing White function (which
automatically adjusts the white balance when lighting conditions
change)
• R To adjust the gain of the R signal in the white when Memory A or
Memory B is pressed
• B To adjust the gain of the B signal in the white when Memory A or
Memory B is pressed
Black • R To adjust the gain of the R signal in the black
• B To adjust the gain of the B signal in the black
• Master To adjust the master black
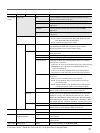
Flare Flare Off To turn the flare (black level when flare is generated) correction
function ON/OFF
• R To adjust the amount of flare correction for the R signal
• G To adjust the amount of flare correction for the G signal
• B To adjust the amount of flare correction for the B signal
Gamma/Knee Auto Knee To turn the Auto Knee circuit ON/OFF
• Gamma To adjust the gamma level
• Blk Gamma To adjust the black gamma level
• Knee Point To adjust the level at which the knee correction starts. As the value
becomes larger, the start level decreases, which enhances the knee
correction effects.
• Knee Slope To adjust the knee slope (amount of knee correction)
The items displayed differ according to whether the
unit is in Advanced Setting mode or in Normal Setting
mode. The items shaded (
) in the table below are
displayed only in Advanced Setting mode.
Switching between Normal Setting mode and
Advanced Setting mode is performed in RCP Config
(Security → Status) on the OTHERS menu.
Paint 4 and 5 can also be selected in sequence by
pressing the PAINT 3 button.


