


Masterpage:Right-No-Heading
Filename [DR-M1EK_09Navigation.fm]
Page 71 August 15, 2003 7:53 pm
71
Delete programme
You cannot record any more with Library Database DVD Navi
once the registered programmes on the disc reach 99
programmes. Deleting unnecessary programmes after dubbing
(
੬
pg. 83, “Edit To Or From Another Recorder”) or other
operations can increase remaining time and available recording
capacity. (For DVD-R discs, although it is possible to delete
recorded programmes, available recording capacity does not
increase.) The deleted programme is never resumed. Play lists
and programme information in the unit’s library are also deleted.
A
Select a programme.
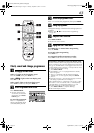
Press
we
to move the arrow to select one programme
you want to delete, then press
t
.
B
Access the delete screen.
Press
rt w e
to move the arrow to “DELETE”, then
press
ENTER
. The message appears for your confirmation.
C
Confirm the deletion.
Press
we
to select “YES”, then press
ENTER
.
●
When you cancel the deletion, select “NO”, then press
ENTER
.
D
Return to the normal screen.
Press
NAVIGATION
.
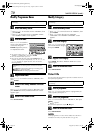
Delete unwanted part of the
programme
You can delete unwanted part of the programme.
A
Select a programme.
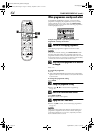
Press
we
to move the arrow to select one programme
whose unwanted part you want to delete, then press
t
.
B
Access the delete screen.
Press
we
to move the arrow to “EDITING”, then press
ENTER
.
C
Start playback.
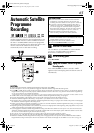
Press
4
to start playback. The playback pictures appear
in the window on the screen. The elapsed playing time
starts counting with the arrow on “IN”.
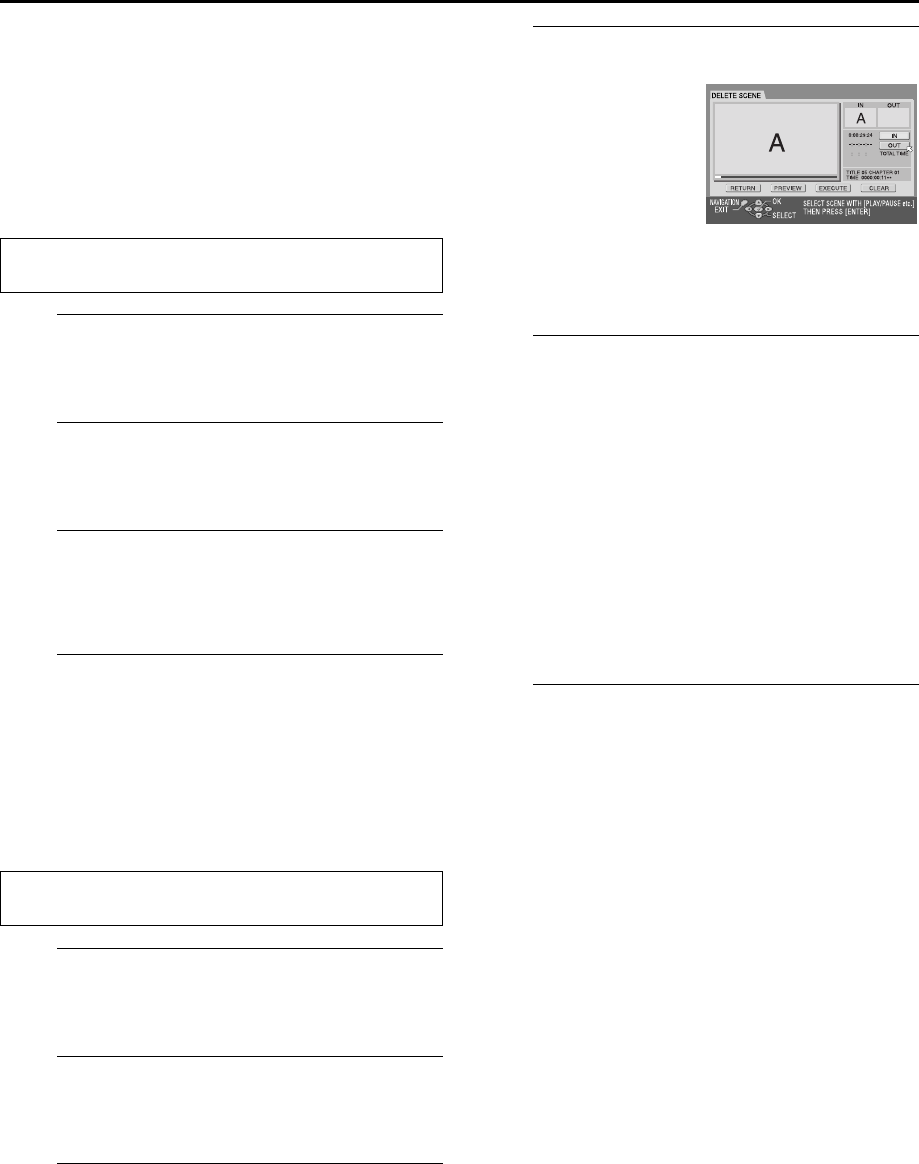
D
Set edit-in and edit-out points.
B
Find the point where you want the deletion to end,
then press
ENTER
with the arrow on “OUT”. The edit-
out time is fixed.
●
Press
3
,
4
,
5
,
2
,
6
or
9
to find the edit-in and
edit-out points.
E
Confirm the deletion.
A
Press
rt w e
to move the arrow to “PREVIEW”, then
press
ENTER
to preview the edited programme.
B
Press
rt w e
to select “EXECUTE”, then press
ENTER
.
●
If you do not want to delete the scene, select “CLEAR” and
press
ENTER
.
C
Press
we
to select “YES”, then press
ENTER
.
●
The selected scene is deleted.
●
To cancel the deletion, press
we
to select “NO”, then press
ENTER
.
To modify the points
A
Press
we
to move the arrow to “CLEAR”, then press
ENTER
.
B
Repeat step
C
–
E
.
F
Return to the normal screen.
Press
NAVIGATION
.
NOTES:
●
There may be a discrepancy of several seconds between the
scene you intend to edit, and the scene which is actually
edited.
●
Available recording capacity may not match the deleted part
after deletion.
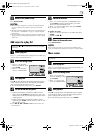
Perform steps
A
to
B
of “Modify Index” (
੬
pg. 69) before
continuing.
Perform steps
A
to
B
of “Modify Index” (
੬
pg. 69) before
continuing.
A
Find the point where you
want the deletion to
begin, then press
ENTER
with the arrow on “IN”.
The edit-in time is fixed
and the elapsed playing
time starts counting again.
DR-M1EK_01.book Page 71 Friday, August 15, 2003 7:53 PM