On-screen menu navigation
ENGLISH - 27
On-screen menu navigation
Navigating through the menu
■
Operating procedure
button
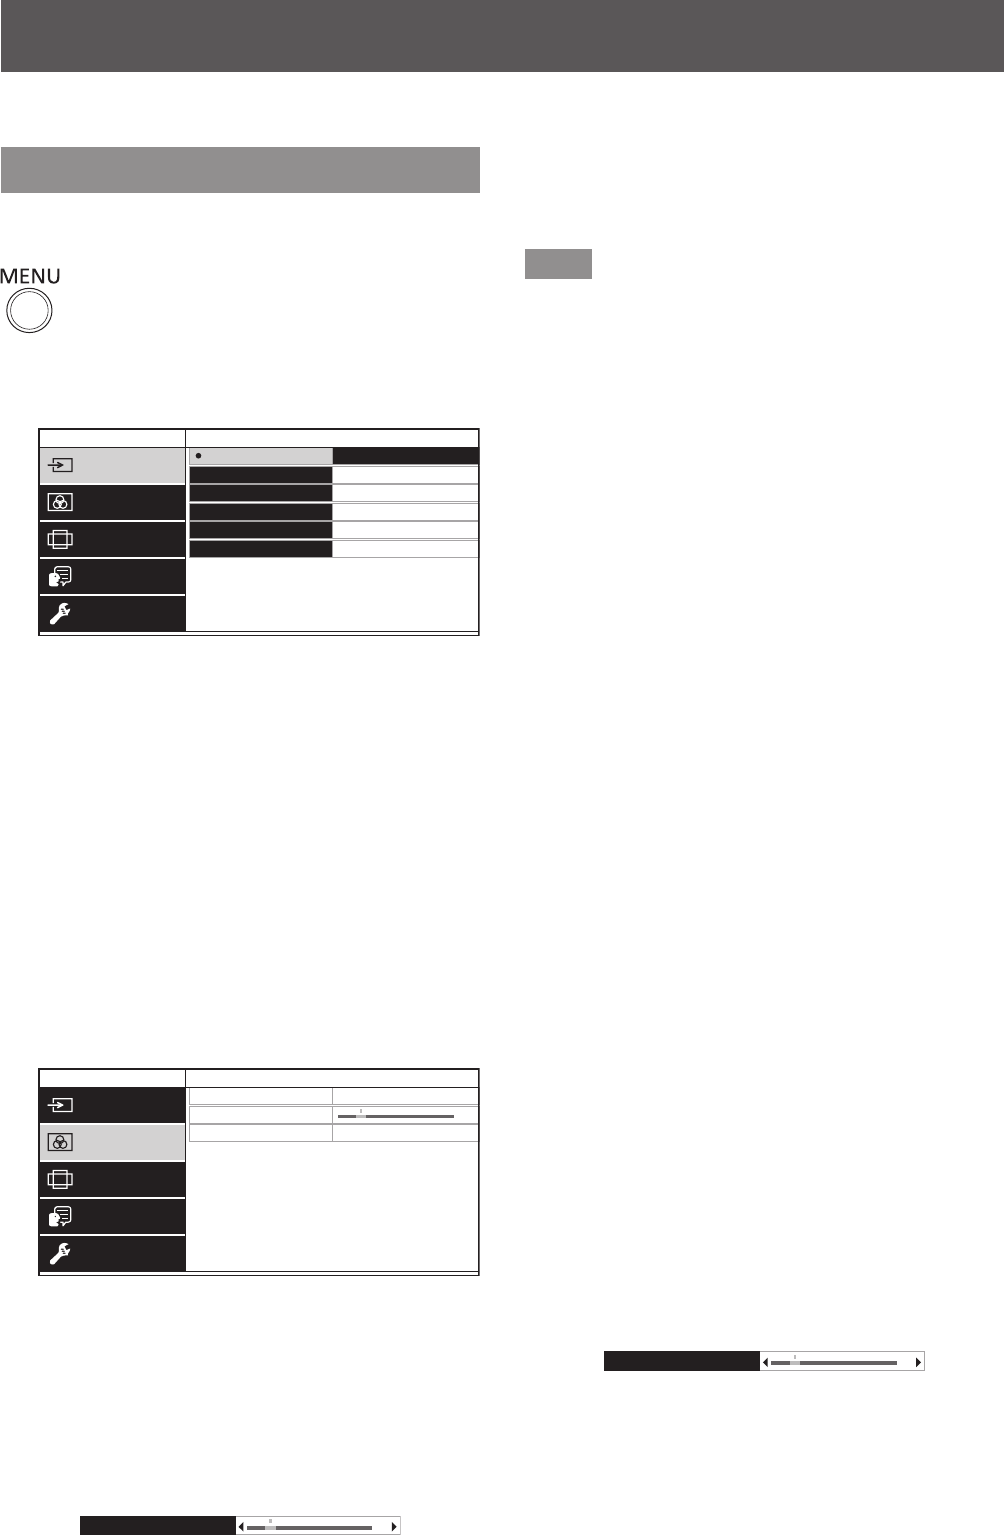
1) Press the <MENU> button on the
control panel.
z
The main menu screen is displayed.
PICTURE
INPUT SELECT
ET-YFB100 DIGITAL INTERFACE BOX
POSITION
LANGUAGE
OPTION
HDMI 1
HDMI 2
COMPUTER 1
COMPUTER 2
S-VIDEO
VIDEO
z
When the interface box is connected to the
DIGITAL LINK compatible projector and
operated by a remote control, the method to
display the main menu screen varies depending
on the projector model.
• When DIGITAL LINK is selected from the
main menu of the projector
• When the Digital Interface Box menu is
selected from the network menu of the
projector
For the operation procedures, refer to the
Operating Instructions of the projector used.
2) Press
to select an item from the
menu item.
z
The selected item is highlighted in yellow.
z
The sub-menu items of the selected main menu
are displayed on the right side.
+24
PICTURE
INPUT SELECT
ET-YFB100 DIGITAL INTERFACE BOX
POSITION
LANGUAGE
OPTION
SYSTEM SELECTOR
CLAMP POSITION
DIGITAL CINEMA REALITY
AUTO
3) Press the <ENTER> button.
z
The sub-menu items become selectable.
4) Press
to select a sub-menu item,
and press
to change or adjust
settings.
z
For some items, press
to display an
individual adjustment screen with a bar scale as
shown in the following diagram.
+24
CLAMP POSITION
z
If an item does not have any further information
but only an item name, pressing the <ENTER>
button displays the next screen, and detailed
settings become possible.
Note
z
When the <RETURN> button or the <MENU>
button is pressed when the menu screen is
displayed, the screen returns to the previous
screen.
z
The remote control may not have the return button,
depending on the DIGITAL LINK compatible
projector model connected to the interface box.
z
Some items cannot be adjusted and some functions
cannot be used depending on the signal to be input
to the interface box. The menu items that cannot be
adjusted or used are shown in gray characters, and
they cannot be selected.
z
Some items can be adjusted even if signals are not
input.
z
Individual adjustment screen is cleared
automatically if no operation is performed for
approximately ve seconds.
z
For menu items, refer to “Main menu” (
page 28) or
“Sub-menu” (
page 28).
z
When 3D signals are input, the interface box menu
is not displayed. To change the setting of the
interface box, input the 2D signal or operate without
inputting any signal.
z
When 3D signals are input, all setting items of the
interface box are disabled.
z
The cursor color depends on the [OSD DESIGN]
(
page 36) settings on the menu. The selected item
is displayed with the yellow cursor by default.
■
To reset adjustment values to the
factory default
If the default button on the remote control is
pressed, the values set and adjusted in the sub-
menu items will be restored to the factory default
settings.
Press the default button on the remote
control.
z
The operation varies depending on the
displayed screen.
• When the sub-menu screen is displayed
The displayed sub-menu items are restored
to the factory default settings.
• When the individual adjustment screen is
displayed
Only items during adjustment are restored to
the factory default settings.
+24
CLAMP POSITION
The on-screen menu (Menu) is used to perform various settings and adjustments of the interface box.


