


ENGLISH - 9
Quick StepsQuick Steps
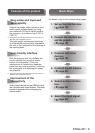
For details, refer to the corresponding pages.
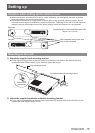
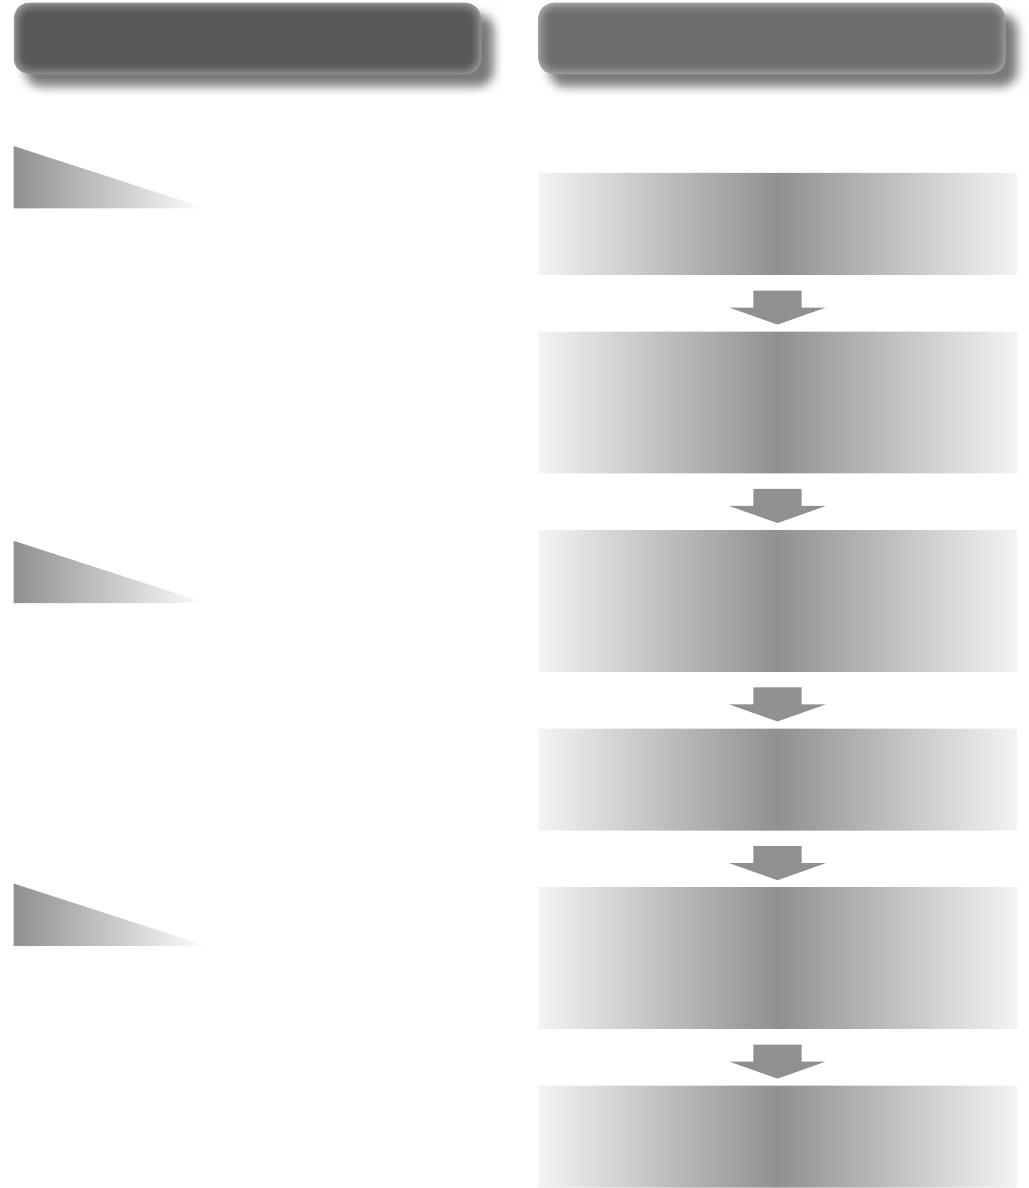
1. Set up the interface box.
(
page 15)
2.
Connect the interface box
and the projector.
(
page 18)
3. Connect with other
devices.
(
page 18)
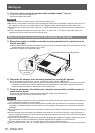
4. Connect the AC adaptor.
(
page 23)
5. Switch on the interface
box.
(
page 24)
6. Select the input signal.
(
page 25)
Features of this productFeatures of this product
Outputs the image, sound, ethernet, and
serial control signals digitally by using
one cable with CAT5e or higher grade to
the projector
*1
at a distance up to 100 m
(328'11").
*1: Supported only when the interface box is connected to a
DIGITAL LINK compatible projector.
The light-weight and compact-size body
is achieved that can be easily attached to
the rack or the underside of the tabletop of
the meeting desk.
Both the projector and the interface box
can be operated by using the remote
control of the projector
*1
. Even the
interface box is installed at a separate
place from the viewing location, switching
the input signal and adjusting the image
are possible.
*1: Supported only when the interface box is connected to a
DIGITAL LINK compatible projector.
Analog inputs as well as the HDMI terminal
are converted and output digitally. Therefore,
transfer is possible without dropping the
picture quality.
Easy setup and improved
serviceability
User-friendly interface
Improvement of the
connectivity