


[POSITION] menu
32 - ENGLISH
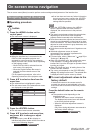
Select [POSITION] from the main menu, and
select the item from the sub-menu.
Refer to “Navigating through the menu”
(
page 27) for the operation of the menu
screen.
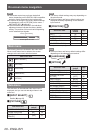
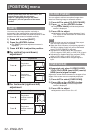
[SHIFT]
You can move the image position vertically or
horizontally if the image position projected on the
screen is shifted even when the relative position of the
projector and the screen is installed correctly.
1) Press
to select [SHIFT].
2) Press the <ENTER> button.
z
The [SHIFT] individual adjustment screen is
displayed.
3) Press
to adjust the position.
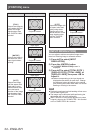
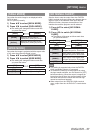
■
For vertical (up and down)
adjustment
Operation Adjustment
Press
.
The picture
position moves
up.
Press
.
The picture
position moves
down.
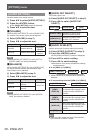
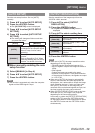
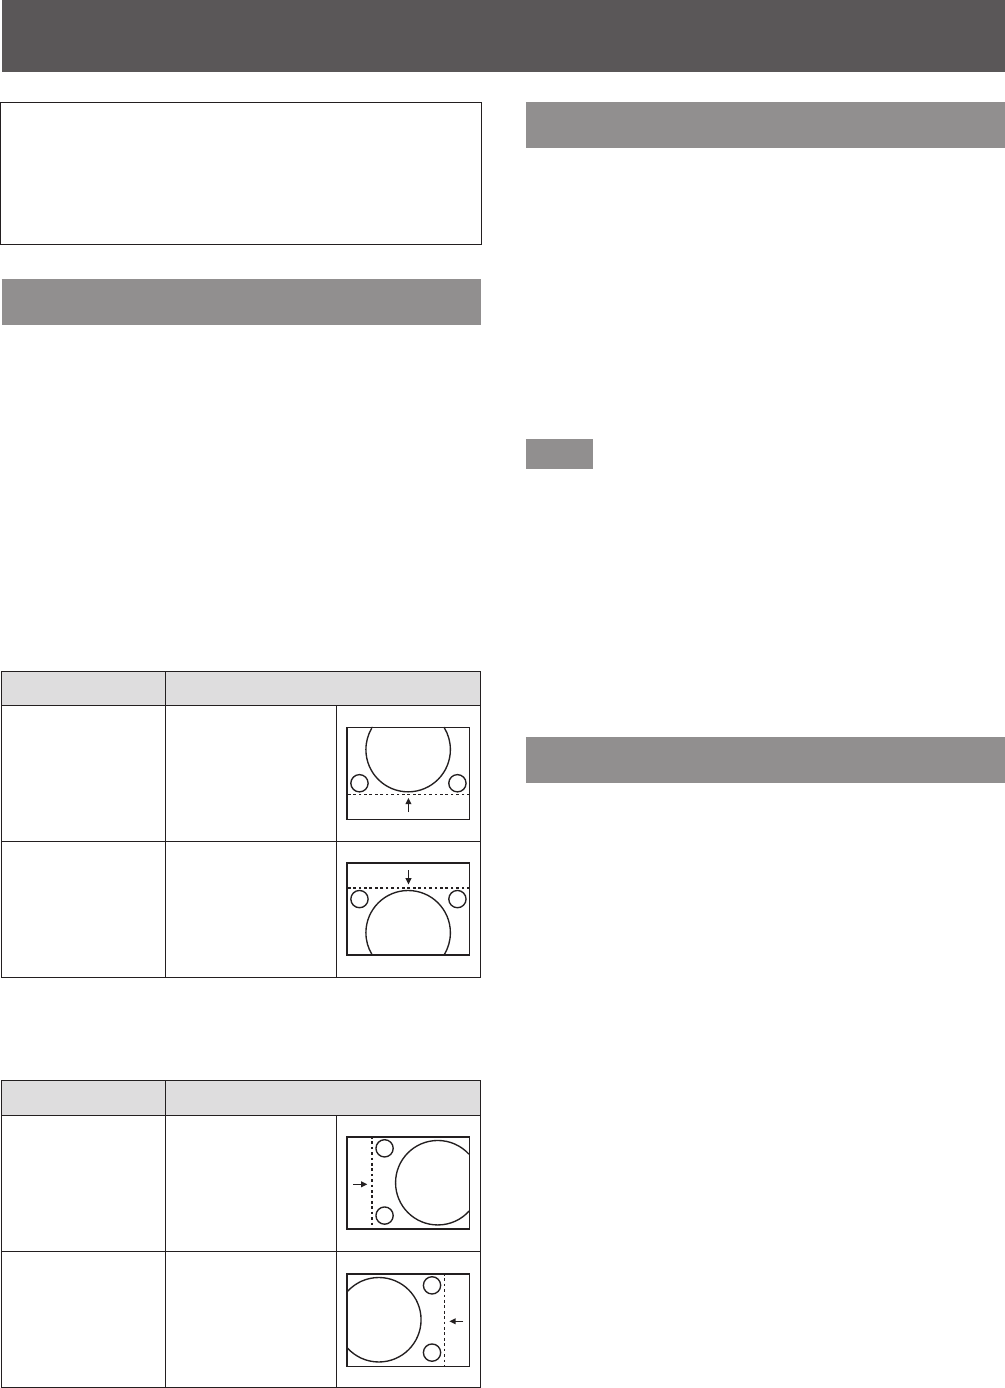
■
For horizontal (right and left)
adjustment
Operation Adjustment
Press
.
The picture
position moves to
the right.
Press
.
The picture
position moves to
the left.
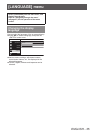
[CLOCK PHASE]
You can adjust to achieve an optimal image when
there is a ickering image or smeared outlines.
1) Press
to select [CLOCK PHASE].
2) Press
or the <ENTER> button.
z
The [CLOCK PHASE] individual adjustment
screen is displayed.
3) Press
to adjust.
z
Adjustment value will change between 0 and
+31. Adjust so that the amount of interference
is at a minimum.
Note
z
Optimal value may not be achieved if the output
from the input computer is unstable.
z
When dot clock frequency of projecting signals is
162 MHz or higher, noise may not be eliminated
even if [CLOCK PHASE] is adjusted.
z
Adjustment is disabled when the component
(YC
B
C
R
) signal of 525i (480i), or 625i (576i) is input.
z
Adjustment is disabled while the computer (RGB)
signal of 525i (480i), or 625i (576i) is input.
z
Adjustment is disabled when a digital signal is
input.
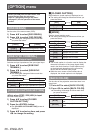
[OVER SCAN]
z
Supported only when S-VIDEO/VIDEO/
YC
B
C
R
/YP
B
P
R
/RGB (movie)/DVI (movie)/
HDMI (movie) signal is input
Adjusts the screen when characters or images at four
edges of the screen are not completely displayed.
1) Press
to select [OVER SCAN].
2) Press
or the <ENTER> button.
z
The [OVER SCAN] individual adjustment
screen is displayed.
3) Press
to adjust.
z
Adjustment value is from 0 to +10.
[POSITION] menu