Chapter 4: Playing Files
Chapter 4 37
Transferring Audio Files to Your Lyra Recorder
You can transfer audio files to your Lyra Portable Multi-media Recorder via Yahoo! Music Engine, Windows Explorer (My
Computer) Windows Media Player 10, or your favorite music jukebox software.
Important: In order to transfer secure music files using Windows XP to your Lyra Recorder, you must
set the USB Protocol setting to MTP in the Setup menu before connecting your Lyra Recorder. The Lyra
Recorder doesn’t support copy-protected content if you are using Windows 2000. See page 56 for more
information. Secure music files must also be transferred using a DRM-compliant application such as
Windows media Player or Yahoo! Music Engine and cannot be transferred through Windows Explorer
(My Computer).
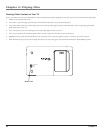
If your Lyra Recorder isn’t already connected to your computer, connect it using the provided USB cable (go to page 14 for
information on connecting the USB cable). Do not disconnect the USB cable from either the PC or device music while
music files are being transferred to your Lyra Recorder. Doing so may corrupt system files or the files being downloaded. It
is highly recommended that the Lyra Recorder be connected to the ROOT USB PORT (the main USB port) on the PC
and not a self powered USB hub.
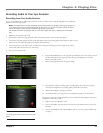
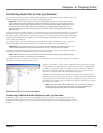
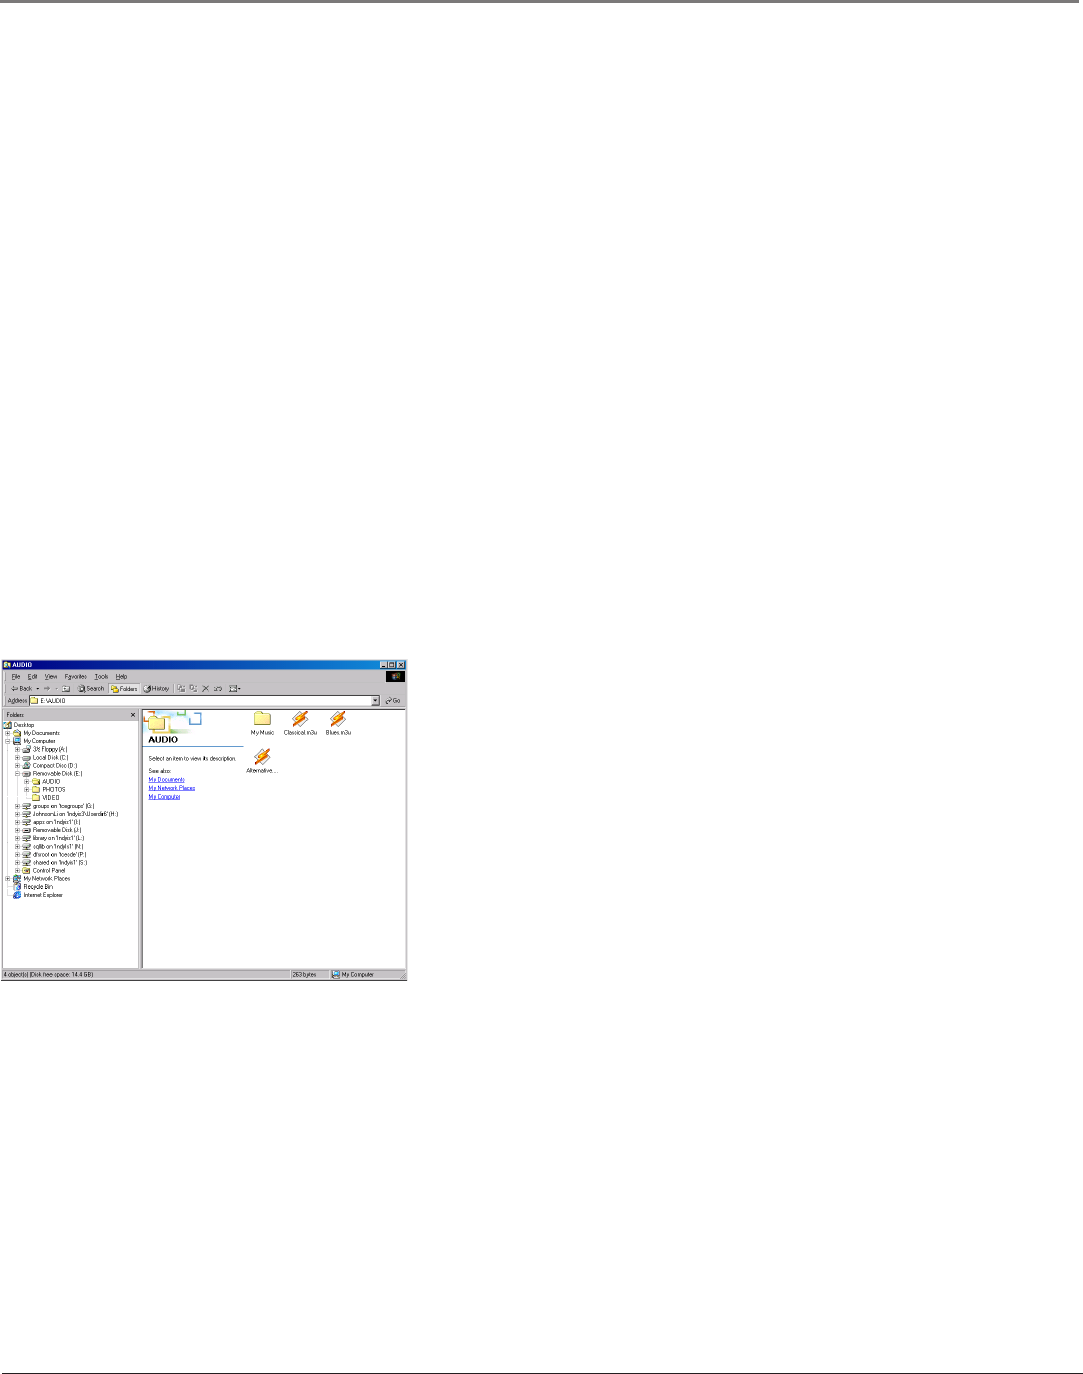
From Windows Explorer, open the Lyra Recorder drive. Open the drive where the files/folders you want to transfer are
located, and highlight them. Drag the files/folders to the AUDIO system folder on the Lyra Recorder drive.
Helpful hint: You can also right click on your content in Windows Explorer and select Copy (or Ctrl + C).
Then from the AUDIO folder, right click and select Paste (or Ctrl + V) to add the copied content.
It is highly recommended that all supported audio files (mp3 or other formats) be stored in the AUDIO system folder to
allow for easy navigation and organization of the contents of the Lyra Recorder.
Note: In MSC mode you must stop the USB connection before disconnecting the USB cable (go to page
17 for more information on disconnecting the USB cable).
For detailed information on transferring secure music to your Lyra Recorder using a music jukebox application, see the help
information provided by the application you are using.
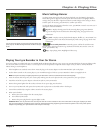
When the Lyra Recorder is in MSC mode an SD/MMC memory card can also be used to
transfer audio files. If an SD/MMC memory card is properly inserted, an additional drive
is available through Windows Explorer to transfer content onto. Please ensure the correct
drive is being used when transferring content from the device. Go to page 52 for more
information on transferring files from the SD/MMC memory card.
If files have been transferred to the Lyra Recorder from the PC, when in MSC mode you
MUST re-profile the contents to ensure all content is properly sorted and recognized on the
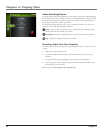
Lyra Recorder. Eject the Lyra Recorder through the tray application (see page 17), then run
the profiler. In the Setup menu, go to the Audio menu and select Profile. Go to page 26 for
more details on the profiler.
Note: when the Lyra Recorder is in MTP mode, you do not need to manually
profile the audio content stored on the device. The device’s database gets
automatically updated when files are transferred via MTP mode.
Transferring Predefined Audio Playlists to your Lyra Recorder
Audio playlists can be created on your PC using Yahoo! Music Engine (or any other music management software that
supports playlist files) and transferred to your Lyra Recorder. Refer to the help menu of your music management software
for details on transferring playlists to your Lyra Recorder. Use Windows Explorer to transfer predefined playlists to your Lyra
Recorder.


