


Chapter 4: Playing Files
46 Chapter 4
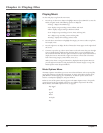
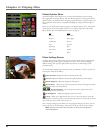
Recording Voice Labels
With this feature, you can record short audio clips to be played when you choose a picture,
much like the Music Clips feature for songs.
1. Make sure the Voice Label setting is turned on in the Setup menu. Keep in mind voice
labels will not be played if this setting is turned off, even if you have recorded one. See
page 48 for more information.
2. Go to the Photos menu and use the arrow buttons to find the picture you want to add
add a voice label to. When a picture is highlighted, press RECORD to record your
voice label. When finished, press STOP. A voice icon ( ) will appear to show that it
has a voice label attached to it. Repeat this step for all the pictures you want to record
labels for.
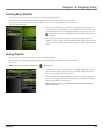
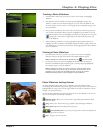
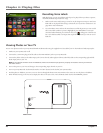
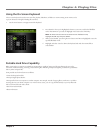
Viewing Photos on Your TV
You can view photos stored on your Lyra Portable Mult-media Recorder using the supplied Line Out cable if your TV has Audio and Video Input jacks.
1. Make sure your Lyra Recorder is off.
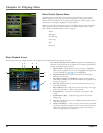
2. Connect the 3.5mm mini-plug end of the cable to the LINE IN/OUT jack on your Lyra Recorder.
3. Connect the yellow (video) to the Video Input jack. Connect the red (audio right) and white (audio left) cables to the corresponding right and left
Audio Input jacks on your TV.
Note: If an audio file has been set to the slideshow, make sure the Audio Input jacks are properly connected to ensure you will hear
the audio content.
4. Turn on the power to your TV, and change to the corresponding input channel on your TV.
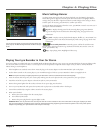
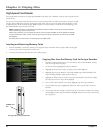
5. Turn on your Lyra Recorder. Set the Mode switch to TV OUT (located on the back of your Lyra Recorder).
6. Find the photo or slideshow you want to view on the TV through the Photos menu. Press PLAY on the remote to view the photo or slideshow.
7. When finished viewing on the TV, and to display the video on the Lyra screen, move the Mode Switch back to the NORMAL position.
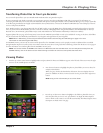
NORMAL
TV OUT
CONTROLS HOLD
Mode switch