Chapter 4: Playing Files
Chapter 4 43
Transferring Photo Files to Your Lyra Recorder
You can transfer photo files to your Lyra Portable Multi-media Recorder using Windows Explorer.
If your Lyra Recorder isn’t already connected to your computer, connect it using the provided Mini-USB cable (go to page 14 for information on
connecting the USB cable). Do not disconnect the USB cable while photos are being downloaded to the Lyra Recorder. Doing so may corrupt system files
or the files being downloaded. It is highly recommended that the Lyra Recorder be connected to the ROOT USB PORT (the main USB port) on the PC
and not a self powered USB hub.
From Windows Explorer, open the Lyra Recorder drive (if MSC mode), or open the WPD device (if MTP mode) associated with your device. Open the
drive on your PC where the files/folders you want to transfer are located, and highlight them. Drag the files/folders to the PHOTOS folder on the Lyra
Recorder drive. (In MTP mode, photos folder maybe stored under Media View when Windows Media Player 10 has been installed.)
Supported photo files (see page 3 for formats) must be stored in the PHOTOS system folder in order to be available for viewing on the device. Sub-folders
may be created under the PHOTOS system folder for easy navigation and organization of your image files.
Note: When in MSC mode, you must stop the USB connection before disconnecting the USB cable (go to page 17 for more
information on disconnecting the USB cable).
An SD/MMC memory card can also be used to transfer photo files. If an SD/MMC memory card is properly inserted, an additional drive is available
through Windows Explorer to transfer content onto. Please ensure the correct drive is being used when transferring content from the device. Go to page 52
for more information on transferring files from the SD/MMC memory card.
Notes: You cannot transfer to SD/MMC card if device is in MTP mode and most use MSC mode. You can view photos directly from the
SD/MMC memory card on the device’s screen without having to transfer the content to the Lyra Recorder hard drive.
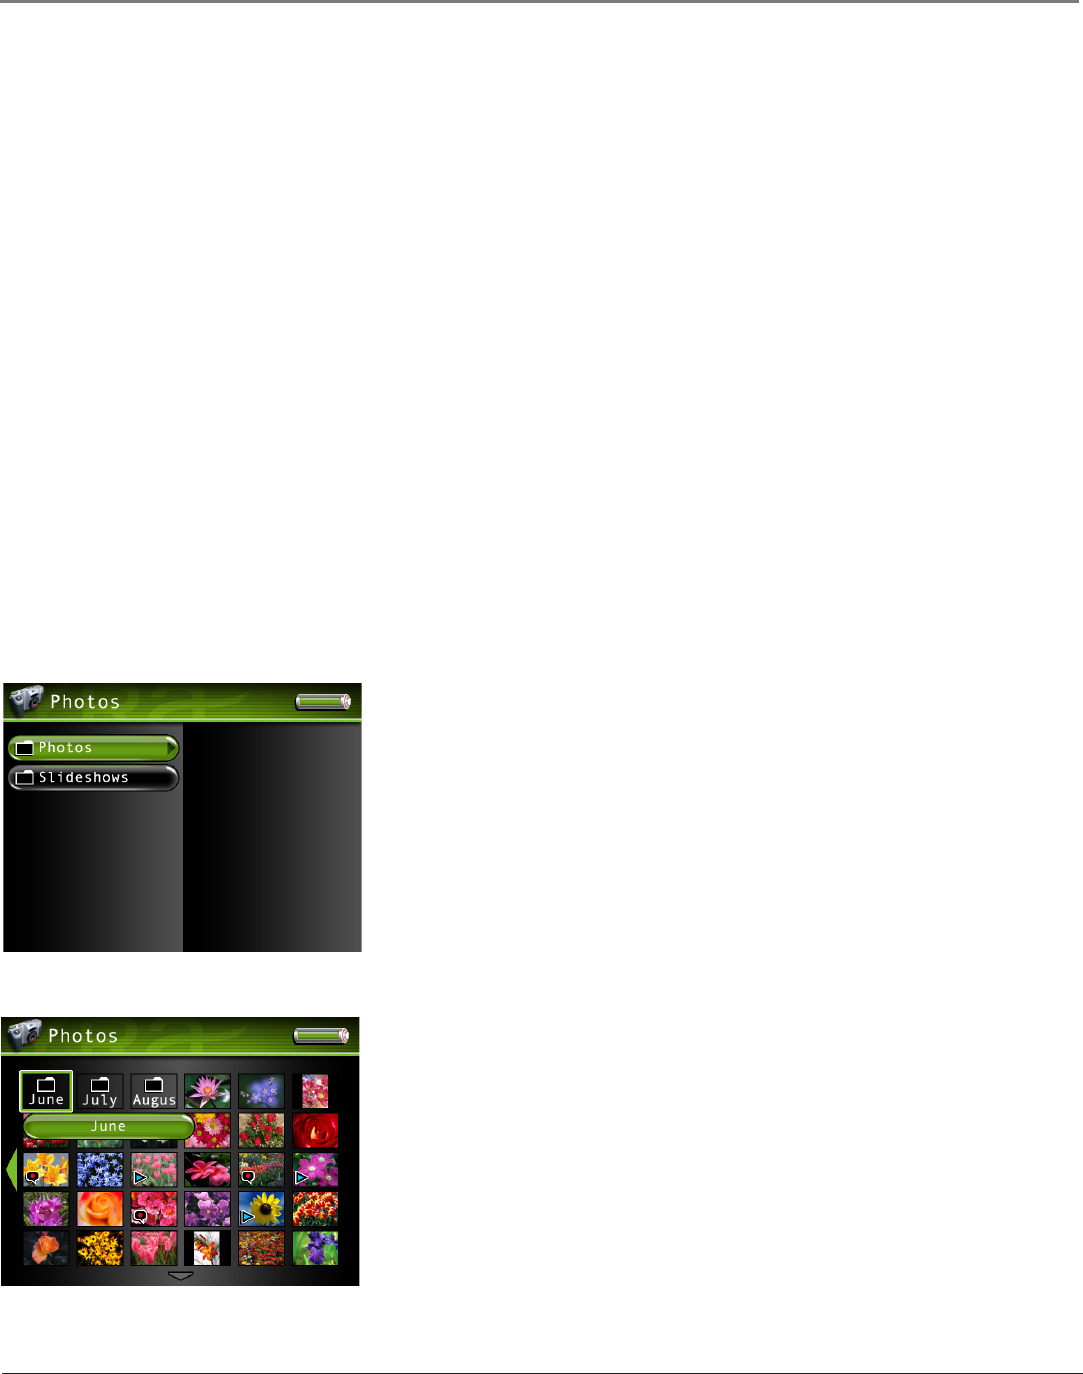
Viewing Photos
1. Press the up or down arrow button to highlight Photos and press SELECT. Photos and slideshows appear on the left side of the screen. Press the right
arrow to see the available photos and folders.
2. Press the arrow buttons to highlight the photo or photo folder you want to select, for
example, FlowerGarden.
When you get to the last tile thumbnail at the bottom, the screen displays the next
photos or subfolders in the list. To move between screens, press the left or right arrow
button.
Note: Going too far Left will take you out of the folder.
3. Press the up or down arrow button to highlight a sub-folder or photo file. Once you
select the photo file you want to view, press SELECT to display the Photo Options
menu or PLAY on the remote to view the file automatically. The Photos Options menu
descriptions are listed on the next page.


