Chapter 4: Playing Files
44 Chapter 4
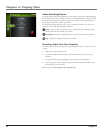
Photos Options Menu
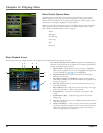
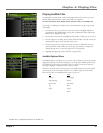
The Photos Options menu allows you to use more advanced features, such as moving
files, tagging files, renaming, deleting, and other file management. To bring up the Photos
Options menu, press SELECT when navigating your photo library. To select an option, use
the up and down arrow buttons or touchpad to highlight it, and press SELECT again to
select it.
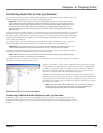
Below are some of the options that may appear in the Photos Options menu. The specific
options depend on what is available at the time. For a full list of options for the Video,
Music, Photos, Files, and Audible Options menus, see page 50.
Files Folder
Move To New Folder
Rename Move Tagged
To Slideshow Rename
View View All
Tag/Untag Open
Voice Label? Tag All
Delete Delete
Photo Settings Banner
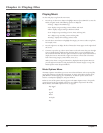
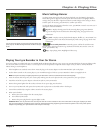
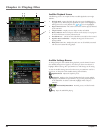
To change photo settings while viewing a photo, press the SELECT button momentarily
(the Photo Settings banner appears). Press the up or down arrow button to highlight
different settings, then press the right and left arrow buttons to make changes to the
particular setting.
To clear the Photo Settings banner from the screen, press BACK or wait for it to time out.
A description of the banner follows.
Color Saturation Adjusts the richness (amount) of the color.
Contrast Adjusts the difference between the light and dark areas of the picture.
Picture Brightness Adjusts the brightness of the picture.
Picture Rotate Allows you to rotate the picture 90º. Once you change the rotation
of a photo, the device saves this preference.
Previous/Stop/Next Goes to the previous picture, stops on the current
picture, and goes to the next picture.
LCD Brightness Adjusts the brightness of the LCD screen.
Zoom Allows you to digital zoom up to 2x, 4x, or 8x on the picture. Access the
Settings Banner each time you want zoom and select the Zoom icon. To go back to normal
view, continue to access Zoom until you select 1x.
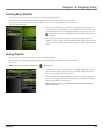
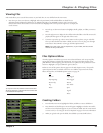
Once a setting is changed, press SELECT. A screen appears asking if you want to save the
setting. Select Yes to save the changes, select No if you do not want to save the changes.
Note: This only occurs with color saturation, contrast, picture brightness,
and LCD brightness


