


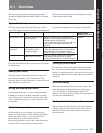

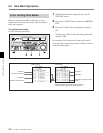
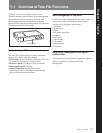
6-1 Overview
Chapter 6 Shot Mark Function
6-2 Chapter 6 Shot Mark Function
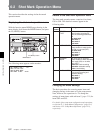
Details of the shot mark operation menu
The shot mark operation menu comprises four items,
G01 to G04. The detailed contents appear in the
following table.
Changing the menu settings
The basic procedure for accessing menu items and
changing settings is the same as for the setup menus.
Note, however, the operations in “To change the
settings of menu items with sub-items” (page 12-3) for
items G02 and G03.
For details of the setup menu configuration and operations,
see Section 12-1 “Setup Menu Configuration” (page 12-1)
and Section 12-2 “Setup Menu Operations”(page 12-2),
respectively.
This section describes the settings in the shot mark
operation menu.
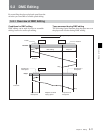
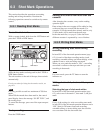
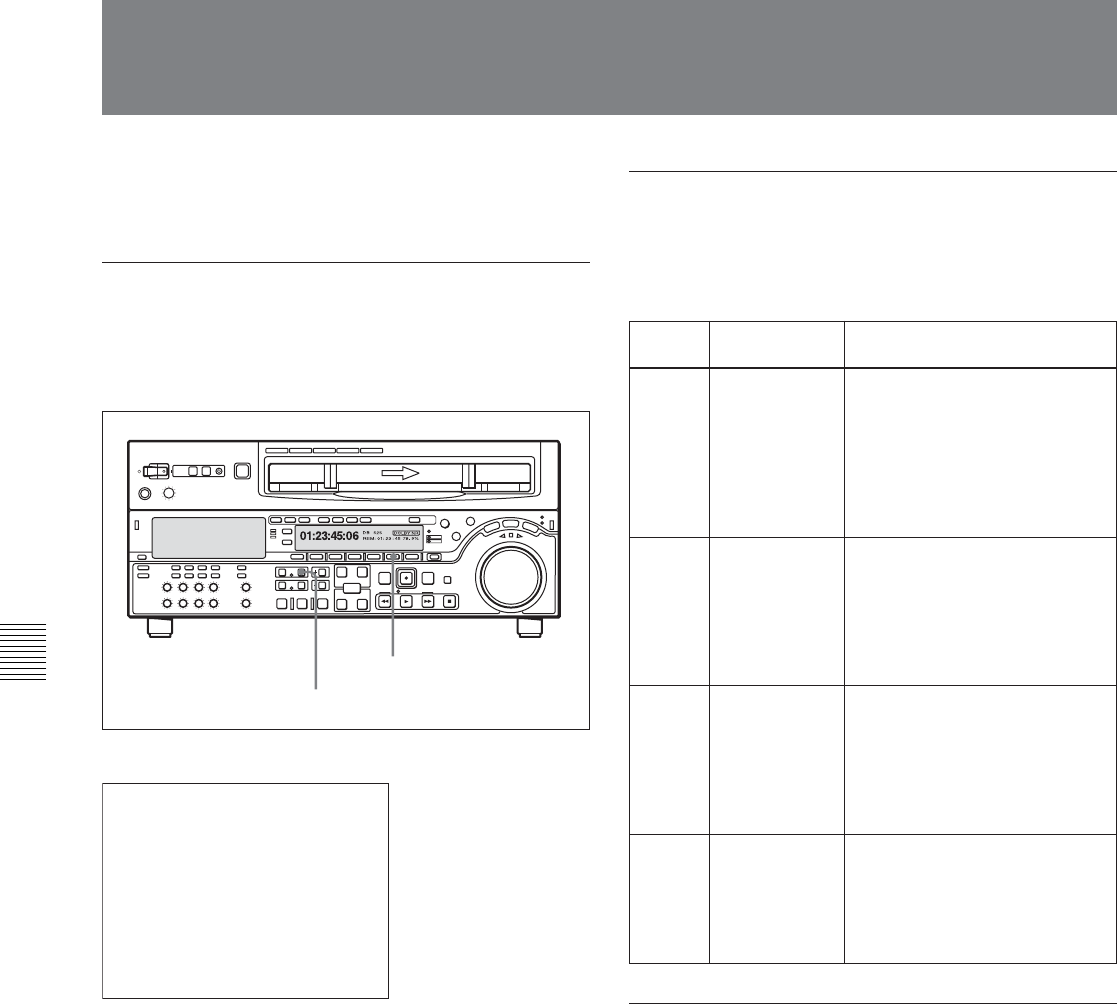
Displaying the shot mark operation menu
With the function menu HOME page showing in the
menu display, hold down the MARK button, and press
the F5 (MENU) button.
The following menu appears on the monitor.
GO1:SEARCH TYPE - all
GO2:LISTING TYPE
SHOT MARKER
GO3:RS.MARK MODE
GO4:MARK IN REC shot1
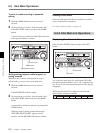
6-2 Shot Mark Operation Menu
Z
MARK button
F5 (MENU) button
Item
number
G01
G02
G03
G04
Item name
SEARCH
TYPE
LISTING TYPE
RS.MARK
MODE
MARK IN REC
Settings
Select which shot mark type the
index function searches for,
from the following possibilities:
all
rec start mark
shot mark 1
shot mark 2
post mark
For each type of shot mark,
select whether to read into the
list (ON) or not read (OFF):
rec start mark
shot mark 1
shot mark 2
post mark
For each type of recording,
select whether to write recording
start marks (ON) or not write
them (OFF):
crash rec: crash recording
assemble: assemble editing
insert: insert editing
Select the type of shot mark to
write during recording and
assemble editing.
shot mark 1
shot mark 2
post mark