41
EN
Reformatting a Disc Manually
If you are using a DVD-RW/+RW disc, you can format
the disc by performing “Format”. You can format DVD-
RW disc for either Video mode recording or VR mode
recording. DVD+RW disc can be formatted in order to
erase all content of the disc.
Note
• When you reformat the disc, the contents of the disc
are erased.
• Make sure that the recording format is set to the
desired mode. (Refer steps
1 to 6 in “Choosing the
Recording Format of a Blank DVD-RW Disc” on
page 39.)
Insert a recordable disc.
1 In stop mode, press [SETUP].
2 Select “DVD Menu” using [U \ D],
then press [ENTER].
3 Select “Format” using [U \ D], then
press [ENTER].
4 Select “Start” using [U \ D], then
press [ENTER].
For DVD+RW, use [U \ D] to select “Yes”, then
press [ENTER].
A pop up window will appear and prompt you to
confirm.
5 Select “Yes” using [U \ D], then
press [ENTER].
e.g.) VR mode DVD-RW
Formatting will start.
If you want to cancel formatting, select “No”.
6 Formatting is complete.
Note
• It is not possible to use a disc formatted with this unit
in other DVD recorder. When you use a disc with
another DVD recorder, format a disc using that DVD
recorder.
Selecting the Sound Mode
This unit can receive bilingual broadcasts.
You can switch between modes by pressing
[AUDIO D]. Each mode is indicated on the TV.
When you record a DVB channel, only output sound
channel will be recorded.
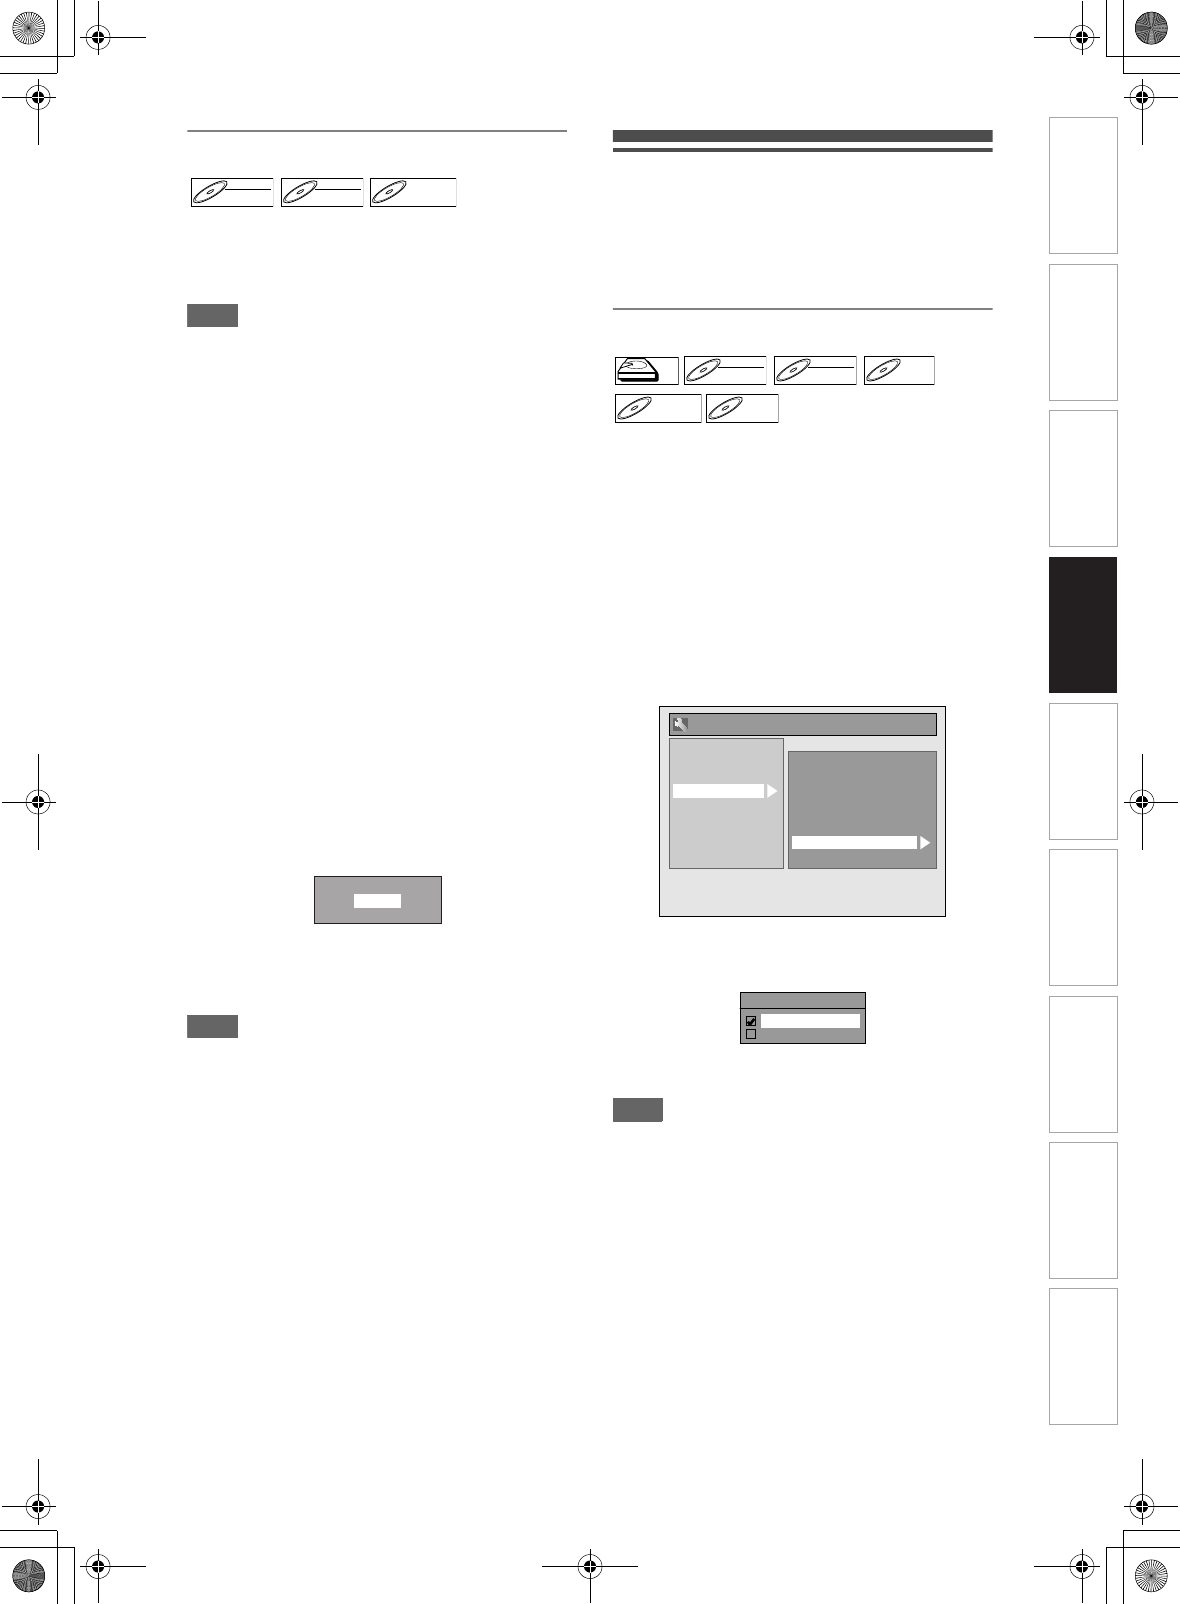
Setting External Input Audio
When the external input audio is a bilingual
broadcast, you can choose “Stereo” or “Bilingual” to
record on an HDD/DVD. This setting is only for
recording external input (AV1/AV2/AV3).
1 In stop mode, press [SETUP]. Select
“General Setting” using [U \ D],
then press [ENTER].
2 Select “Recording” using [U \ D],
then press [ENTER].
3 Select “External Input Audio” using
[U \ D], then press [ENTER].
4 Select “Stereo” or “Bilingual” using
[U \ D], then press [ENTER].
5 Press [SETUP] to exit.
Hint
• If you select “Stereo”:
The audio will be recorded as “stereo audio”.
• If you select “Bilingual”:
The audio will be recorded as “bilingual audio”. (See
“Setting Bilingual Recording Audio” on page 42 for
more detail.)
DVD-RWDVD-RW
Video
DVD-RWDVD-RW
VR
DVD+RWDVD+RW
Are you sure?
Yes
No
HDDHDD
D
VD-R
W
DVD-RW
Video
DVD-RWDVD-RW
VR
DVD-RDVD-R
D
VD+R
W
DVD+RW D
VD+R
DVD+R
Playback
Display
Video
Recording
Clock
Channel
DivX
HDMI
Reset All
General Setting
Auto Chapter
Recording Audio Select (XP)
Auto Finalise
Aspect Ratio (Video mode)
Make Recording Compatible
Bilingual Recording Audio
External Input Audio
Video Colour System
External Input Audio
Stereo
Bilingual
Introduction Connections Basic Setup Playback Editing OthersFunction SetupRecording VHS Functions
E3NG0FD_EN.book Page 41 Wednesday, January 30, 2008 10:37 AM
