69
EN
Marker Setup
You can assign a specific point on a disc to return
later.
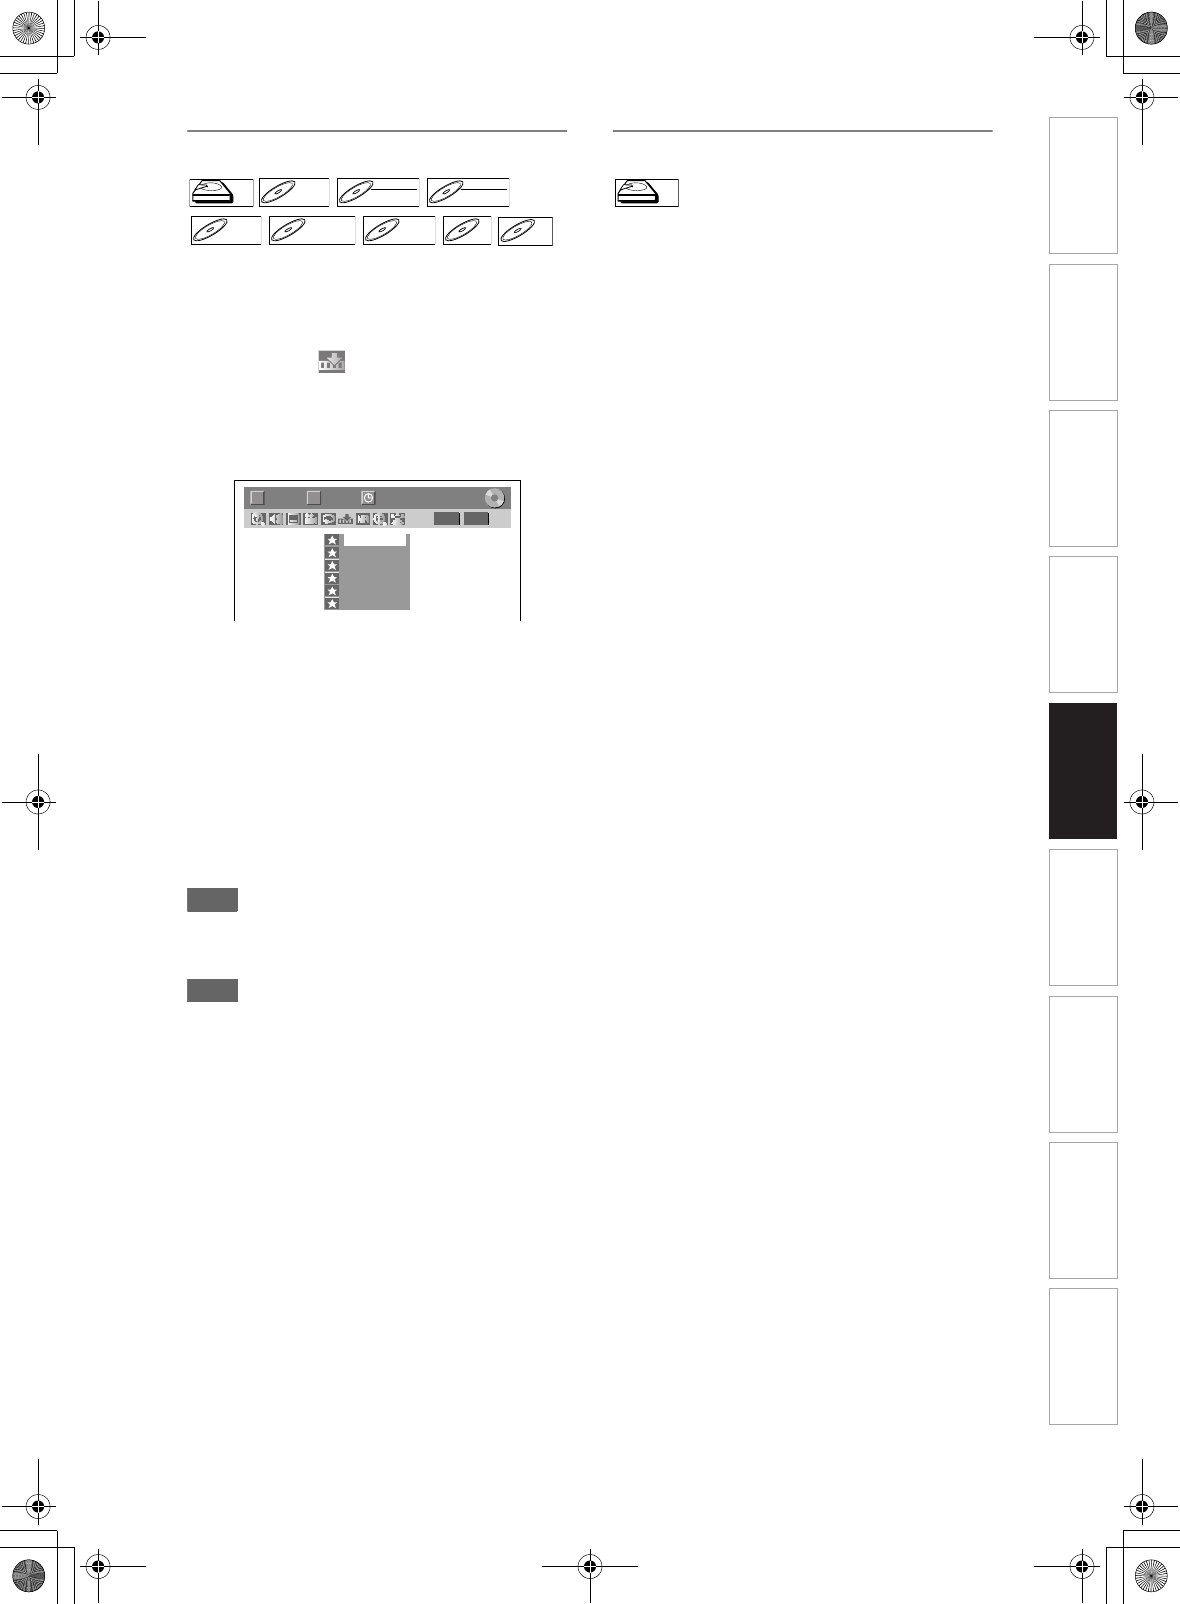
1 During playback, press [DISPLAY].
2 Select the icon using [L \ P],
then press [ENTER] within 1 second,
or wait for 1 second to display the
marker list.
e.g.) Marker setup menu for DVD-Video
3 Select the desired marker number
using [U \ D]. When the disc
reaches the desired point, press
[ENTER].
The title (track) number and the time are
displayed.
4 To return to the marker, select the
desired marker number using
[U \ D], then press [ENTER].
Hint
• To clear a marker, select the marker number you
want to clear, then press [CLEAR].
• You can mark up to 6 points.
Note
• All markers are erased when you perform the
following operations.
- Opening the disc tray (CD/DVD only)
- Turning off the power (CD/DVD only)
- Making additional recording on the disc (DVD only)
- Editing any title (DVD only)
- Dividing the title (HDD only)
- Deleting a scene of the title (HDD only)
- Changing the mode between Original and Playlist.
(VR mode DVD-RW disc only)
• Marker setting is not available when you play back
the Video CD with PBC function.
Chasing Playback during Recording
You can play back a title being recorded from the
beginning while recording continues.
1 During recording, press [PLAY B].
Playback of the title you are recording will start
from the beginning.
• Elapsed playback time will be displayed on the
front panel display.
2 To stop the playback, press
[STOP C] once.
The front panel display will switch back to show
the elapsed recording time.
If you press [STOP C] twice, it will stop the
recording.
Using the [TIME SLIP] button
With [TIME SLIP], even if you leave your couch while
you are watching TV through this unit, you can come
back and watch the rest of the programme right from
where you left at any the convenient time with just one
button.
1 When you leave the TV, press
[TIME SLIP] twice. (When you are
recording the TV programme to HDD,
press once.)
Unless the unit is in HDD recording mode, the unit
will start recording the TV broadcast with the first
press. With the second press, or the first press
when the unit is in HDD recording mode, the
image will be paused while the recording
continues. (It is as if you have paused the live TV
broadcast.)
2 When you come back, press
[TIME SLIP] again.
The pause will be cancelled, and the playback will
start from the point where the image is paused in
step
1.
• While viewing the recorded content, you can
pause and resume the playback by pressing
[TIME SLIP].
3 Press [STOP C] once to resume live
TV.
Press [STOP C] twice to stop the
recording.
HDDHDD
D
VD-V
DVD-V D
VD-R
W
DVD-RW
Video
DVD-RWDVD-RW
VR
DVD-RDVD-R D
VD+R
W
DVD+RW D
VD+R
DVD+R CD
CD
VCD
VCD
(PBC OFF)
1/ 5 1/ 5
DVD
---
---
---
---
---
---
1
2
3
4
5
6
0:01:00 / 1:23:45
Video
T C
HDDHDD
Introduction Connections Basic Setup Playback Editing OthersFunction SetupRecording VHS Functions
E3NG0FD_EN.book Page 69 Wednesday, January 30, 2008 10:37 AM


