


Color Active-Matrix LCD Touch Panels Designing a Touch Panel Page 35
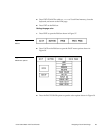
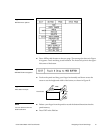
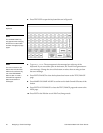
2. Press 3D RECTANGLE 1 to set the button border to 3D RECTANGLE 1 style.
The BORDER button in the BUTTON PROPERTIES page reflects the selected
border type. In this case, the button changes to the 3D rectangle border.
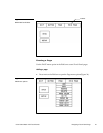
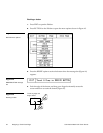
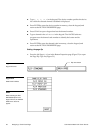
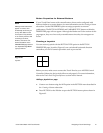
Setting the channel code
1. The two fields to be set for the button channel code are DEV (device) and
CHAN (channel) as shown in Figure 50.
2. Press DEV to open a keypad and set the device number.
3. Type 1, 2,3, or 4 in the keypad. The device number specifies the device for
which the selected channel’s feedback is displayed.
4. Press ENTER to store the device code in memory, close the keypad, and return
to the BUTTON PROPERTIES page.
5. Press CHAN to open a keypad and set the channel number.
6. Type a channel value of 1 to 255 in the keypad. The AXCESS software
program uses the channel code number to identify the button and its
operations.
7. Press ENTER to store the channel code in memory, close the keypad, and
return to the BUTTON PROPERTIES page.
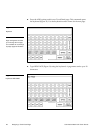
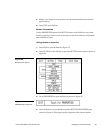
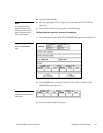
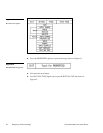
Setting the variable text code
1. The two fields to be set for the button variable text code are DEV (device) and
CHAN (channel) as shown in Figure 51.
2. Press DEV to open a keypad and set the device number.
Figure 50
CHANNEL code buttons
Note
The channel code(s) for non-
active buttons is 0, and active
buttons is1 through 255.
Figure 51
VARIABLE TEXT code
buttons