


26
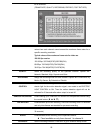
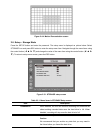
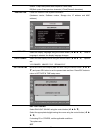
2-3-1. Recording Schedules
To setup a recording schedule, select SCHEDULE in the RECORD menu. Navigate through the items using
the control button (
ൖ Ÿ൘ ź).
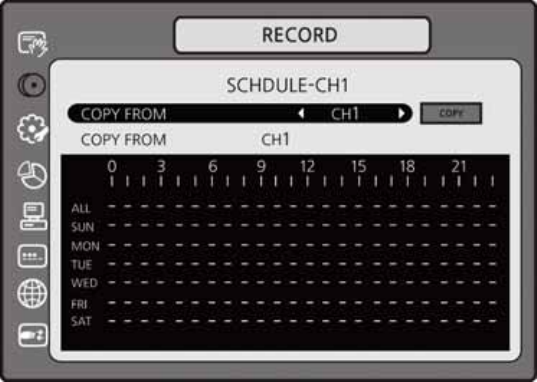
Once the channel 1 is selected, SCHEDULE-CH1 screen is displayed. Select ALL or each day using the
control button (
ൖ Ÿ൘ ź) and set the recording mode using the SEL button repeatedly.
C: CONTINUOUS recording
M: MOTION recording
S: SENSOR recording
-: Does not record
[ALL]: Move the cursor to ALL and select a recording mode C, M or S using the SEL button to set the same
setting for every day.
[SUN to SAT]: Move the cursor to SUN to SAT and select a recording mode C, M or S using the SEL button
to set the same setting for the whole day.
[Vertical Bar “ | “]: Move the cursor to ALL and move the cursor to the specific time using the control button
(
ൖ Ÿ൘ ź). And select a recording mode C, M or S using the SEL button to set the same setting.
[SEL]: The recording mode can be selected by pressing repeatedly the SEL button.
[COPY FROM] [COPY TO]: Set the channel 1 schedule and select COPY TO using the control button (
ൖ Ÿ
൘ ź), select CH2 using the control button (ൖ Ÿ ൘ ź) and press the SEL button. Then the CH1
schedule is copied to CH2.
To return to setup menu screen, press the ESC button.
Figure 2.3.2. Schedule recording setup screen
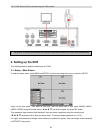
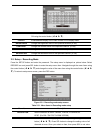
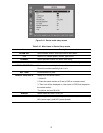
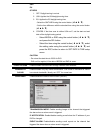
2-4. Setup – Device Mode
Press the SETUP button and enter the password. The setup menu is displayed as picture below. Select
DEVICE icon and press SEL button to enter the setup menu item. Navigate through the menu items using the
control button (
ൖ Ÿ ൘ ź) and change the value of the menu item using the control button (ൖ Ÿ ൘
ź).To return to setup menu screen, press the ESC button.