


Purging the Printheads 5-11
Purging the
Printheads
Maintenance Interval: as needed.
Since removing, purging, replacing, and recalibrating a print-
head is a time-consuming process, purge all printheads currently
installed in the carriage in a single session.
To perform this process, you will need the purge clip, included
with the printer, and paper toweling to blot the ink that will
come out of the printhead during purging. You may also want to
wear gloves to avoid staining them with ink.
1. Return to the Front Page screen.
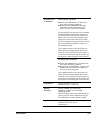
2. From the control panel Front Page screen, press the Carriage
key.
The printhead carriage moves to the access position.
Begin with the printhead in position 1.
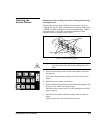
3. Open the printer’s top cover.
4. Open the carriage cover.
5. Remove the printhead from the carriage.
6. Depress the lock levers to unlock the printhead assembly, and
swing it up to expose the bottom of the carriage.
7. Disconnect the ink tube from its attachment clips on the
carriage.
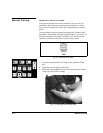
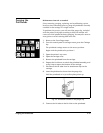
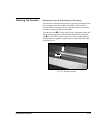
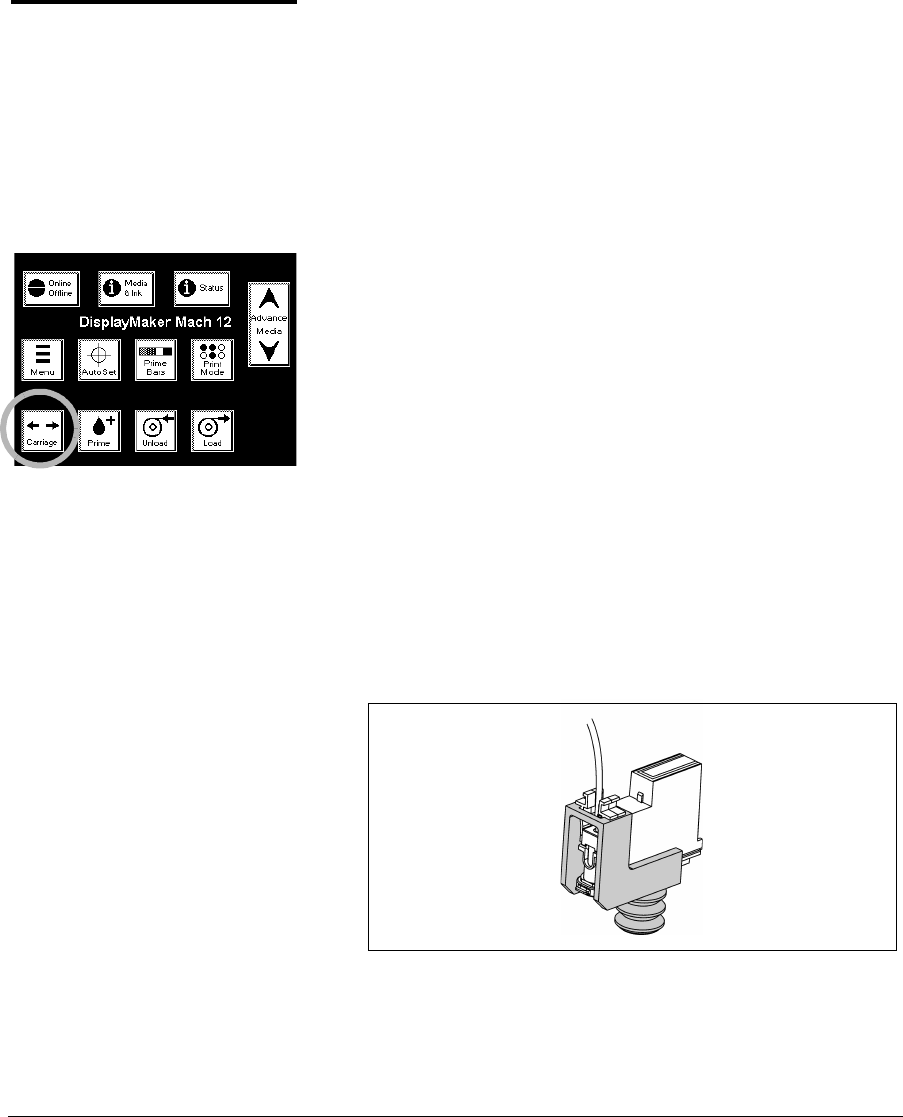
8. Insert the printhead as shown into the purge clip.
Hold the printhead so its jet orifice plate points up.
9. Connect the ink tube to the ink inlet on the printhead.
Fig. 5-4. Printhead installed in the purge clip