EN 39
OPEN/
CLOSE
SET UP
STANDBY/ON
REPEAT
ZOOM
CH
RETURN
MENU/LISTTOP MENU
CLEAR
AUDIO
PLAYSLOW SLOW
PAU S EREC STOP
VCR Plus+
PROG
ON SCREEN
ABC.@/: DEF
JKLGHI MNO
TUVPQRS WXYZ
1
4
7
2
5
8
0
3
6
9
ENTER
REC
SPEED
REC
MONITOR
Recording
Disc Playback
EditingBefore you start
Connections
Getting started
Changing the Setting menu
Others
Recording
Settings for an external source (cont’d)
Before recording from an external source, see the instructions for the connection on page 38.
DVD-R
DVD-R
DVD-RW
DVD-RW
VR
DVD-RW
DVD-RW
Video
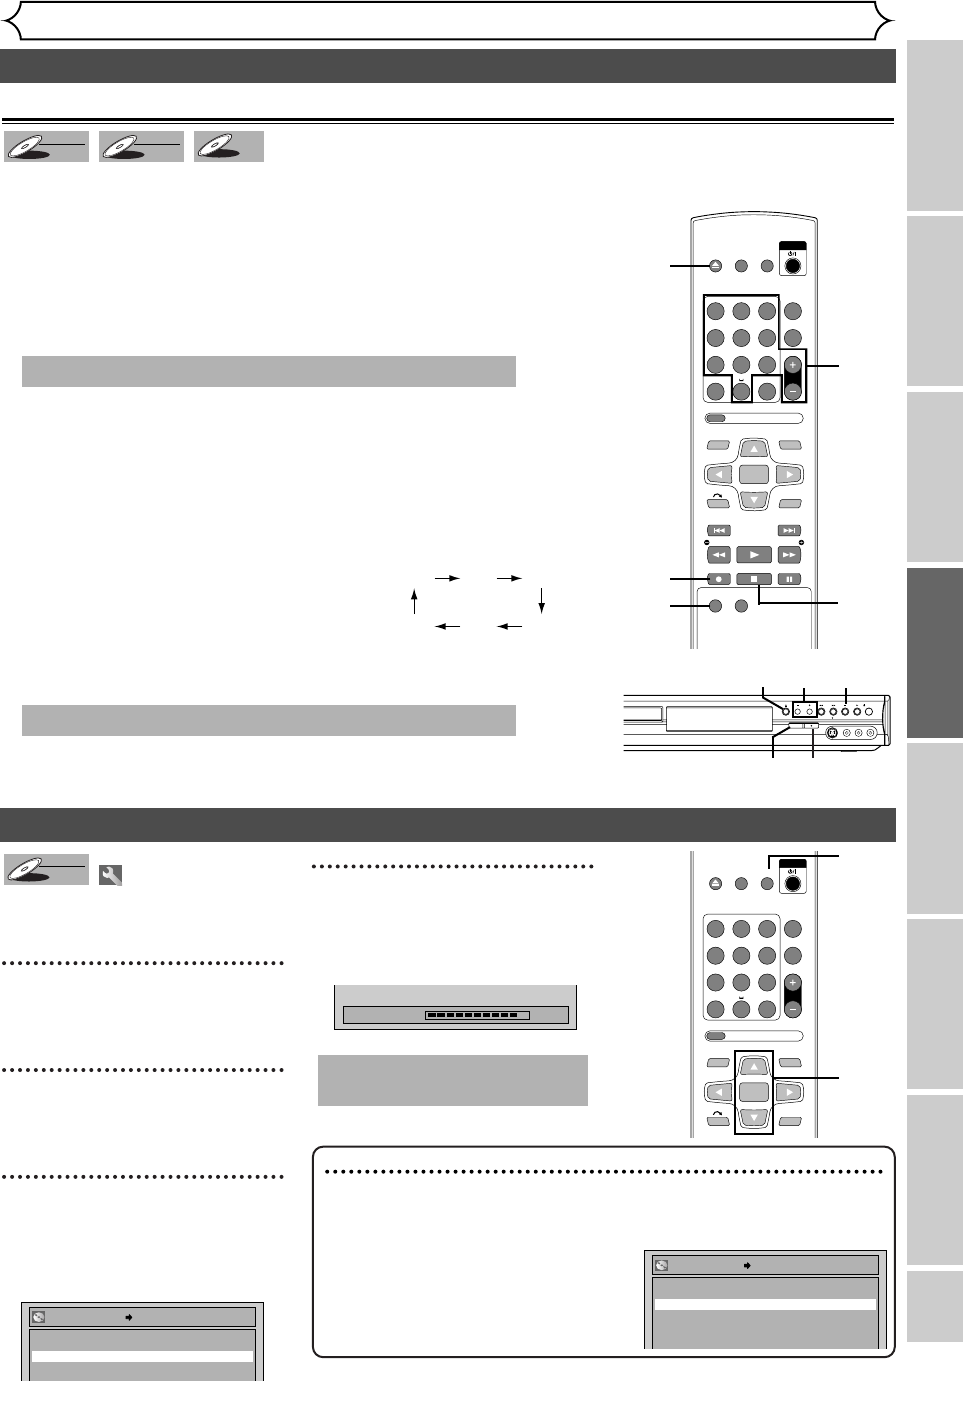
Recording from an external source
Setting a disc to protect
To prevent accidental recording, edit-
ing or erasing of the titles, you can
protect them from the Setting menu.
1
Press [SET UP].
Easy Setting Menu or Advanced
Setting Menu will appear.
2
Using [K / L], select “Disc”.
Press [ENTER].
Disc menu will appear.
3
Using [K / L], select “Disc
Protect OFF ➔ ON”. Press
[ENTER].
Confirm window will appear.
4
Using [K / L], select “Yes”.
Press [ENTER].
A disc will be protected.
This operation may take a
while to be completed.
Writing to Disc
90%
No
Yes
Disc Protect OFF ON
DVD-RW
DVD-RW
VR
Note
• The Disc Protect setting is available only for a DVD-RW disc recorded in
VR mode.
•
You can select only Disc Protect off when a protected disc is inserted.
To cancel the disc protect:
•
When you insert a disc protected in this
unit,“Disc Protect ON → OFF” will appear.
To cancel the protection setting for the
disc, select “Disc Protect ON → OFF” at
step 3, then select “Yes”.
STANDBY/ON
/ I
CH
S-VIDEO
VIDEO
L - AUDIO - R
(MONO)
REC SPEED
5
6
84
2
4
8
5
6
2
3
2
3
4
1
OPEN/
CLOSE
SET UP
STANDBY/ON
REPEAT
ZOOM
CH
RETURN
MENU/LISTTOP MENU
CLEAR
AUDIO
VCR Plus+
PROG
ON SCREEN
ABC.@/: DEF
JKLGHI MNO
TUVPQRS WXYZ
1
4
7
2
5
8
0
3
6
9
ENTER
1. Turn on the TV and the unit and be sure to select the input
of the TV to which the unit is connected.
Refer to the table on page 13.
2.Press [OPEN/CLOSE A] to open the disc tray. Place the disc
to record properly.
3. Press [OPEN/CLOSE A] to close the disc tray.
4
. Select the input of the unit which the external equipment is
connected (L2 or L1).
•
To use the input jacks on the back of this unit, select “L1” position by
pressing [0], [0], [1] on the remote control or [CH + /
-
] .
•
To use the input jacks on the front of this unit, select “L2” position by
pressing [0], [0], [2] on the remote control or [CH + /
-
] .
5. Select a recording speed by pressing [REC SPEED].
Refer to “Recording speed” on page 26.
6.Press [REC I] on the unit to start
recording.
7.Press “Play” on the external source to record from.
8.Press [STOP C] on the unit to stop recording.
This operation may take a while to be completed.
This operation may take a while to be recognized.
XP SP LP
EPSLPSEP
3
E6751CD_EN1.qxd 05.7.19 5:27 PM Page 39


