C2602M-C (3/07) 45
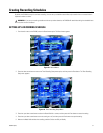
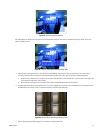
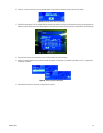
Figure 53. Searching by Date and Time
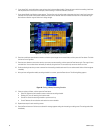
The screen expands to include a 24-hour timeline for the selected date. Hours for which there is recorded video are gray. Hours for which no
video is recorded are blank.
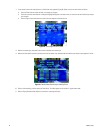
Figure 54. Timeline Showing Available Recorded Video
4. Press the right or left arrow buttons on the front panel of the DX4000 to move to the time that you want to view. The cursor moves in
15-minute increments. When searching for video recorded during Daylight Saving Time, make a note of the following exceptions:
• When the time is set back an hour, there will be two sets of video available for the 1:00 A.M. hour. You must select a time before 1:00
A.M. to search for both hours’ worth of video.
• When the time is set forward an hour, there will be no video recorded between 2:00 A.M. and 3:00 A.M.
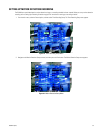
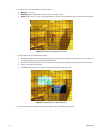
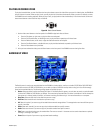
5. Press the Enter button after you have selected a time. The video is displayed on the monitor in four-channel mode. Each video pane contains
recorded video from a specific camera. A play button appears in the lower right video pane.
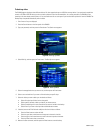
Figure 55. Results When Searching for Video by Date
6. Refer to Playing Recorded Video on page 47 for instructions on playing back video.


