62 C2602M-C (3/07)
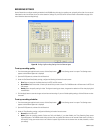
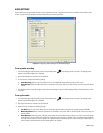
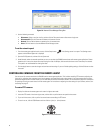
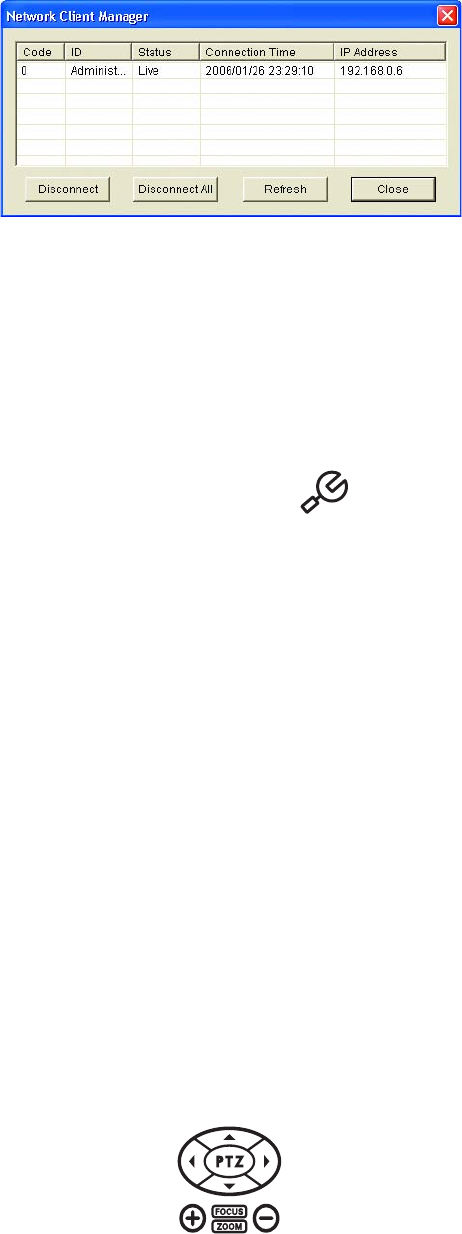
Figure 76. Network Client Manager Dialog Box
4. Use the following commands:
• Disconnect: Select a user from the list, and then click the Disconnect button to disconnect a single user.
• Disconnect All: Click the Disconnect All button to disconnect all users.
• Refresh: Click the Refresh button to update the list of connected users.
• Close: Click this button to close the Network Client Manager screen.
To set the network speed
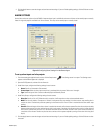
1. From the remote agent application main screen, click the Setup button if the Settings screen is not open. The Settings screen
appears and the Remote Agent tab is displayed.
2. Open the DVR System tab, and then click the System tab.
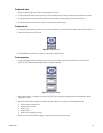
3. Under Network, select the network speed that you want to use when the DX4000 communicates with remote agent applications. Slower
speeds result in a very slow refresh rate when viewing live video. At 56 Kbps, video transmission slows to one frame every five seconds.
This speed is not recommended for viewing live video.
4. Click the Apply button to save the changes and continue to other settings. If you are finished updating settings, click the OK button to close
the screen.
CONTROLLING CAMERAS FROM THE REMOTE AGENT
You can control all cameras attached to the DX4000 from the remote agent application. This includes controlling PTZ movement, adjusting the
focus and iris, adjusting color, programming and running patterns, and programming and running presets. If you have cameras that can be pro-
grammed through their own on-screen menus, you can use Preset 95 to access these menus. Refer to To use Preset 95 on page 65 for instructions
on accessing and using on-screen menus from the remote agent. For instructions on adjusting the color settings for your cameras, refer to Cam-
era Settings on page 57.
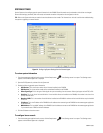
To control PTZ cameras
1. Display live video on the remote agent main screen in single-screen mode.
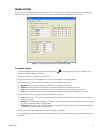
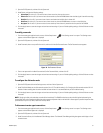
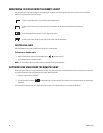
2. Locate the PTZ controls in the lower-right corner, and then click any of the buttons to reposition the camera.
3. To pan or tilt the camera, click any of the four arrow buttons surrounding the PTZ button.
4. To zoom in or out, click the ZOOM button and then click the + (plus) or - (minus) buttons.
Figure 77. PTZ Control Buttons


