56 C2602M-C (3/07)
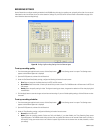
2. Open the DVR System tab, and then click the Record tab. (See Figure 68 on page 54.)
3. Turn on timer recording for each camera for which you will set up motion detection. The Motion Detection settings are enabled for each
camera as you set up timer recording for them.
4. Under the Motion Detection settings, configure the following settings.
• Motion: Turn it on or off.
• Sensitivity: Select a sensitivity level between 1 and 10 where 10 is the most sensitive.
• Region: Select “Partial” or “Entire”. When motion detection is turned on, the DX4000 detects motion on the entire screen by default.
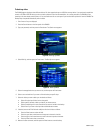
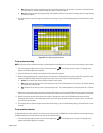
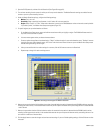
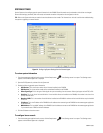
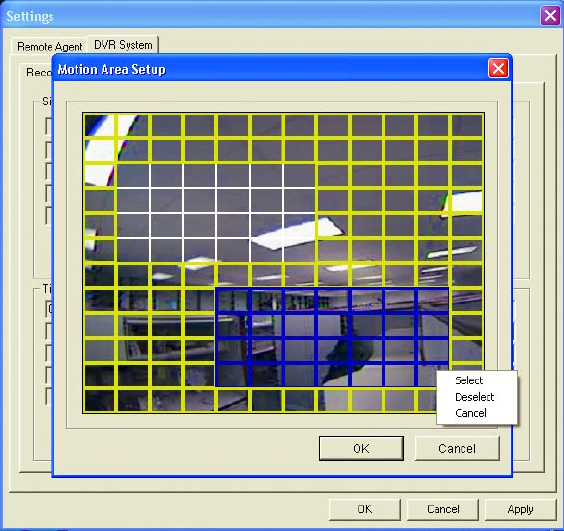
If you select “partial,” the Motion Area Setup screen appears (Figure 70).
5. For partial regions, set up motion detection as follows:
a. On the Motion Area Setup screen, press and hold the mouse button while you highlight a region. The DX4000 will detect motion in
any areas of the screen that are yellow.
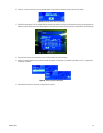
b. A shortcut menu appears when you release the mouse button.
c. Choose an option that applies to the selected region: “Select” includes the region in your motion detection areas, “Deselect” removes
the region from your motion detection areas, and “Cancel” exits the shortcut menu and returns you to the Motion Area Setup screen
without altering the settings for the region.
d. After you are satisfied with the motion settings for a camera, click the OK button to return to the Record tab.
e. Repeat steps a through d for each remaining camera.
Figure 70. Selecting Partial Regions for Motion Detection
6. Move to the pre-motion duration field and select the number of seconds before the motion is detected that the DX4000 should start recording.
Including pre-motion activity in the recorded video ensures that you will capture all relevant activity surrounding the event. Choose between
1 and 5 seconds.
7. Move to the post-motion duration field and select the number of seconds after the motion is detected that the DX4000 should continue
recording. Including post-motion activity in the recorded video ensures that you will capture all relevant activity surrounding the event. You
can record for a maximum of three minutes.
8. Click the Apply button to save the changes and continue to other settings. If you are finished updating settings, click the OK button to close
the screen.


