53
En
07
Chapter 7
Playlists
Playing the files in the
desired order (Recall)
When playlists created using the application (HD PILOT)
are used, the desired playlist number can be specified
and played. Furthermore, video, text and still pictures can
be displayed simultaneously. For details on HD PILOT,
see the Pioneer website.
Caution
• Depending on the files and commands, it may not be
possible to play the files as registered on the playlist.
Store playlists created ahead of time with HD PILOT onto
an SD memory card or USB storage device, then load the
stored playlists into this unit before playing them
(page 49).
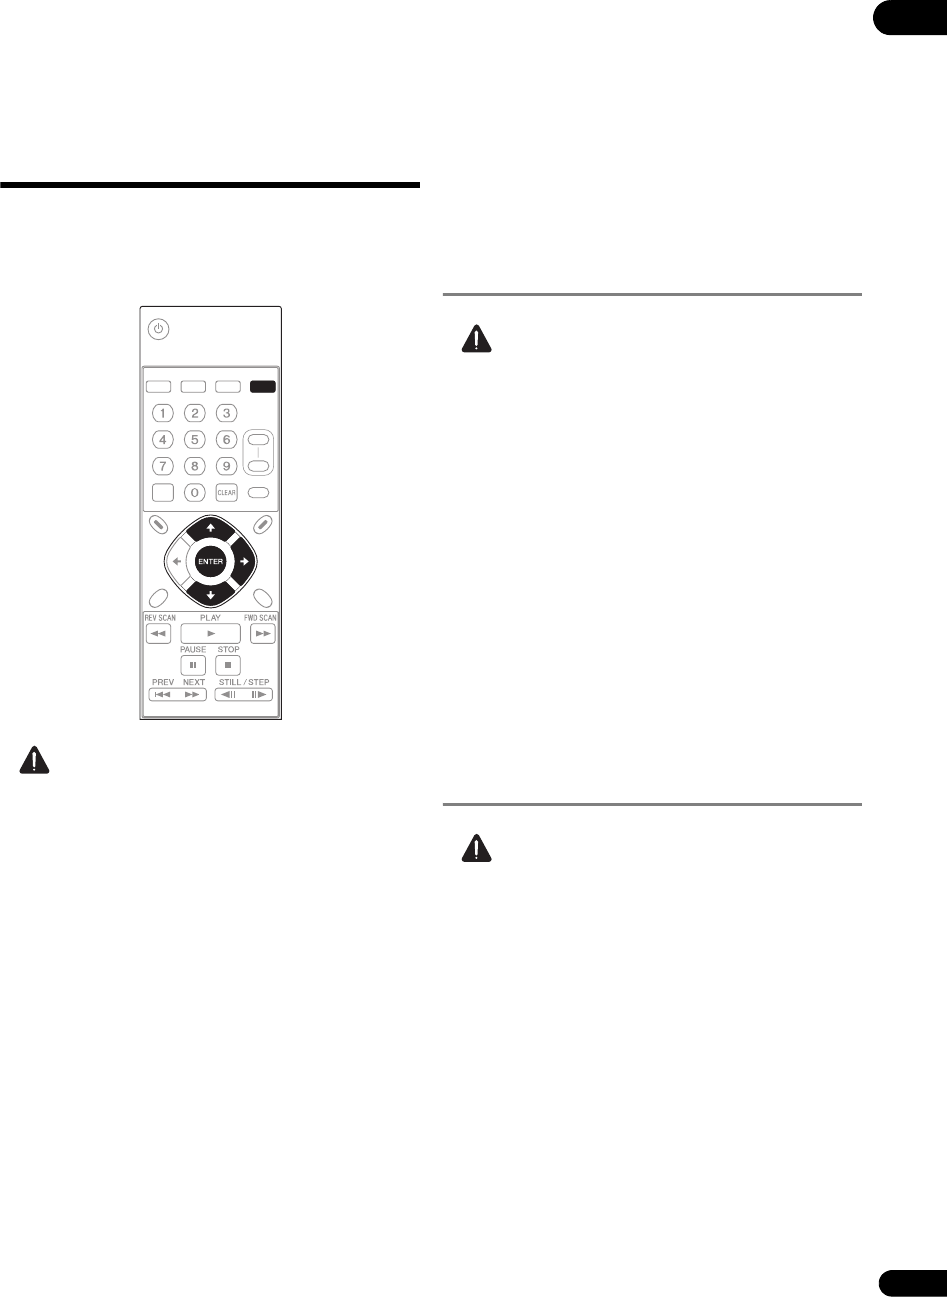
1 Display Playlist.
Press the RECALL button.
• The playlists can also be displayed by selecting
Playlist Recall from the SETUP screen.
2 Select the playlist to be played.
Use the / buttons to select.
• With playlists, file playback specification, etc., can be
set separately. One such setting is called a line. The
lines can be checked by selecting the playlist then
pressing the button. Use the / buttons to move
the cursor. The playlist cannot be played while
checking the lines.
3 Play the playlist.
Press the ENTER button. The playlist is played through to
the last line registered on it.
• When the display is switched by pressing the LCD
button on the main unit’s front panel during playlist
playback, Playlist ** (number) appears on the main
unit display.
Displaying text
superimposed on the video
picture (Text Crawl)
Caution
• Only text in “UTF-8” format can be displayed.
• When creating the text file, store the character code
in “UTF-8” format.
1 Create the text file to be displayed with the Text
Crawl function.
Use a computer’s text editor, etc., to create the text file.
2 Store the text file you have created onto an SD
memory card.
Create a text folder in the SD memory card’s root
directory and store the text file in this folder (page 21).
3 Register the Text Crawl command in the playlist.
4 Play the playlist.
The text in the text file is superimposed on the video
picture.
Displaying still pictures
superimposed on the video
picture (Image Overlay)
Caution
• Bitmap files of the type shown below can be displayed
with the Image Overlay function.
Image size : 640 x 360
File format : Windows bitmap format (24-bit)
1 Create the bitmap file to be displayed with the
Image Overlay function.
• On displays with overscan, the edges of the image
may be cut off. If so, position the image so that it fits
within approximately 90 % of the inner area.
2 Store the bitmap file you have created onto an SD
memory card.
Create a picture folder in the SD memory card’s root
directory and store the bitmap file in this folder (page 21).
SEARCH
FRM
/TIME
REPEAT MEMORY RECALL
DISPLAY
PLAY
MODE
NAVI-
GATOR
SETUP RETURN
OUTPUT
RESOLUTION
+
-
STANDBY/ON
