08
54
En
Chapter 8
Schedules
Setting times for
turning the power on
and off automatically
The schedule function allows you to automatically turn
this unit’s power on and off, or play specific files or
playlists on specific dates or days of the week.
Caution
• When using the schedule function, make sure the
time is properly set at Clock Setting (page 46).
• About one minute is required for this unit to start up.
Take this startup time into account when setting
schedules.
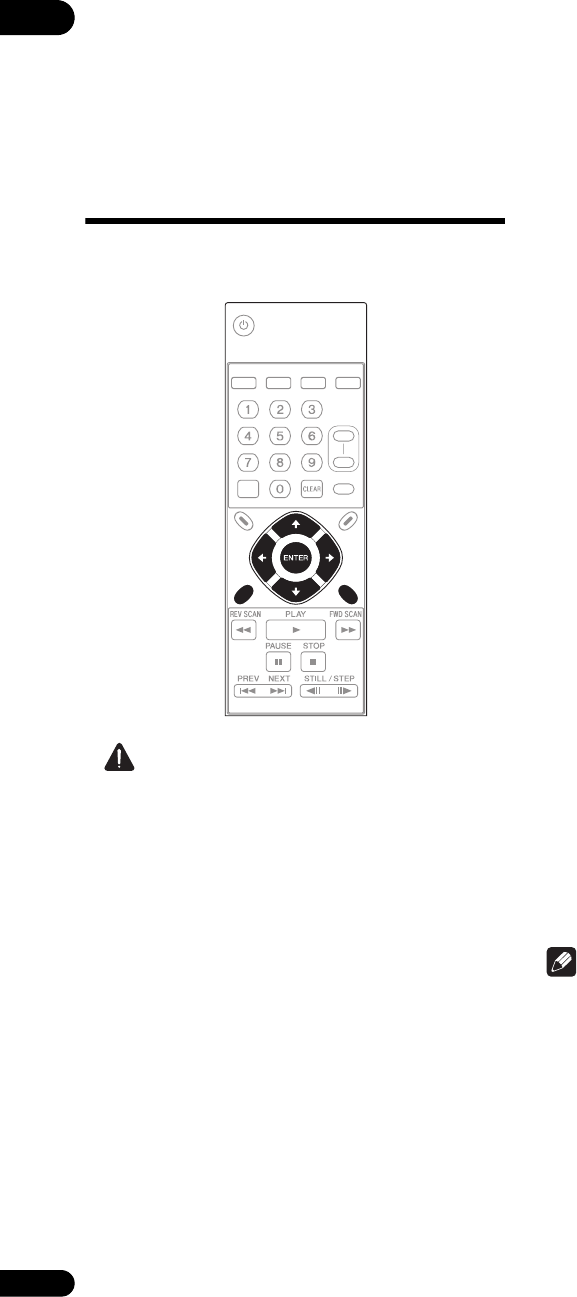
1 Display the SETUP screen.
Press the SETUP button.
2 Select Play Menu Schedule Enable All.
Use the /// buttons to select, then press the
ENTER button.
• The schedule function will not work if Disable All is
selected.
3 Select Type.
Select the method for specifying the day the schedule
function will operate. Use the / buttons to select, then
press the ENTER button.
• Date – Specify the date.
• Day – Specify the day of the week.
4 Set the date or day of the week.
Use the / buttons to select, then press the button.
•If Date is selected at step 3, set the Month and Day.
•If Day is selected at step 3, set the Day (day of the
week).
5 Input the time.
For instructions on inputting, see Inputting numbers
(page 37).
• On – Input the time at which you want the power to
turn on.
• Off – Input the time at which you want the power to
turn off.
6Select Mode.
Select the operation after the power turns on. Use the
/ buttons to select, then press the ENTER button.
• -- – Nothing is played when the power is turned on.
• File Play – The specified file is played.
• Playlist – The specified playlist is played.
To delete a schedule entry
Select the schedule entry you want to delete, then press
the CLEAR button.
To storing schedule entries
When the SETUP or RETURN button is pressed while the
Schedule screen is displayed, a confirmation screen
appears. Press OK then press the ENTER button to store
the entry.
• When the SETUP button has been pressed, the
SETUP screen turns off.
• When the RETURN button has been pressed, the
procedure returns to step 2.
• When NO is selected, the procedure returns to step 2
without storing the entry.
• When CANCEL is selected, the procedure returns to
the previous step.
Note
•The Schedule entry must include at least the Type,
Day and the On or Off time.
• Up to eight entries are displayed on the Schedule
screen. Use the / buttons to switch pages.
• Up to 32 schedule entries can be registered.
SEARCH REPEAT MEMORY RECALL
DISPLAY
PLAY
MODE
NAVI-
GATOR
SETUP RETURN
OUTPUT
RESOLUTION
+
-
STANDBY/ON
FRM
/TIME


