


Digital Video Recorder User Guide
94
Digital Video Recorder User Guide
95
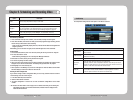
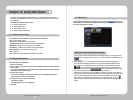
Chapter 12. Using Web Viewer
This chapter provides information about Web Viewer, an online application which serves as a
complementtotheDVR.WithWebViewer,youcanviewvisuallivefeedsandplayrecordeddata
over the Internet.
The information is presented in these sections :
▶12.1SystemRequirements
▶ 12. 2 Starting Web Viewer
▶12.3MonitoringLiveVideo
▶12.4WorkingwithRecordingVideo
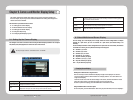
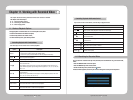
12. 1 System Requirements
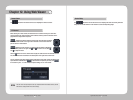
12. 2 Starting Web Viewer
To use Web View, we recommend that your system meet these requirements :
•CPU :
Core2duoE6750orhigher
(IntelPentium4/3.0GHzistheminimumacceptable)
•Operating System : WindowsXPProfessionalorWindowVistaBusiness
•Main Memory : 2GBormore(1GBistheminimumacceptable)
•Video Memory : 512MBormore(128MBistheminimumacceptable)
•Display Resolution : 1280x1024(32bitcolor)orhigher
•HDD : 1GBormore
•Other : DirectX9.0orhigher,WindowsInternetExplorer6.0orhigher
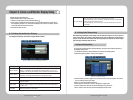
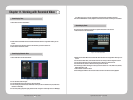
Follow these steps to start Web Viewer :
1. Close all open programs.
2. Open your browser and enter the IP address and port assigned to the DVR, for example: http://xxx.
xxx.x.xxx:4000.
The port value default is 4000. Use this default unless your system administrator has changed the
value, in which case use that new value.
3. The Login screen appears.
- If you do not have ActiveX installed on your computer, you will be prompted to install it. The
ActiveX program is required to run Web Viewer.
4. At the Login screen, enter your ID and password.
- The default ID is admin.
- The default password is 11111111 (eight ones).
5. Click Login.
If you are logging into Web Viewer for the rst time, or if you click the
button at the top
of Web Viewer, you will be directed to the Monitoring Page where you can view the video feeds from
the cameras connected to your product.
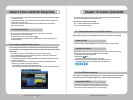
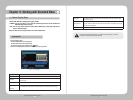
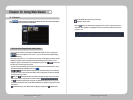
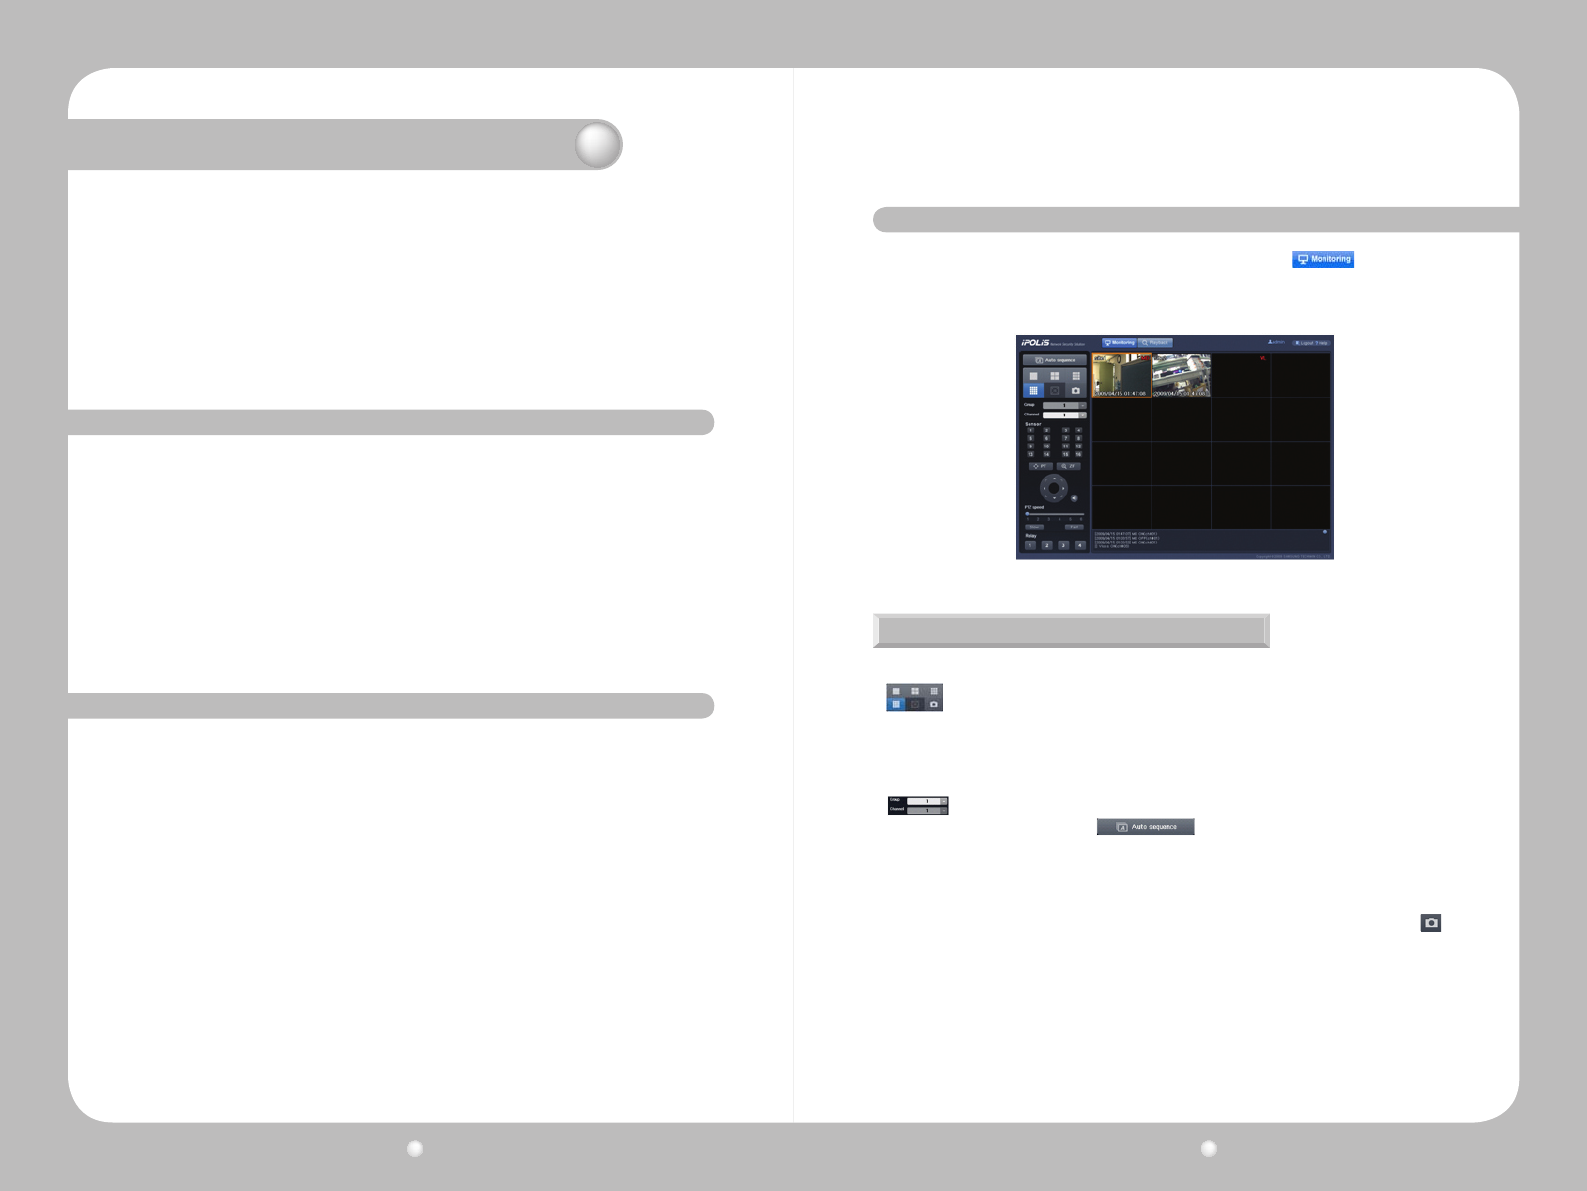
12. 3 Monitoring
Splitting the Screen, Changing Channels & Screen Capture
Youcanselectthenumberofvideofeedstosimultaneouslydisplayon-screenbyclickingthe
buttonintheupperleftofthescreen.1,4,9,and16channelsareavailabletomonitor
simultaneously.
Whendisplaying1,4,9,or16channelsatthesametime,thechannelsaredisplayedin
groupstomanagevisibility.Forexample,ifyouaremonitoring9channelssimultaneously,
thenchannels1~9aredisplayedingroup1,andchannels10~16aredisplayedingroup2.
is used to select the group or channel you want monitoring. To watch video in all
channelsinsequentialorder,click buttontoactivatetheAutoSequenceoption
thatcyclesthroughvideosindifferentchannelsat7-secondintervals.
Thelogsforthecurrentchannelareatthebottomofthescreen:event(MD,V-Loss),mainunit
sensor, and relay event. To check the logs, move the scroll on the right side of the window up or
down.TheeventicondisplaysonthevideoofchannelswhereMD,V-LossandSensoroccur.
When clicking on a video channel, the selected screen is outlined in orange. To save the
selectedscreenasaJPGle,presstheleftbuttononthepagewhiletheorangeoutlineis
present.