


-E20-
Recording Setup
5
4
b
Record Mode
Auto Chapter
Set Clock
Channel Setup
Auto CH Scan
Channel List
Modify Channel
Tuner Select
MTS Select
Press SETUP to exit
b
5
Channel List
CATV 6
CATV 8
CATV 10
CATV 12
CATV 22
CATV 24
CATV 45
CATV 91
CATV 96
Enabled
Enabled
Enabled
Enabled
Enabled
Enabled
Enabled
Enabled
Enabled
Press ENTER to Disable
4, 5, a, b
ENTER
Recording Setup
5
b
Record Mode
Auto Chapter
Set Clock
Channel Setup
Auto CH Scan
Channel List
Modify Channel
Tuner Select
MTS Select
Press SETUP to exit
5
b
Auto Chapter
Set Clock
Channel Setup
Auto CH Scan
Channel List
Modify Channel
Tuner Select
MTS Select
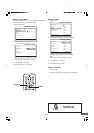
Press Yes to continue Auto Scan
press No to exit
Yes No
5
b
Record Mode
Auto Chapter
Set Clock
Channel Setup
Auto CH Scan
Channel List
Modify Channel
Tuner Select
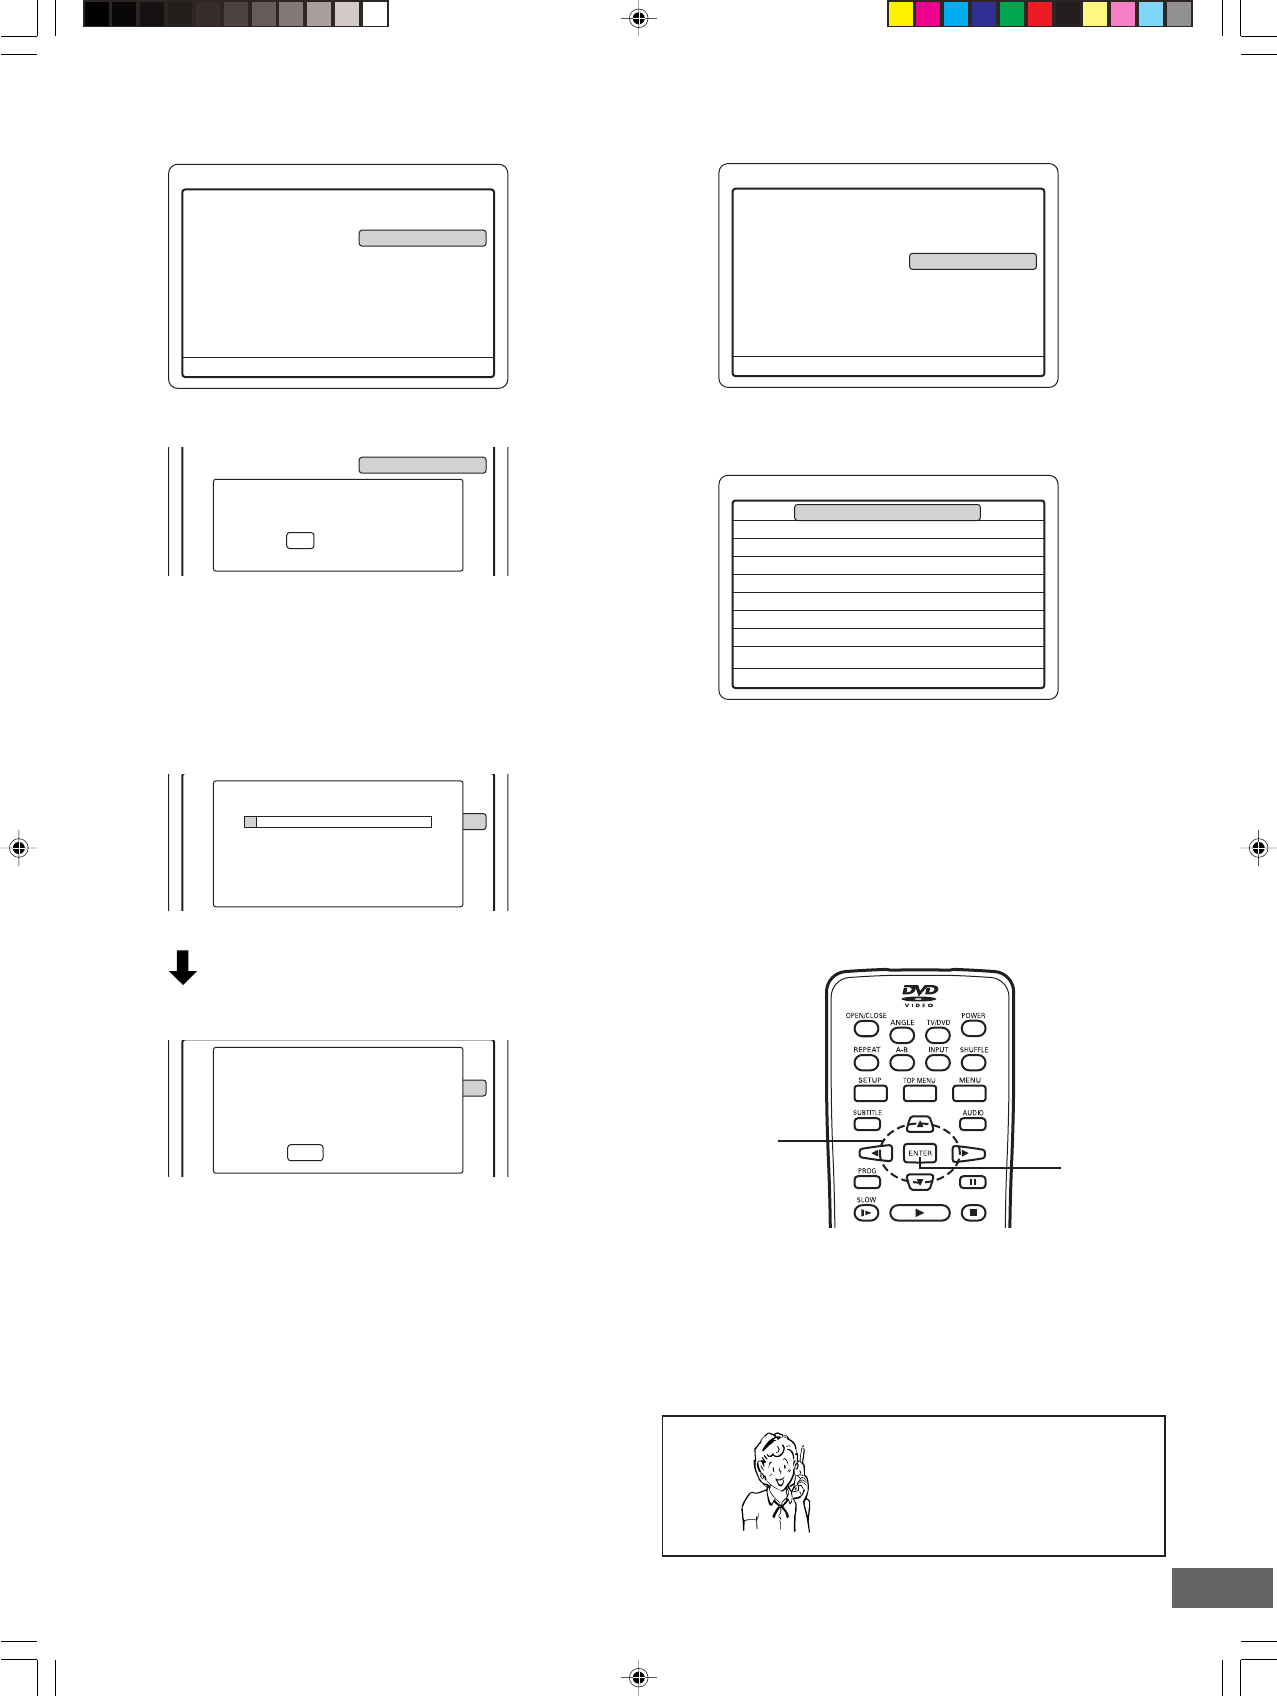
Total channels found (CATV): 009
Do you want to view the available
channels?
Yes No
5
b
Record Mode
Auto Chapter
Set Clock
Channel Setup
Auto CH Scan
Channel List
Modify Channel
Tuner Select
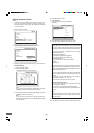
Scanning for Channels (CATV) ...
Total Channels Found: 001
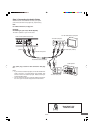
Need help? Call
1-800-813-3435
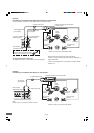
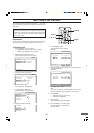
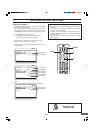
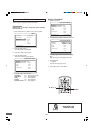
Auto CH Scan
1) Select “Auto CH Scan”.
2) Press [ENTER] (or [a]).
A message screen appears.
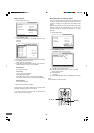
Channel List
1) Select “Channel List”.
2) Press [ENTER] (or [a]).
“Channel List” screen appears.
Example:
Note:
If you want to receive or not receive the channel, press [p]
or [o] to select the channel, and then press [ENTER].
“Enabled” or “Disabled” appears.
3) Press [b] to return to “Recording Setup” screen.
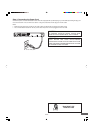
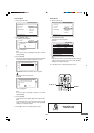
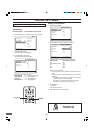
“Yes” is highlighted.
Note:
If you want to cancel it, press [a] to select “No”, and then
press [ENTER].
3) Press [ENTER].
Auto memory channel scanning screen appears and starts
to memorize all the channels available in your area.
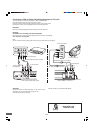
“Yes” is highlighted.
Note:
If you don't want it, press [a] to select “No”, and then
press [ENTER].
4) Press [ENTER].
“Channel List” screen appears. (Refer to the right column.)
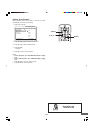
Note:
If you want to receive or not receive the channel, press [p]
or [o] to select the channel, and then press [ENTER].
“Enabled” or “Disabled” appears.
5) Press [b] to return to “Recording Setup” screen.
Please wait until the confirmation screen appears.
The confirmation screen appears.
Example: