-E36-
Record Show
21:30
Tuner
12
SP
20040503
Start
22:00
2004/05/03
End
Verify the settings. Press ENTER to edit.
Done CancelPress SETUP to exit
Record Time
Record Day
Input Source
TV
Record Mode
Title
Record Show
Press SETUP to exit
Press to change settings.
4
5
5
4
SPQuality Done
Back
Record Show
21:30
Tuner
12
HQ
20040503
Start
22:00
2004/05/03
End
Verify the settings. Press ENTER to edit.
Done CancelPress SETUP to exit
Record Time
Record Day
Input Source
TV
Record Mode
Title
Record Show
Press SETUP to exit
Press ENTER to edit. The title is generated
based on the date you set.
20040503Title Done
Back
Record Show
Press SETUP to exit
New Title :
Delete Clear
0 123456789
abcdefghij
klmnopqrst
uvwxyz
Done Back
Space
Record Show
21:30
Tuner
12
HQ
20040503
Start
22:00
2004/05/03
End
Verify the settings. Press ENTER to edit.
Done CancelPress SETUP to exit
Record Time
Record Day
Input Source
TV
Record Mode
Title
Setting “Record Mode”
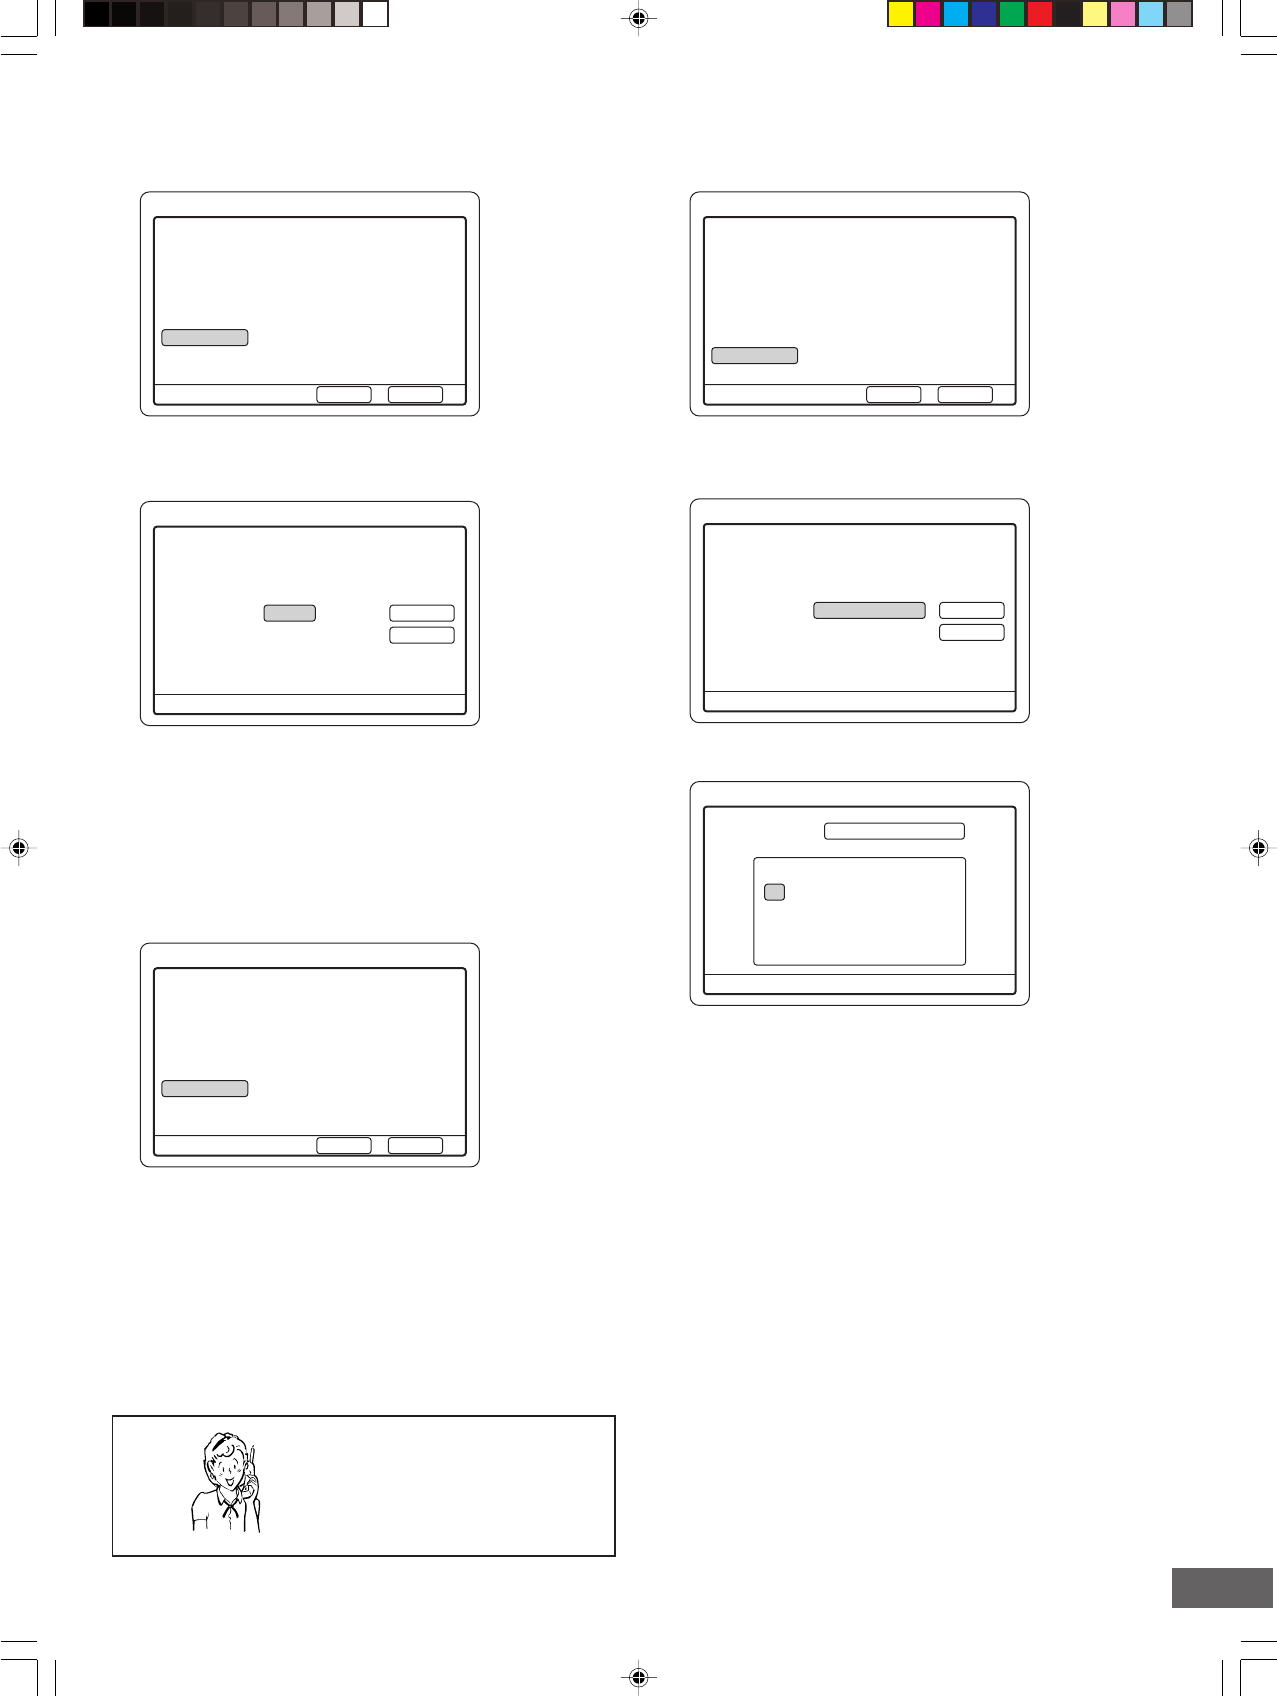
1. Select “Record Mode”.
Example:
3. Press [o] or [p] to select “HQ”, “SP”, “LP”, “EP” or “EP+”.
(Please refer to “Setting Record Mode” on page E23.)
4. Press [ENTER] (or [a]) to select “Done”.
5. Press [ENTER].
Record mode is set.
The screen returns.
Example:
Setting “Title”
1. Select “Title”.
Example:
2. Press [ENTER].
“Quality” screen appears.
Example:
Need help? Call
1-800-813-3435
2. Press [ENTER].
“Title” screen appears.
Example:
3. Press [ENTER] again.
“New Title” screen appears.
4. Press the directional arrow button (a, b, o, p) to select the
letter or number.
5. Press [ENTER].
6. Repeat steps 4 and 5 to make a title name (up to 10
characters).
Note:
If you make a mistake, select “Delete” or “Clear”, and press
[ENTER].
Delete:
Every time [ENTER] is pressed, the last character of the
title name is deleted.
Clear:
[ENTER] is pressed, the title name is cleared at once.
7. Press [p] to select “Done”.
