


-E30-
Cut off Cut off
a
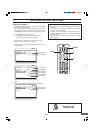
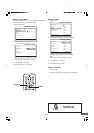
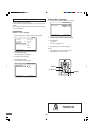
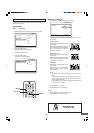
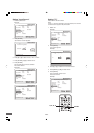
Video Setup
TV Display 4:3 PS
4:3 LB
16:9 Wide
Press SETUP to exit
Current selection
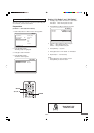
Video Setup
5
4
b
TV Display 4:3 PS
4:3 LB
16:9 Wide
Press SETUP to exit
Current selection
a
4
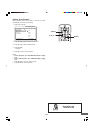
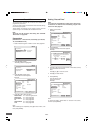
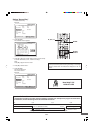
Menu
Play/Edit Disc
Record Program
Setup Menu
Press SETUP to exit
Recording Setup
DVD Control
General
Video
Audio
AV Select
SETUP
4
, 5, a, b
ENTER
In this section, select the playback picture size according to the
aspect ratio of the TV,
Preparations
(Video ---> TV Display)
1. Select “Setup Menu” in “Menu” screen. See page E22.
Video
2. Press [ENTER] (or [a]).
“Recording Setup” is highlighted.
3. Press [p] to select “Video”.
4. Press [ENTER] (or [a]).
“Video Setup” screen appears.
Setting “TV Display”
1. Press [ENTER] (or [a]) to select the sub menu.
Need help? Call
1-800-813-3435
2. Press [p] or [o] to select the appropriate setting for your TV
screen size.
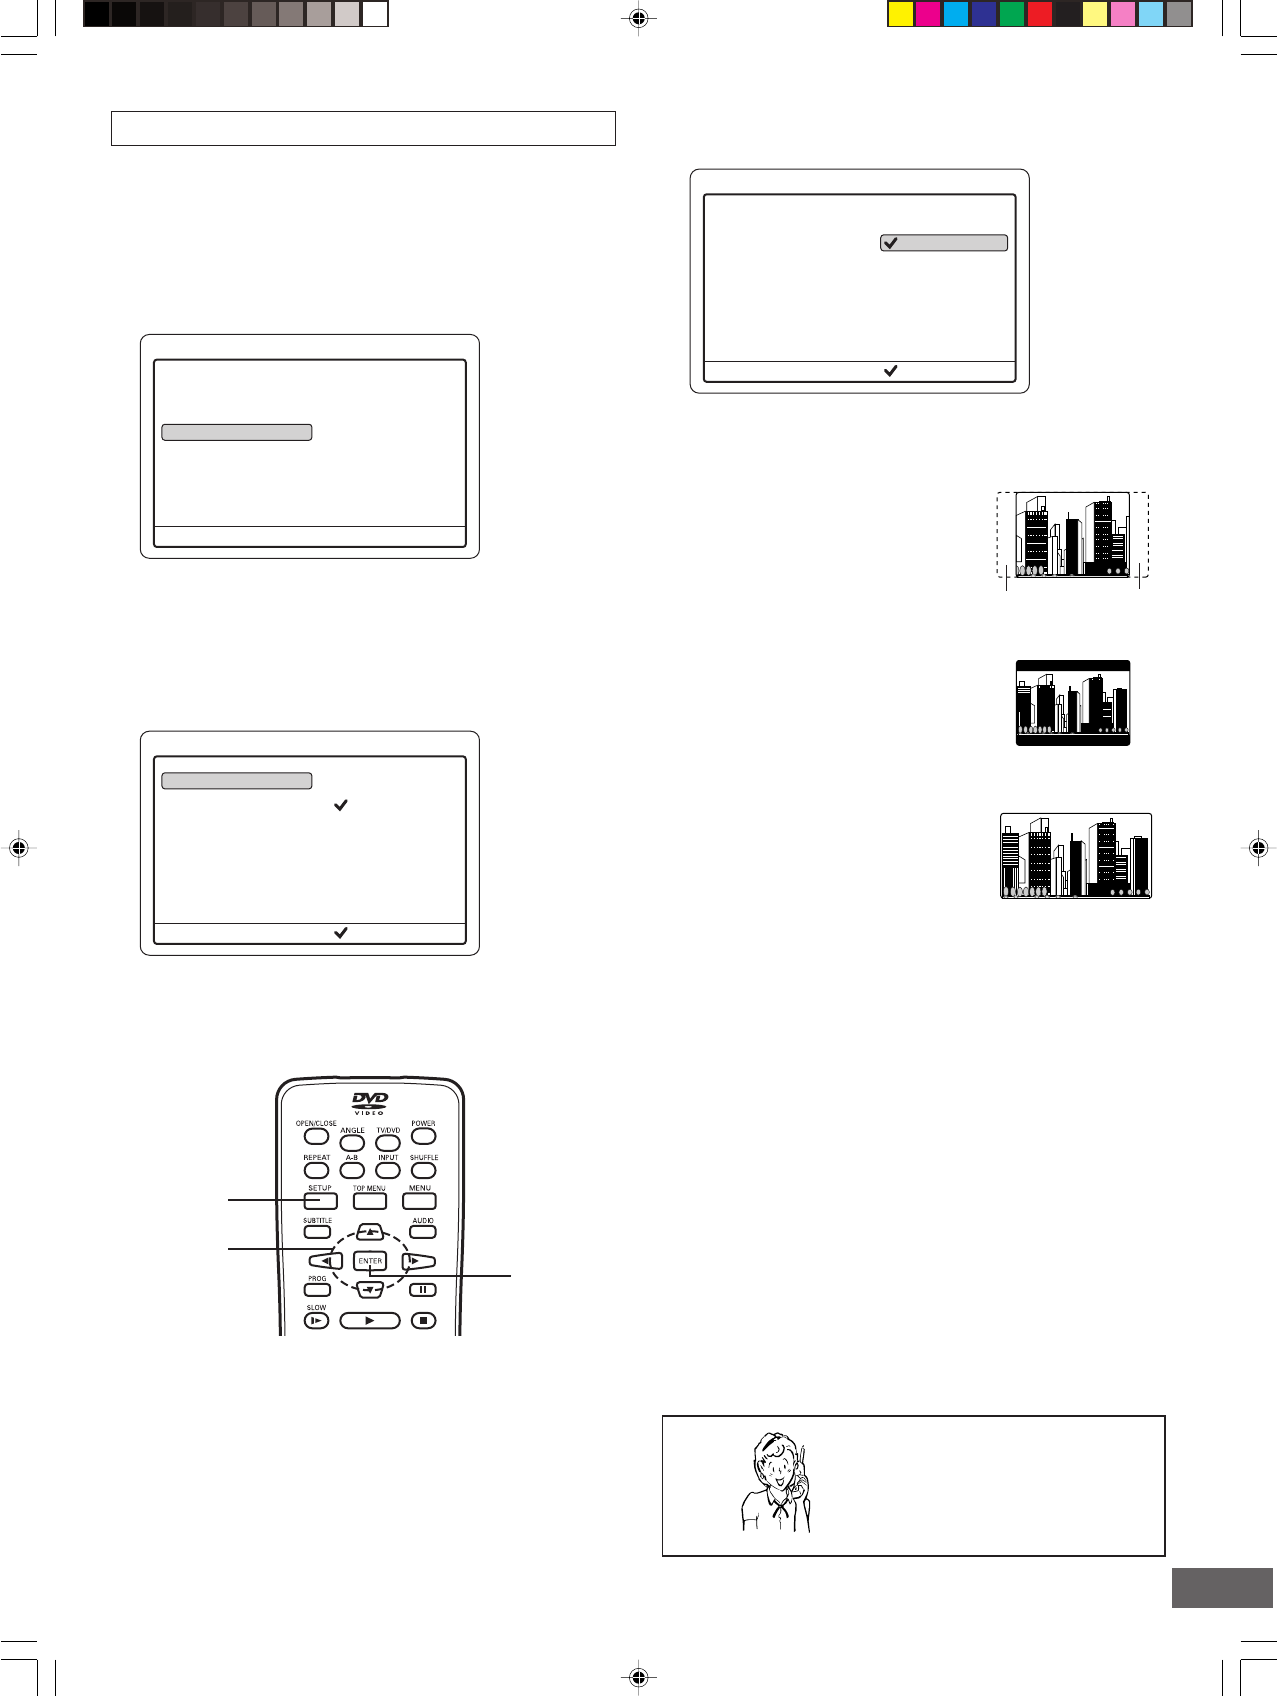
4:3 PS (Panscan):
Select when a conventional TV set
is connected.
When the wide screen disc is played
back, it displays pictures cropped to
fill to your TV screen. The left and
right edges are cut off.
4:3 LB (Letterbox):
Select when a conventional TV set
is connected.
When the wide screen disc is played
back, the black bands appear at the
top and bottom of screen.
16:9 Wide:
Select when a wide screen TV set
is connected.
Played in “FULL” size. (Setting the
wide screen TV to “FULL” mode is
also necessary.)
Notes:
• The screen size may differ depending on the DVD video
discs.
• If you select 16:9 Wide to get rid of the black bands on
screen when wide screen disc is played back, picture
may be slightly distorted.
• In some discs, even if 4:3 PS is selected, the black bands
may remain on the screen.
3. Press [ENTER]. “√” appears.
4. Press [b] to return to “TV Display”.
Notes:
• Press [b] again to return to “Menu” screen.
• Press [SETUP] to close the screen.