


-E48-
3
4
, 5, a, b
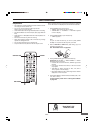
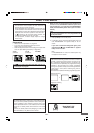
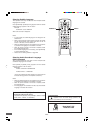
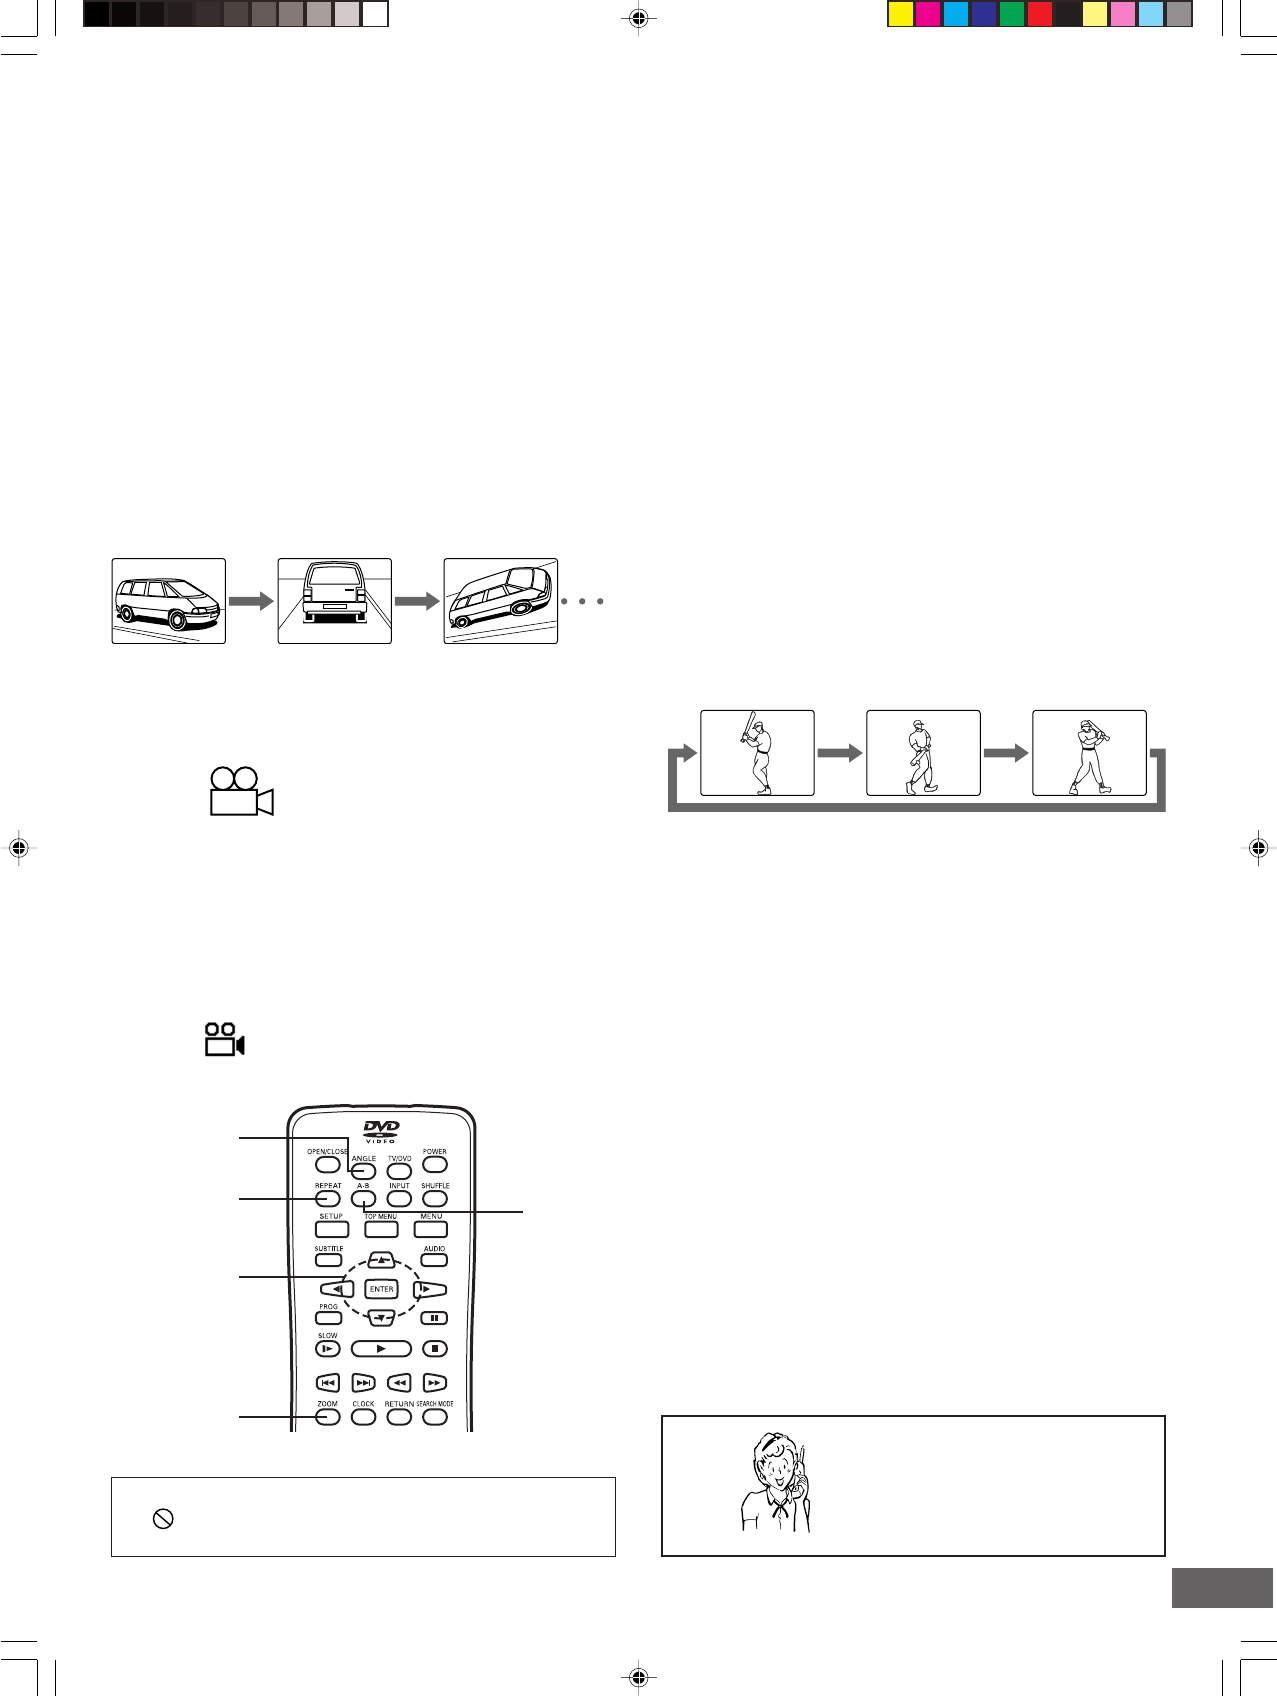
ANGLE
A-B
ZOOM
REPEAT
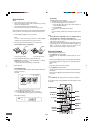
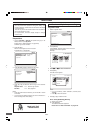
Picture Zoom
Press [ZOOM] during normal/slow playback or still picture.
The central part of the picture is magnified, and “ZOOM X 1.5”
appears on the TV screen.
• Each time you press [ZOOM], the zoom mode will be changed
as follows:
ZOOM X 1.5 v ZOOM X 2 v ZOOM X 3 v ZOOM OFF
• Press [o], [a], [p] or [b] to change the zoom point.
To return to the original screen, select “ZOOM OFF”.
Note:
Picture Zoom may not work on some discs.
Viewing from a Desired Camera Angle
(Multi-Angle) [DVD-Video]
3
Important Note:
If “ ” appears on the TV screen during operation, the
operation is prohibited by the unit or the disc.
Need help? Call
1-800-813-3435
Repeat Playback
Press [REPEAT] during playback (or programmed playback) of
the title (or track) you want to repeat.
Each time the button is pressed, the repeat mode will be changed
as follows.
[DVD-Video] [DVD+RW] [DVD+R]
CHAPTER REPEAT ON/REP 1:
Repeat of the chapter being played
TITLE REPEAT ON/REP ALL:
Repeat of the title being played
REPEAT OFF:
Normal playback mode
[CD]
REP-ONE/REP 1:
Repeat of the track being played
REP-ALL/REP ALL:
Repeat all tracks
REPEAT OFF:
Normal playback mode
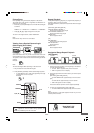
Designated Range Repeat Playback
(A-B Repeat)
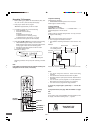
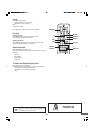
Point A Point B
1. Press [A-B] during playback at the beginning of the section
you want to repeat (Point A).
• “A TO B SET A” appears briefly on the TV screen.
• “REP A” appears on the FL display.
2. Press [A-B] again at the end of the section you want to repeat
(Point B).
[DVD-Video] [DVD+RW] [DVD+R]
“A TO B REPEAT ON” appears briefly on the TV screen.
[CD]
“A TO B SET B” appears briefly on the TV screen.
• “REP A-B” appears on the FL display.
The section between points A and B is played repeatedly.
3. To return to normal playback, press [A-B] again.
• “A TO B CANCELLED” appears briefly on the TV screen.
Note:
Repeat playback or A-B repeat playback mode may not work
correctly with some discs.
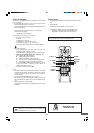
Some DVD-Video discs may contain scenes which have been
shot simultaneously from a number of different camera angles.
The jacket or case of discs that are recorded with angles will be
marked.
Example:
Note:
The recorded angles differ depending on the disc used.
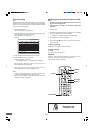
1. Play the disc that is recorded with angles.
2. Press [ANGLE] repeatedly until the desired angle appears.
• If “Angle Mark” is set to “ON” (see page E26), the angle
mark apperas on the TV screen.
Example: