24
Record a Program That You Are Watching Live
To record a program that
you are watching live,
make sure that you tune
to the channel when the
program begins. This
ensures that you record
the entire program from
its beginning. Otherwise,
you’ll record only part of
the program.
Before recording the
program, decide how
long you want to save
it, and then follow
these steps.
To save the program Follow the steps in
Using the default “Recording With the Default Save
Save Time setting Time Setting,” shown on this page.
1, 2, 7, or 14 days, “Recording Without the Default Save
or until you erase it Time Setting,” shown on the next page.
SAVE TIME
2 Days
7 Days
14 Days
Until erased
1 Day
Save Time Setting
"The Jungle Book"
USA (Ch 67)
Wed 6/18 7:00-9:00pm
Record: 1 Episode
Save: 14 Days
Record Options Cancel
Confirm Recording
Press to record this program
or press for more recording options.
Press Options
A
to change
the default Save Time setting.
Press Select
to record with the
default Save Time
setting.
The default Save
Time appears here
in the Information
area.
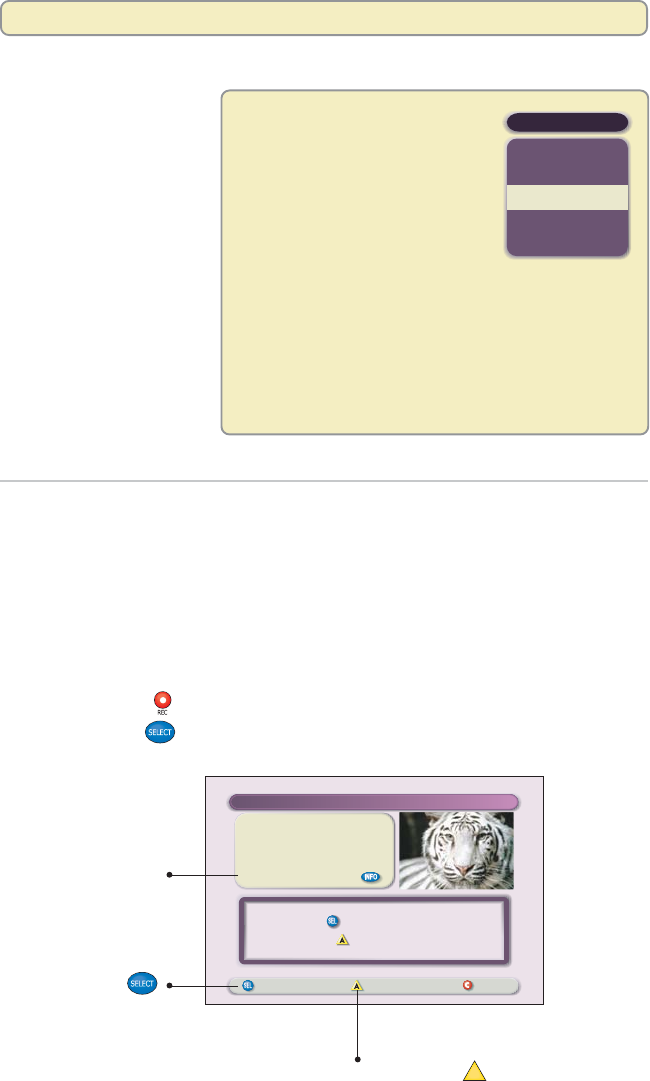
Recording With the Default Save Time Setting
If you want to record a program that you are watching and save it according
to your default Save Time setting, follow these steps:
1. Press Record
. The Confirm Recording screen appears.
2. Press Select
. The Explorer DVR records the program using the
default Save Time setting.
When the Explorer DVR leaves
the factory, its default Save Time
setting is set at 14 days. Using
this setting, the Explorer DVR
automatically saves each recording
for 14 days. At the end of 14 days,
the Explorer DVR erases the
recording to make space for other
programs you want to record. You can change the
default setting from 14 days to 1, 2, or 7 days, or you
can change the default setting to save recordings until
you erase them.
To change the default Save Time setting from the
factory-set time of 14 days, see “Change the Default
Save Time Setting for Future Recordings” on page 39.
Record and Play Back Programs
