44
Adjust the Picture Display for HDTVs
Change the Darkness of Bars Used in Picture Displays
As illustrated on page 5, the 8000HD automatically adds bars to certain types of
program formats to improve the picture’s display.
If you decide to use these automatic settings to watch programs, you can change
the darkness of the bars from Light (the default setting) to Medium or Dark. To
change the darkness of the bars that the 8000HD uses, follow these steps:
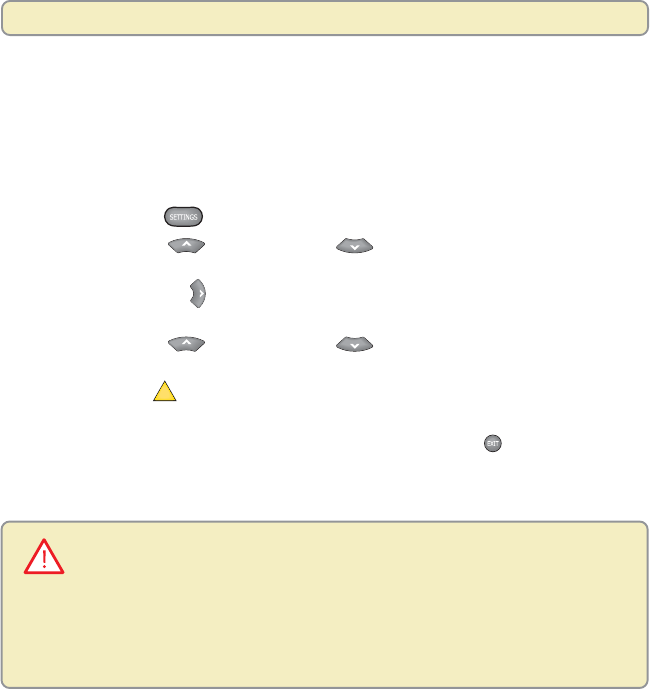
1. Press Settings
twice. The General Settings menu appears.
2. Press Move Up or Move Down to highlight the option Set:TV
Borders.
3. Press Move Right
to display the Borders options Light, Medium, and
Dark.
4. Press Move Up
or Move Down to highlight the shade you want
to apply to the bars (Light, Medium, or Dark).
5. Press Accept
A
to have the 8000HD accept this setting. The 8000HD
displays the Set:TV Borders option with your selection shown.
6. To exit from this screen and return to live TV, press Exit
.
Caution: When displayed for too long, any fixed image, such as station logos,
Pillarbox bars, or Letterbox bars, can reduce the ability of HDTVs to display colors
evenly across the screen. When this occurs, the image becomes permanently burned
into the screen leaving a faint image of it on the screen. This occurrence is known as
“burn in.” For ways to reduce the effects of burn in, refer to the user’s guide that came
with your HDTV.


