


58
To check the detailed settings for the
selected preset, press DISPLAY.
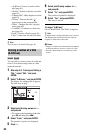
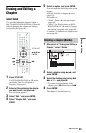
4 Press SYSTEM MENU to exit.
To create your own setting
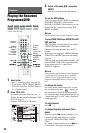
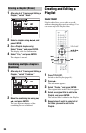
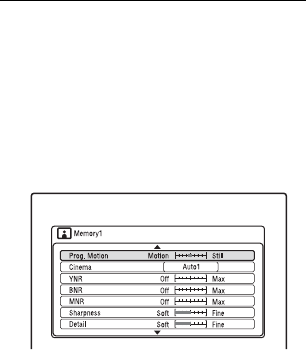
1 Select “Memory1,” “Memory2,” or
“Memory3” in step 3.
2 Select “Detailed Settings,” and press
ENTER.
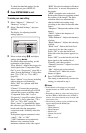
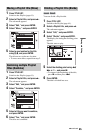
The display for adjusting detailed
settings appears.
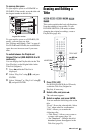
3 Select an item using M/m, and adjust
settings using </,.
For details about each setting, see the
explanation of the display.
“Prog. Motion”: Adjusts the progressive
video signal when “Component Video
Out” is set to “Progressive” (page 80) or
when “Screen Resolution” is set to other
than “720 x 576i” (or “720 x 480i”)
(page 90).
Select “Motion” for a picture, including
subjects that move dynamically.
Select “Still” for a picture with little
movement.
“Cinema”: Converts the progressive
video signal to match the type of DVD
software that you are watching when
“Component Video Out” is set to
“Progressive” (page 80) or when “Screen
Resolution” is set to other than “720 x
576i” (or “720 x 480i”) (page 90).
Select “Auto1” to automatically detect
the software type (Film-based or Video-
based) and select the appropriate
conversion mode. Normally select this
position.
If the picture appears unnatural, select
“Auto2,” “On,” or “Off.”
“YNR” (luminance noise reduction):
Reduces noise contained in the
luminance element of the video signal.
“BNR” (block noise reduction): Reduces
“block noise” or mosaic-like patterns in
the picture.
“MNR” (mosquito noise reduction):
Reduces the faint noise appearing around
the outlines of the images. The noise
reduction effects are automatically
adjusted within each setting range
according to the video bit rate and other
factors.
“Sharpness”: Sharpens the outlines of the
images.
“Detail”: Adjusts the sharpness of
images outlines.
“White Enhancer”: Adjusts the intensity
of white.
“Black Enhancer”: Adjusts the intensity
of black.
“Black Level”: Selects the black level
(setup level) for the video signals.
Select “ON” to raise the black level.
Select this when the picture appears too
dark.
Select “OFF” to set the black level of the
input signals to the standard level.
Normally, select this position.
“Gamma Correction”: Adjusts how dark
areas look.
“Hue”: Adjusts the colour balance.
“Chroma Level”: Makes the colours
deeper or lighter.
4 Press SYSTEM MENU to exit.
The setting is automatically stored as the
setting you selected in step 1.
b Notes
• If the outlines of the images on your screen
become blurred, set “BNR” and/or “MNR” to
“Off.”
• Depending on the disc or the scene being played,
the above BNR or MNR effects may be hard to
discern. Also, these functions may not work with
some screen sizes.
• The following settings are not available for the
signals output from the HDMI jack.
– “Sharpness”
– “White Enhancer”
– “Black Enhancer”
– “Black Level”
– “Gamma Correction”
–“Hue”
–“Chroma Level”