24CLEARVU9
SVAT ELECTRONICS
now you can see
DISPLAY MENU
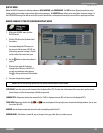
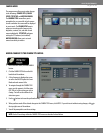
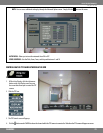
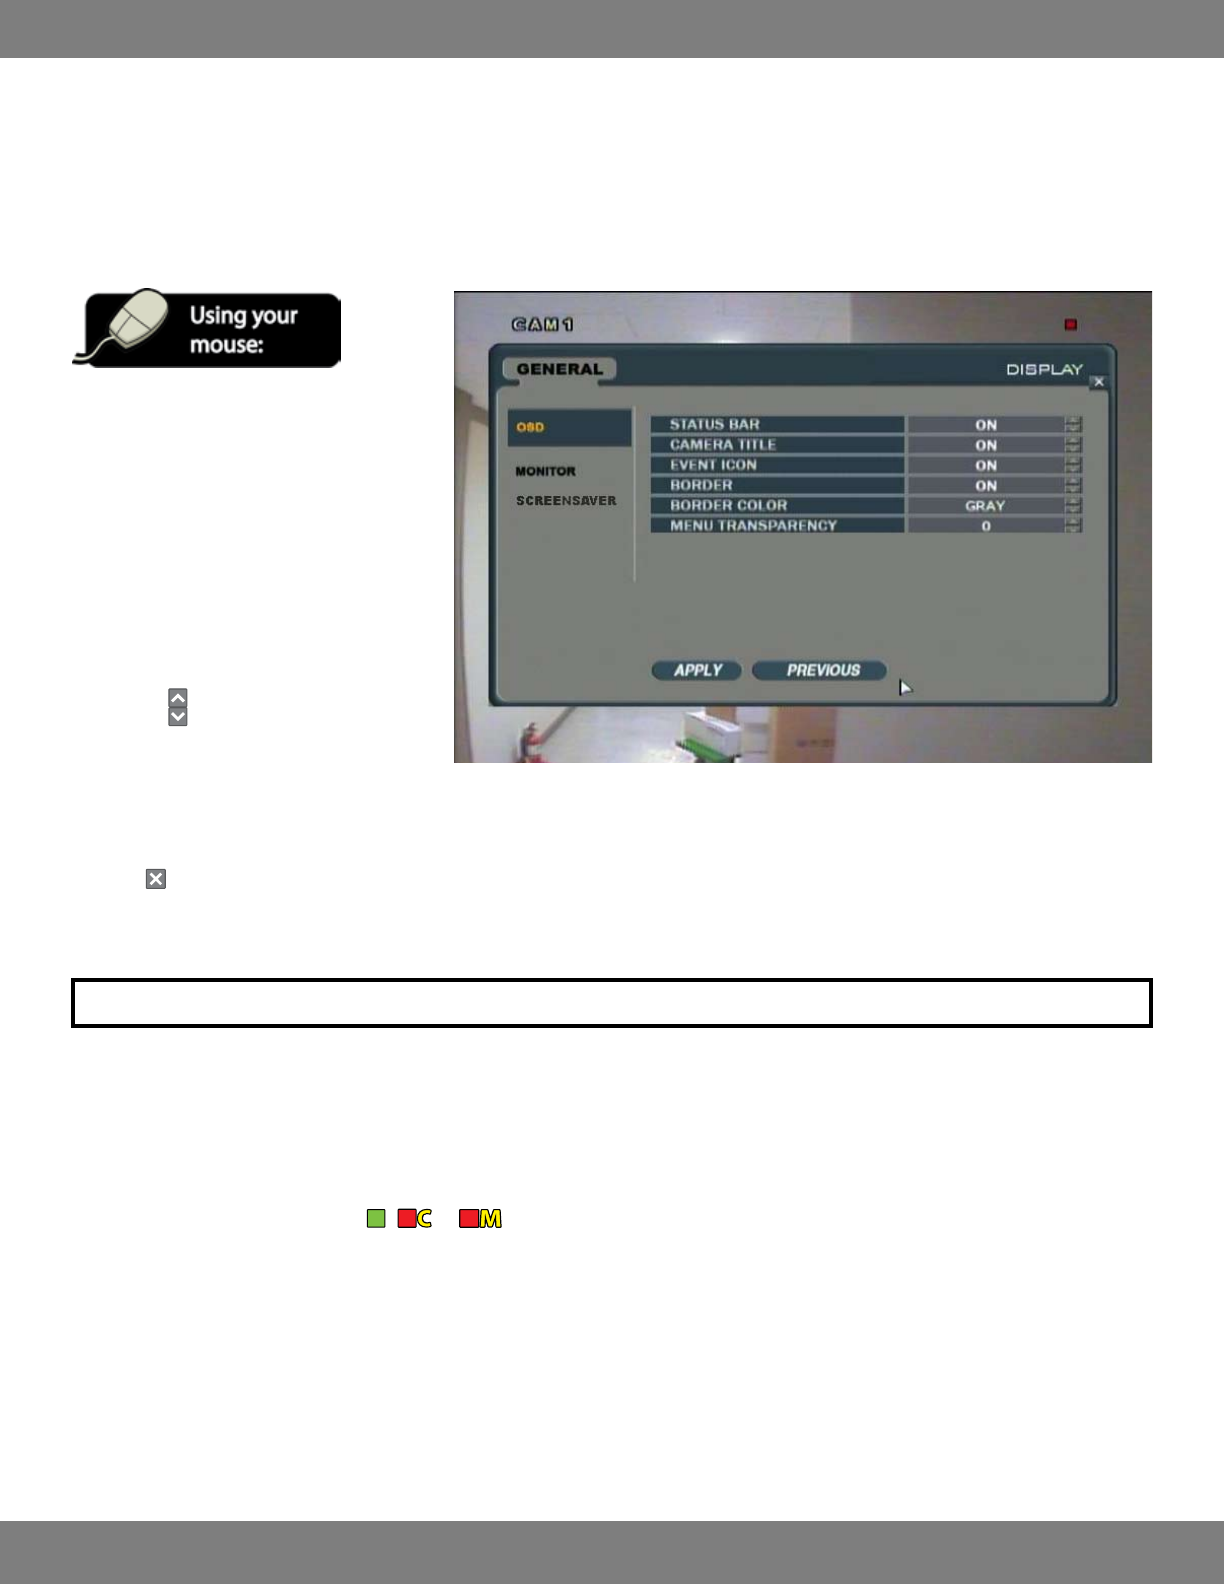
Within the DISPLAY menu are the following submenus: OSD, MONITOR, and SCREENSAVER. The OSD (Onscreen Display) menu allows you to
control general screen settings such as camera titles and transparencies. The MONITOR menu allows you to control alarm and event settings. In
the SCREENSAVER menu you are able to set the LCD screen to turn o after a certain period of inactivity or to turn o for a specic period of time.
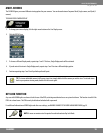
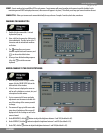
MAKING CHANGES TO THE OSD (ONSCREEN DISPLAY) MENU
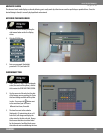
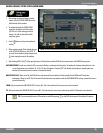
1. While in the GENERAL menu, click the
DISPLAY button.
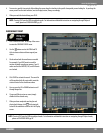
2. Click the OSD title on the left hand side of
the window.
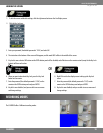
3. To navigate through the OSD menu, use
the mouse to click the status (OFF, ON, etc)
of the setting you wish to change. You will
see the outline of the status turn green.
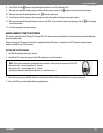
4. Use the
buttons to choose the preferred
setting.
5. When you have made all the desired
changes to the OSD menu, click APPLY. If
you wish to exit without saving changes,
click in the top right corner of the window.
6. Save your settings when prompted.
NOTE: Each of the settings within the OSD menu are described in detail below.
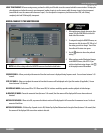
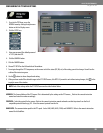
STATUS BAR: Turns the status bar at the bottom of the live display ON or OFF. The status bar at the bottom of the screen shows you the current
date and time, as well as the percentage of hard drive space used.
CAMERA TITLE: Determines whether the camera title (i.e. CAM1) is displayed onscreen (ON) or if there is no title displayed (OFF).
EVENT ICON: Determines whether the , , or icons are displayed at the top right corner of each channel display window. You can turn
these icons ON of OFF.
BORDER: Turn the border around each channel in multi screen display mode ON or OFF.
BORDER COLOR: If the border is turned ON, you can change it to be gray, white, blue, red, yellow, or green.


