66CLEARVU9
SVAT ELECTRONICS
now you can see
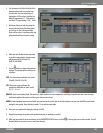
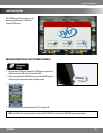
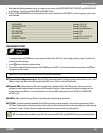
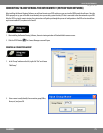
7. Write down the following information (exactly as it appears on your screen) for the DVR IP ADDRESS, NET CLIENT PORT, and WEB SERVER PORT
in the box below. You will write the DDNS SERVER and EXTERNAL IP later.
8. Click the SYSTEM MANAGEMENT title on the left hand side of the screen. Write down the MAC ADDRESS (exactly as it appears on your screen)
in the box below.
DVR IP ADDRESS: _________________________________________________ (example) 114.74.18.1
GATEWAY (ROUTER IP): ______________________________________________ (example) 192.168.0.1
DDNS SERVER: ___________________________________________________ (example) yourlink.dvrlink.net
NET CLIENT PORT: _________________________________________________ (example) 6100
WEB SERVER PORT: ________________________________________________ (example) 80
MAC ADDRESS: __________________________________________________ (example) 00-12-3A-45-67-89
EXTERNAL IP ADDRESS: _____________________________________________ (example) 14.14.243.113
CONFIGURING SETTINGS
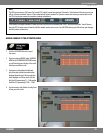
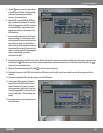
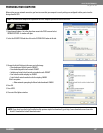
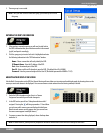
1. To navigate through the NETWORK menu, use the mouse to click the status (OFF, ON, etc) of the setting you wish to change. You will see the
outline of the status turn green.
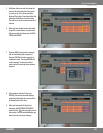
2. Use the
buttons to choose the preferred setting.
3. When you have made all the desired changes to the NETWORK menu, click APPLY. If you wish to exit without saving changes, click in the
top right corner of the window.
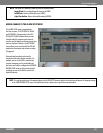
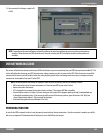
NOTE: Each of the settings within the NETWORK menu are described in detail below.
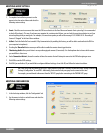
DHCP (Dynamic Host Conguration Protocol): Allows the DVR to automatically obtain an IP address from the connected router or server. The IP
Address, Gateway, and Subnet mask will be assigned by the DHCP server. This box is checked (ON) by Default.
DDNS (Dynamic DNS): When enabled, the DVR can be accessed through a xed website URL. With DDNS you log in with a user name and
password to a specic website instead of accessing the DVR through an IP address. Simply navigate to the website to congure your free
account and view your DVR online. For more information on accessing the DDNS website, please refer to SETTING UP A DYNAMIC DDNS
ACCOUNT, pg.87.
WEB SERVICE: When enabled, allows your DVR to be viewed through an Internet Explorer web browser.
MAX TX SPEED: Species the maximum bandwidth that the DVR can use during a remote connection. You can select speeds between 56 kbps –
8192 kbps. A higher number will result in smoother video, but will slow down the network and result in longer loading times while accessing
the Internet. A smaller TX speed will result in choppier video, but will not create as much of a lag on the network.
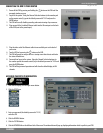
TIP: For complete online accessibility of your DVR, make sure that the DHCP, DDNS, and WEB SERVICE boxes are checked and enabled.


