


84
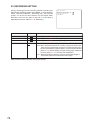
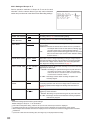
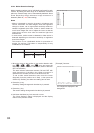
CAMERA 1 MOTION SETTING
SENS LEVEL 1(HIGH) [CHANGR:+]
MOTION ACT DETECT&IN1 [CHANGR:
-
]
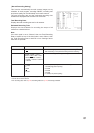
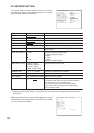
MOT ION SETTI NG
CAM1
CAM2
CAM3
CAM4
CAM5
CAM6
CAM7
CAM8
CAM9
CAM10
CAM11
CAM12
CAM13
CAM14
CAM15
CAM16
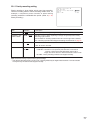
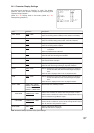
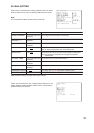
Item Selection Description
MOTION SETTING
16-channel
Set the motion detection for each camera.
9-channel
Camera 1
-
16 Camera 1
-
9
[ Example ] Camera1
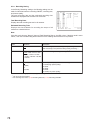
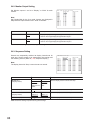
23.2.4. Motion Detection Settings
Motion detection settings can be individually performed for each
camera. By setting the area range to be detected, movement
within the camera image can be automatically detected. Alarm
Event Recordings begin whenever image movement is
detected. (Refer to p. 83; Event setting)
Notes
• Motion is detected by sensing changes in brightness and
contour movement. For dark images, since the brightness
change is minute, set an appropriate sensitivity relative to
camera's brightness level. Also, motion is hard to detect for
out-of-focus images. Be sure to adjust the focus so that the
image does not blur even when the ambient light level
becomes low.
• In some cases, motion cannot be detected or false motion is
detected depending on the motion sensitivity or brightness
level of the images.
This function is not a dedicated device for prevention of
burglar, fire and etc. TOA takes no responsibility for any
incidental loss or accidents.
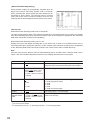
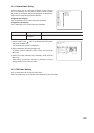
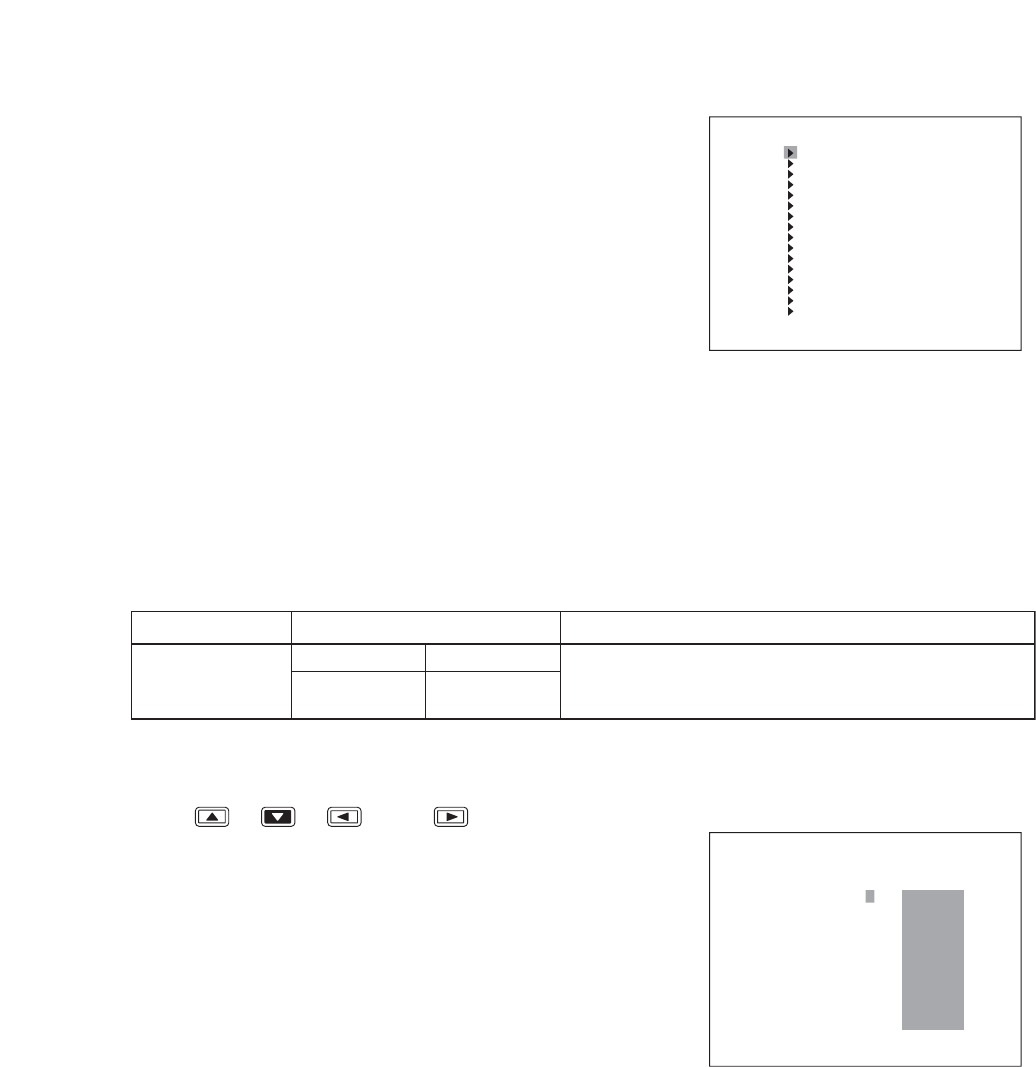
1. Move the cursor to the position to set motion detection with
the [ ], [ ], [ ], and [ ] keys and press the
Menu key. (Motion detection ON: Green, Motion detection
OFF: No indication)
The area indicator alternates between ON and OFF with
each depression of the Menu key. When movement is
detected in the set area, the color of the block turns red.
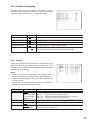
To set a wider motion detection area, move the cursor
diagonally from the position set in Step 1, then press the
Search key. Similarly, the wider area setting can be reset.
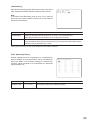
2. Press the (+) key.
Sensitivity settings change each time the key is pressed.
3. Press the (-) key.
The motion settings change each time the key is pressed.
4. Hold down the Menu key for 2 seconds or more.
The “Save Settings” dialog is displayed and the display
returns to the previous screen.
Live images are displayed in the
background.