FUSION DVR Digital Recording and Transmission System
9–2
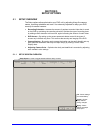
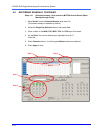
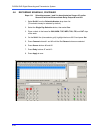
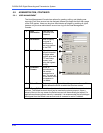
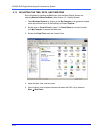
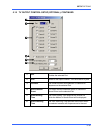
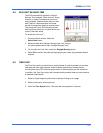
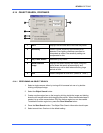
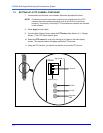
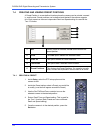
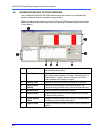
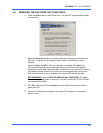
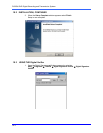
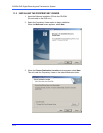
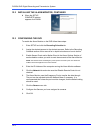
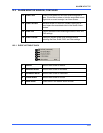
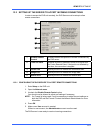
4. Select the Internet Protocol (TCP/IP) by clicking on it once. Once it is highlighted,
select the Properties button. The Internet Protocol (TCP/IP) Properties window
opens.
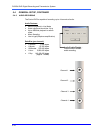
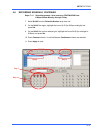
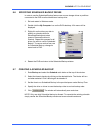
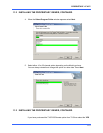
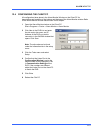
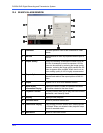
5. Select Use the Following IP Address option. Enter the IP Address and Subnet
mask appropriate for your network. It is recommended to contact your Network
Administrator for appropriate IP settings.
Example: Common IP addresses are 10.0.0.25
Common Subnet masks are 255.255.255.0
NOTE: In order to connect to the DVR unit through a remote LAN connection, a static
IP address must be assigned. If the network assigns the IP address
automatically (DHCP), contact the Network Administrator for help assigning a
static IP address.
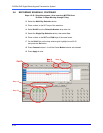
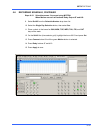
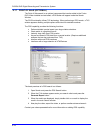
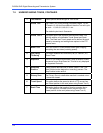
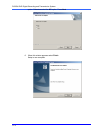
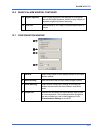
6. If the network requires specifying your DNS information, enter it now by selecting
the appropriate DNS options.
7. When finished configuring the TCP/IP settings close the Internet Protocol
(TCP/IP) Properties window by clicking the OK button.1
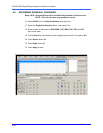
8. Close the Local Area Connection Properties window by clicking the OK button.
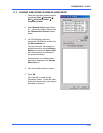
9. It may be required to restart Windows for the changes to take effect.
Restart windows by selecting START on the desktop and selecting Restart.
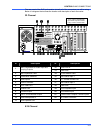
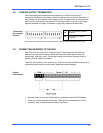
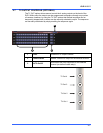
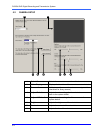
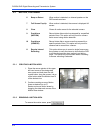
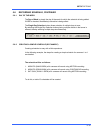
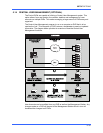
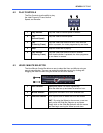
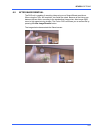
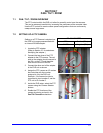
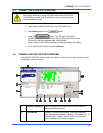
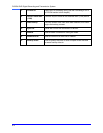
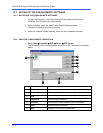
9.2.2 CONNECTING THE DVR TO A LAN
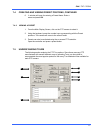
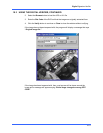
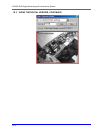
Using a standard RJ-45 cable, plug one end into a Hub (or Network Jack ultimately
connected to a hub) and the other end into the DVR unit.