44
7. Setting the functions (Main menu)
Function
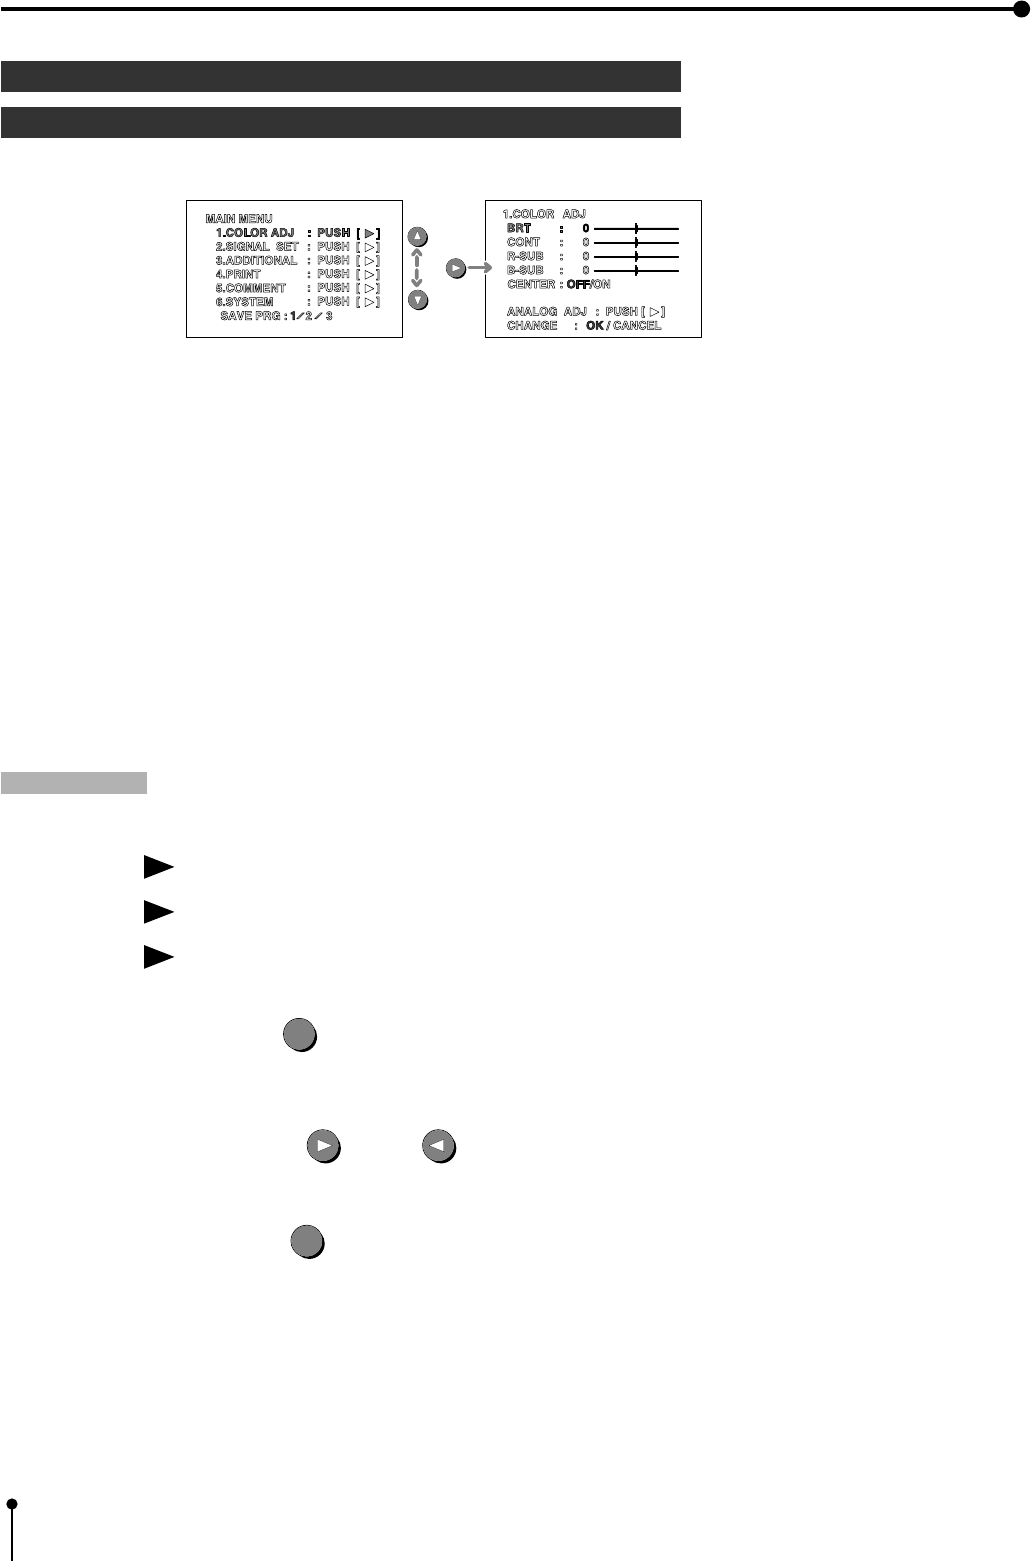
1 MAIN MENU
Open the sub-menu from Memory menu.
SAVE PRG
This menu is shown in the lowest position on the “MAIN MENU” .
Function
Storing the setting value on the menu 1-6.
Store the setting of function on the sub menu 1-6 to program 1,2 and 3.
Operation
The function is set and then MAIN MENU is displayed.
1. Press the SET
SET
button.
• “SAVE PRG” is displayed on the LCD display indicated in blue.
2. Press the RIGHT
or LEFT button to select the memory bank number 1, 2 or 3.
3. Press the SET
SET
button to store the setting to the selected program number.
, The set conditions display and the source image are displayed.
, Program is overlaid, recommend that the previous program number is not selected in step 2.
,
Press the program button to select the memory 1,2, or 3 . The display according to each setting is displayed.
The setting cannot be changed during printing.
, The image can be printed according to the selected memory program.
1 Items and setting displayed are shown below.
1. COLOR ADJ .......... Adjust color of printing image
2. SIGNAL SET .......... Selecting the input signal, reverse of odd and even field lines, filter,etc.
3. ADDITIONAL .......... Setting the number of images in a print. strobe print, photo print
4. PRINT.......................Selecting comment printing method, Adjusting image outline, Adjusting print image density
mirror print (left/ right inversed)
5. COMMENT ............. Making a comment
6. SYSTEM ................. Setting print area and print size, turn the memory page, switching output of the input signal
SAVE PRG .................. Storing the above setting in 3 kind of memories.
e.g. Monitor display 1. COLOR ADJ → B R T


