24
Virgin mode
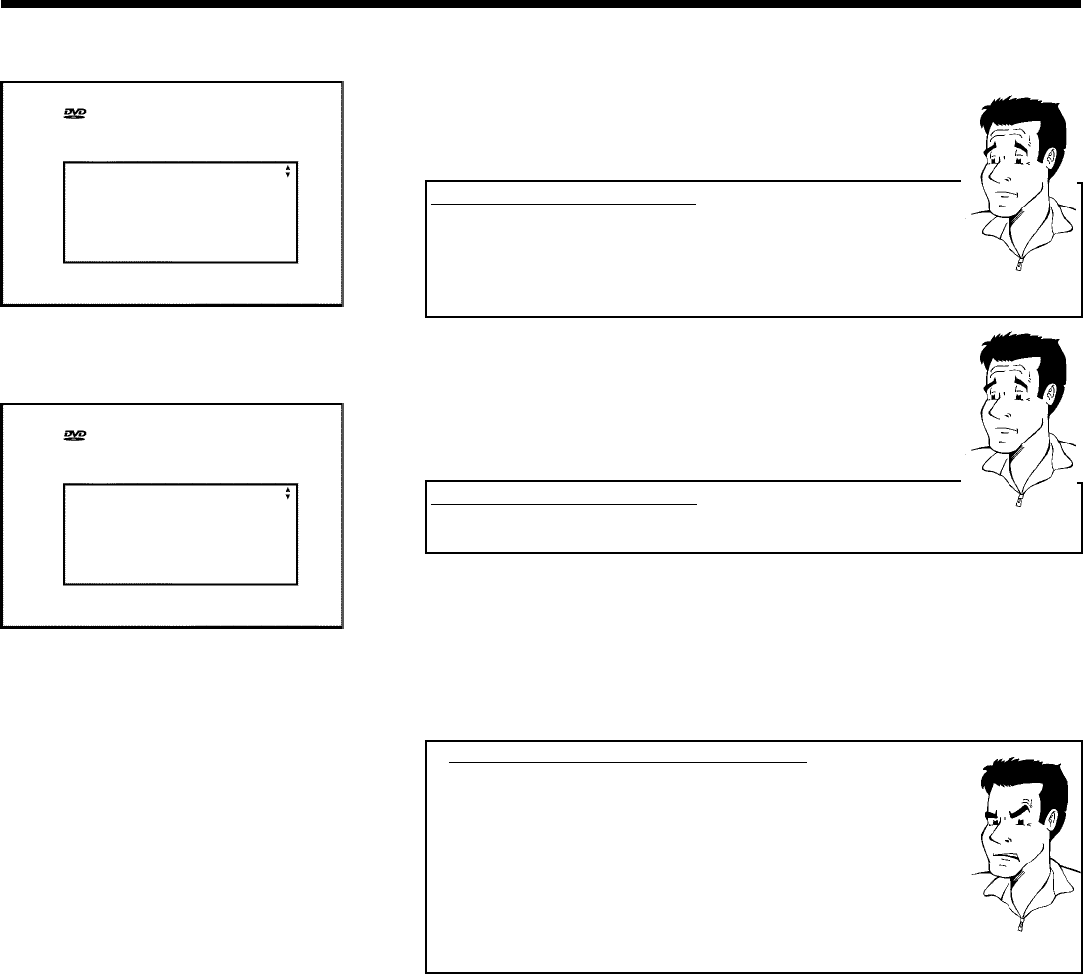
TV Shape
4:3 letterbox
4:3 panscan
16:9
Press OK to continue
7 Select the desired screen format position using P- B or P+ A .
These settings will only be used if you insert a DVD that contains this
information.
Which screen formats can I select?
'4:3 letterbox' for a 'wide-screen' (cinema format) picture with black bars at
the top and bottom.
'4:3 panscan' for a full-height picture with the sides trimmed.
'16:9' for a wide-screen TV set (screen edge ratio 16:9)
?
8 Confirm with OK .
Virgin mode
Country
Austria
Belgium
Denmark
Finland
France
Press OK to continue
9 Select the country of your residence with P- B or P+ A .
If your country does not appear, select 'Other'.
Why do I have to select a country?
To call up the specific settings for the respective country, you must first install
the country.
?
0 Confirm with OK .
A After you connect the aerial (or cable TV, satellite receiver, etc.) to
the DVD recorder, press OK .
'Autoinstall' starts. 'WAIT' will appear on the display. The following
appears on the screen:
aThe DVD recorder cannot find any TV stations
b Select channel 1 on the TV set. Can you see the stored TV channel on the
TV set?
If not, check the cable connection from the aerial (aerial socket) to the
DVD recorder and to the TV set.
b Please have patience.
The DVD recorder searches the entire frequency range in order to find
and save the largest possible number of TV channels.
b If you have not connected an aerial, go through all the basic settings right
to the end and then, if you wish, start the automatic search (see next
chapter 'Automatic TV programme search (Autoinstall)').
Problem
B Wait until all available TV channels have been found. This can take
several minutes.
C When AUTOINSTALL is complete, 'Autoinstall complete' will
briefly appear on the TV screen.
À To end, press SYSTEM-MENU .
Check the date and time. Please read 'Setting the time and date' in
this chapter.
Installing your DVD recorder


