RECORDER MENU3
38 English
SETTINGS
You can set specific dates as holidays, to have the timer
recording operation for Sunday used on th\ose days.
Dates such as national holidays and company off days
should be set as holidays when you want those dates to
have the same security as Sundays.
[Setting conditions]
After completing timer settings for Sunday (SUN), make
sure to switch “SET” to “ON”. (JP. 35)
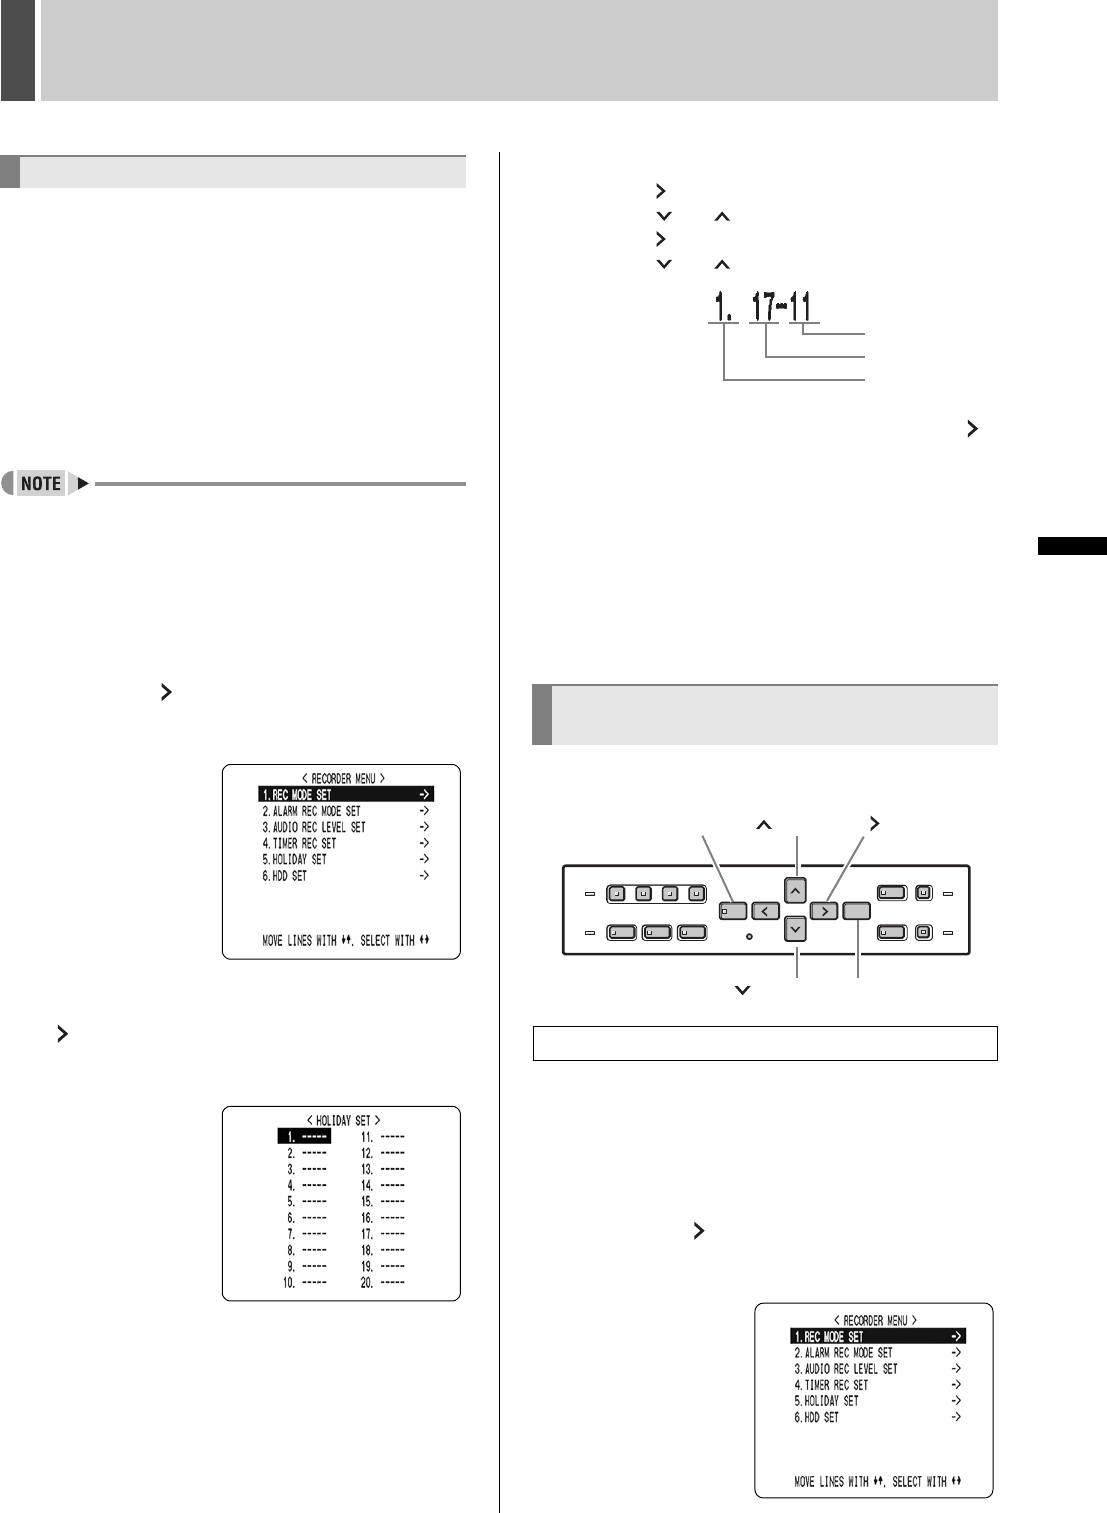
Example: To set 17 November as a holiday
z You can set up to 20 days as holidays.
1 Press the [MENU] button.
The [MENU] button lights, and the <MAIN MENU> screen
is displayed.
2 Select “3. RECORDER MENU”, and
press the [ ] button.
The <RECORDER MENU> screen is displayed, with the
cursor positioned on “1. REC MODE SET”.
3 Select “5. HOLIDAY SET”, and press the
[ ] button.
The <HOLIDAY SET> screen is displayed, with the cursor
positioned on “1”.
4 Set the month and day in item No. 1.
(1) Press the [ ] button to make “--” (the day) flash.
(2) Press the [ ] or [ ] button to set “--” to “17”.
(3) Press the [ ] button to make “--” (the month) flash.
(4) Press the [ ] or [ ] button to set “--” to “11”.
5 After entering the setting, press the [ ]
button.
The cursor moves to “2”.
6 Repeat procedure 4 to set other
holidays as needed.
7 Press the [EXIT/OSD] button.
The display returns to the normal screen.
This section describes how to initialize the hard disk or add
a hard disk.
1 Press the [MENU] button.
The [MENU] button lights, and the <MAIN MENU> screen
is displayed.
2 Select “3. RECORDER MENU”, and
press the [ ] button.
The <RECORDER MENU> screen is displayed, with the
cursor positioned on “1. REC MODE SET”.
Setting holidays
Initializing the hard disk/adding a hard
disk
Initializing the hard disk
(No.)
(the day)
(the month)
[] button[MENU] button [ ] button
[] button[EXIT/OSD] button
e00_l8hbc_hd_6.book Page 38 Wednesday, July 30, 2003 2:34 PM
