36
EN
Selecting the Sound Mode
This unit can receive bilingual broadcasts.
You can switch between modes by pressing
[AUDIO ] on the remote control. Each mode is
indicated on the TV. When you record a DVB channel,
only output sound channel will be recorded.
Setting External Input Audio
When the external input audio is a bilingual
broadcast, you can choose “Stereo” or “Bilingual” to
record on a DVD. This setting is only for recording
external input (AV1/AV2/AV3).
1 In stop mode, press [SETUP]. Select
“General Setting” using [U / D],
then press [ENTER/OK].
2 Select “Recording” using [U / D],
then press [ENTER/OK].
3 Select “External Input Audio” using
[U / D], then press [ENTER/OK].
4 Select “Stereo” or “Bilingual” using
[U / D], then press [ENTER/OK].
5 Press [SETUP] to exit.
Hint
• If you select “Stereo”:
The audio will be recorded as “stereo audio”.
• If you select “Bilingual”:
The audio will be recorded as “bilingual audio” (see
“Setting Bilingual Recording Audio” for more detail).
Setting Bilingual Recording Audio
You can select either “Main” or “Sub” audio to record a
bilingual broadcast in Video mode or +VR mode.
This setting is only for recording analogue channel.
1 In stop mode, press [SETUP]. Select
“General Setting” using [U / D],
then press [ENTER/OK].
2 Select “Recording” using [U / D],
then press [ENTER/OK].
3 Select “Bilingual Recording Audio”
using [U / D], then press
[ENTER/OK].
4 Select “Main” or “Sub” using
[U / D], then press [ENTER/OK].
5 Press [SETUP] to exit.
Note
• If you are recording onto a VR mode disc, both
“Main” and “Sub” will be recorded regardless of your
setting here. And when you play back, you can
choose either audio format or a combination of both
as your playback audio.
Recording Audio Select (XP)
You can enjoy high quality sound recording. This
function works only when the recording mode is set at
XP.
1 In stop mode, press [SETUP]. Select
“General Setting” using [U / D],
then press [ENTER/OK].
2 Select “Recording” using [U / D],
then press [ENTER/OK].
3 Select “Recording Audio Select
(XP)” using [U / D], then press
[ENTER/OK].
DVD-RWDVD-RW
Video
DVD-RWDVD-RW
VR
DVD-RDVD-R D
VD+R
W
DVD+RW
D
VD+R
DVD+R
HDMI
Reset All
General Setting
Auto Chapter
Recording Audio Select (XP)
Auto Finalise
Aspect Ratio (Video mode)
Make Recording Compatible
Bilingual Recording Audio
External Input Audio
Playback
Display
Video
Clock
Channel
DivX
Recording
HDMI
Reset All
General Setting
Auto Chapter
Recording Audio Select (XP)
Auto Finalise
Aspect Ratio (Video mode)
Make Recording Compatible
Bilingual Recording Audio
External Input Audio
Playback
Display
Video
Clock
Channel
DivX
Recording
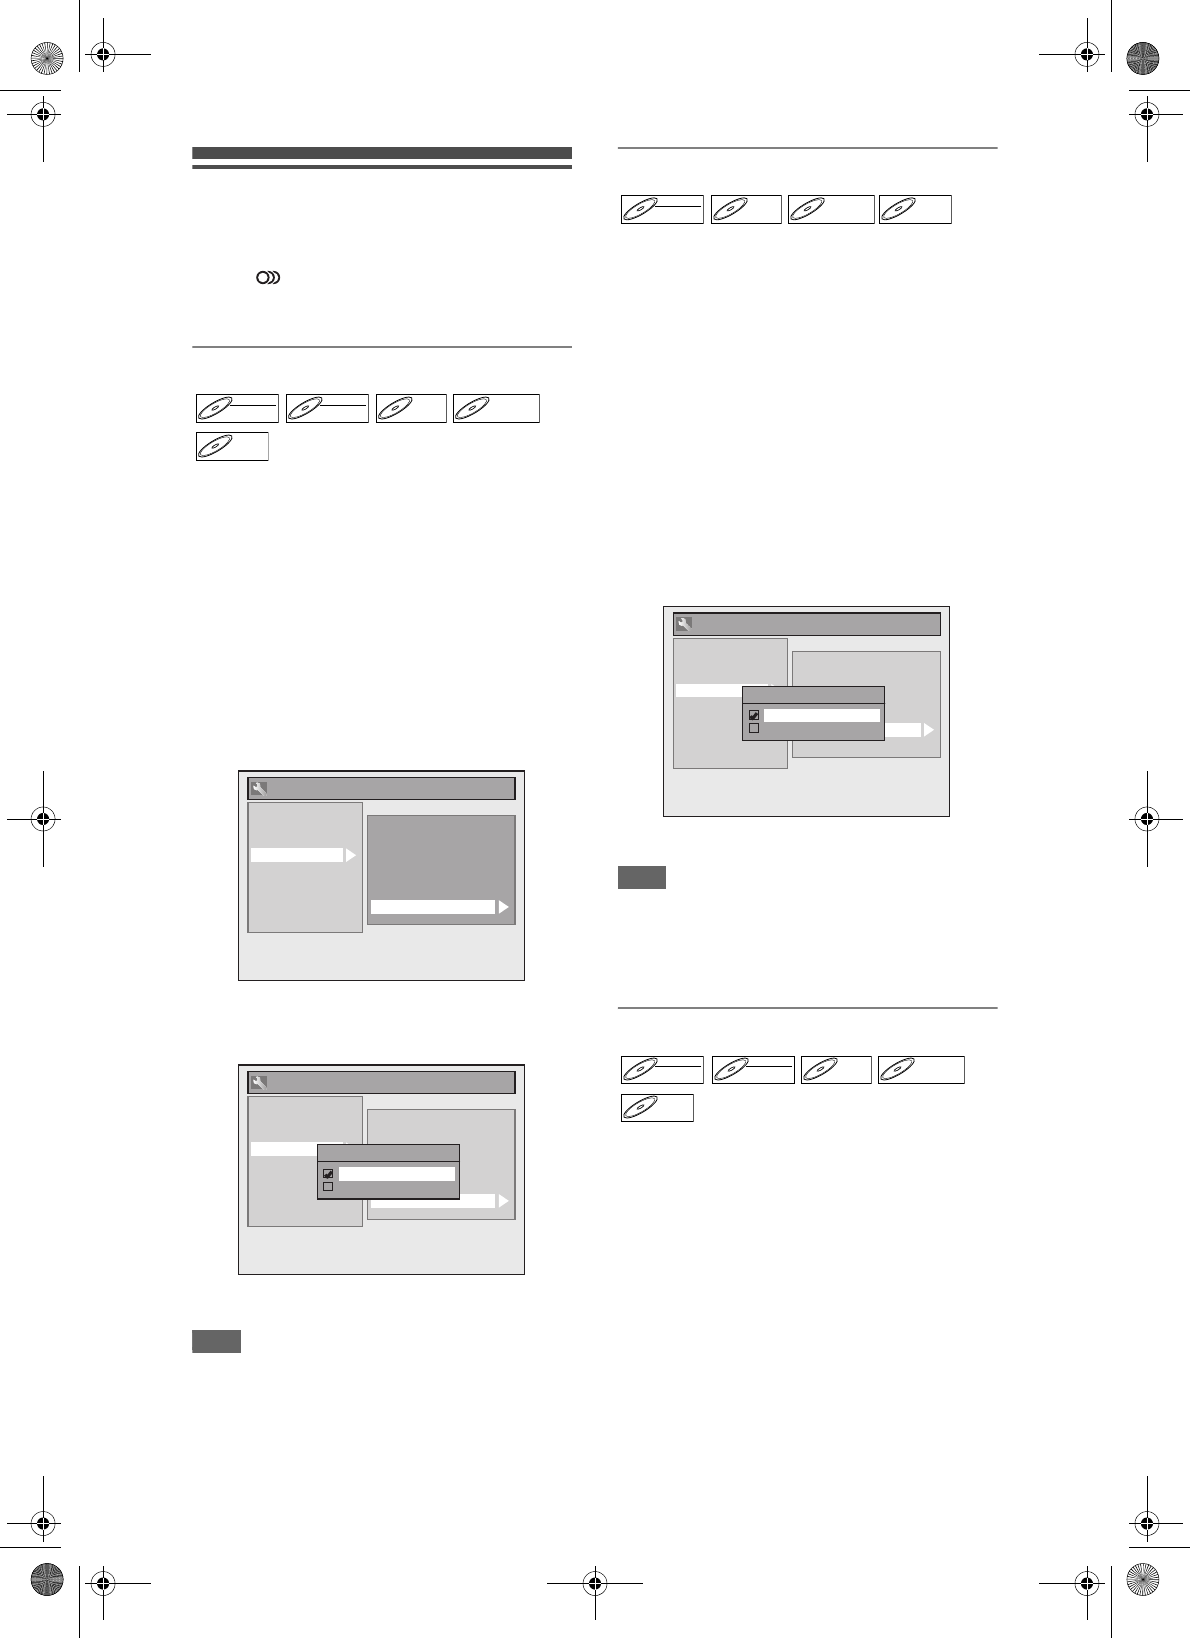
External Input Audio
Stereo
Bilingual
DVD-RWDVD-RW
Video
DVD-RDVD-R D
VD+R
W
DVD+RW D
VD+R
DVD+R
HDMI
Reset All
General Setting
Auto Chapter
Recording Audio Select (XP)
Auto Finalise
Aspect Ratio (Video mode)
Make Recording Compatible
Bilingual Recording Audio
External Input Audio
Playback
Display
Video
Clock
Channel
DivX
Recording
Bilingual Recording Audio
Main
Sub
DVD-RWDVD-RW
Video
DVD-RWDVD-RW
VR
DVD-RDVD-R D
VD+R
W
DVD+RW
D
VD+R
DVD+R
E7J70BD_EN.book Page 36 Monday, May 7, 2007 3:31 PM


