


34 78-8130-6150-0 Rev G
12. Set the Frequency and mode of the receiver.
a. Press Freq [SK]
b. Select the same frequency on the receiver
as the transmitter by pressing Active [SK
Toggle].
c. Press Locate/OK [5] to save the setting and
return to locate mode.
d. Press Mode [SK Toggle] until Dir Pk is
displayed.
13. Stand away from the suspected target path and adjust the Gain [4] down until the
bar graph opens completely.
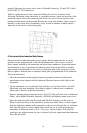
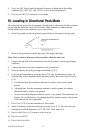
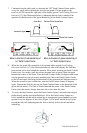
14. Walk in a wide circle with your back toward the transmitter (about 10 to 15 feet
(3–4.5 m) away).
− Watch the receiver display and listen to the signal. Take note of where the
receiver detects the strongest Signal Strength [10].
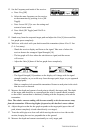
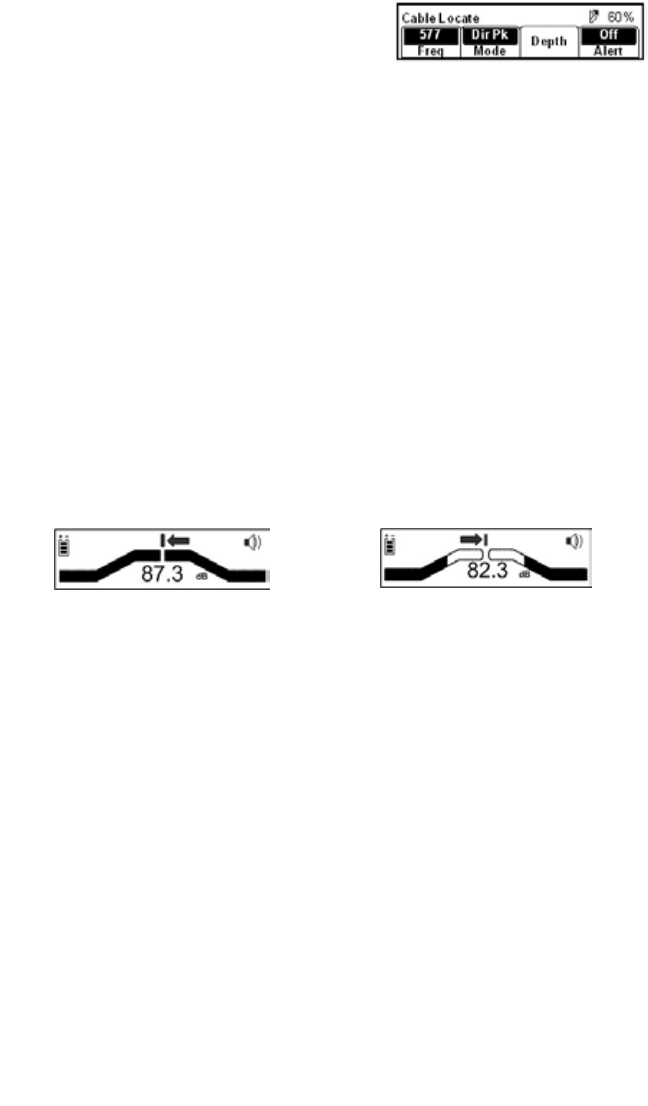
− The bar graph will close when the unit detects a signal, and the arrows
will reverse.
− Adjust the Gain [4] down if the bar graph closes completely.
− The Signal Strength [10] numbers on the display will change with the signal
strength (smaller, as you walk away from the target path; larger, as you approach
the target path).
− Make a complete circle around the transmitter. Return to each point in the circle
that the receiver detected.
15. Measure the depth and current of each point to identify the target path. The depth
of the target path should be as expected and the relative current should compare
to the relative current that is alternately flashing with the frequency value on the
transmitter.
Note: The relative current reading will decrease steadily as the locator moves away
from the transmitter. When using higher frequencies, this decline is more evident.
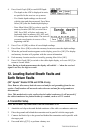
16. Adjust the gain so that the bar graph responds to the target path (open when off
path, almost completely closed when directly over target).
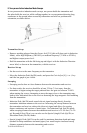
17. Trace the cable/pipe at a slow walk while moving the receiver in a side-to-side
motion, keeping the receiver perpendicular to the ground.
18. Measure the depth and current occasionally to verify target path.