


36 78-8130-6150-0 Rev G
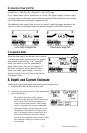
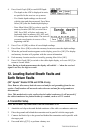
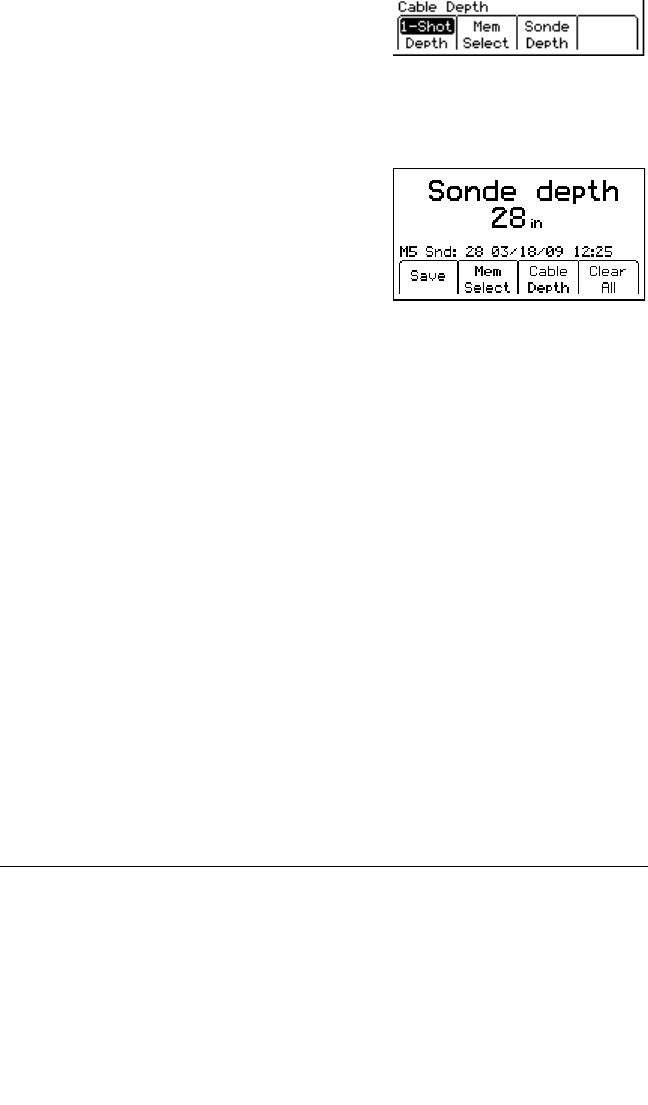
4. Press Sonde Depth [SK] to read ADP Depth
− The depth to the ADP is displayed in units,
as specified in the receiver set up menu.
− Five Sonde depth readings can be saved
with the time and date measured. Press Mem
Select [SK] after the Sonde depth displays.
− Press Mem Select [SK] to select a specific
memory location (M1-M5) or select Save
[SK]. Save [SK] will place each entry in
sequential order in memory (M1–M5) until
five readings have been stored. The unit will
overwrite saved entries in excess of five,
beginning with M1.
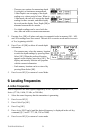
5. Press Clear All [SK] to delete all saved depth readings.
6. Press Mem Select [SK] to select the memory location to store the depth readings.
7. When the preferred location appears on the display, press Save [SK]. The display
and memory location will populate with the current information.
8. Each memory location can be reviewed by pressing Mem Select [SK].
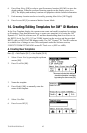
9. Press Cable Depth [SK] to switch to the cable depth display, or Locate/OK [5] to
return to Locate Mode.
Note: During a depth measurement, the display will exhibit ‘- -’ when the received
signal is too low, too high or erratic.
12. Locating Buried Sheath Faults and
Earth Return Faults
(3M
™
Dynatel
™
Models 2273M and 2273M-iD only)
Note: Remove (disconnect) both the near-end and far-end grounding from the test
section. Fault location will not work unless the near-end and far-end grounds are
disconnected.
Note: This method only works on direct buried cables/conductors. It will not work if
the cables/conductors are faulted inside of a conduit, such as a PVC conduit.
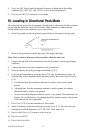
A. Transmitter Setup
Note: Do not make any connections while the transmitter is on.
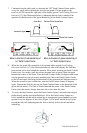
1. Attach the red clip to the earth-faulted conductor of the cable or conductor under test.
2. Place the ground rod behind the transmitter and in parallel with the target path.
3. Connect the black clip to the ground rod behind the transmitter and in parallel with
the target path.
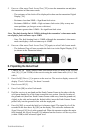
4. Press and hold off [T-1] to perform a battery test.