


40 78-8130-6150-0 Rev G
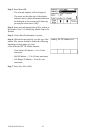
− The receiver display will add the Alert bar
graph and the type of marker to the display
with a prompt to adjust the marker gain.
4. Press the Gain [4] until only a small mark on
the marker bar graph is visible.
5. Press Locate/OK [5] to save the marker gain
setting.
− The display will return to Special Peak Cable
Locate / Alert On.
− If the selected type of utility marker is
detected, a second audio tone will emit from
the unit and the marker bar graph will fill.
The marker utility will default to the last
type of marker set in marker locate mode.
6. Press Locate/OK [5] + Marker [SK] + Marker 1
[SK Toggle] to change the type of marker that
the unit will detect in alert mode.
7. Press Locate/OK [5] and then Cable/Pipe [SK]
to return to the locate mode with the newly
selected marker type now visible on the display.
Adjust the Gain [4] again (per Step 4 above)
and then press Locate/OK [5].
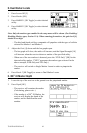
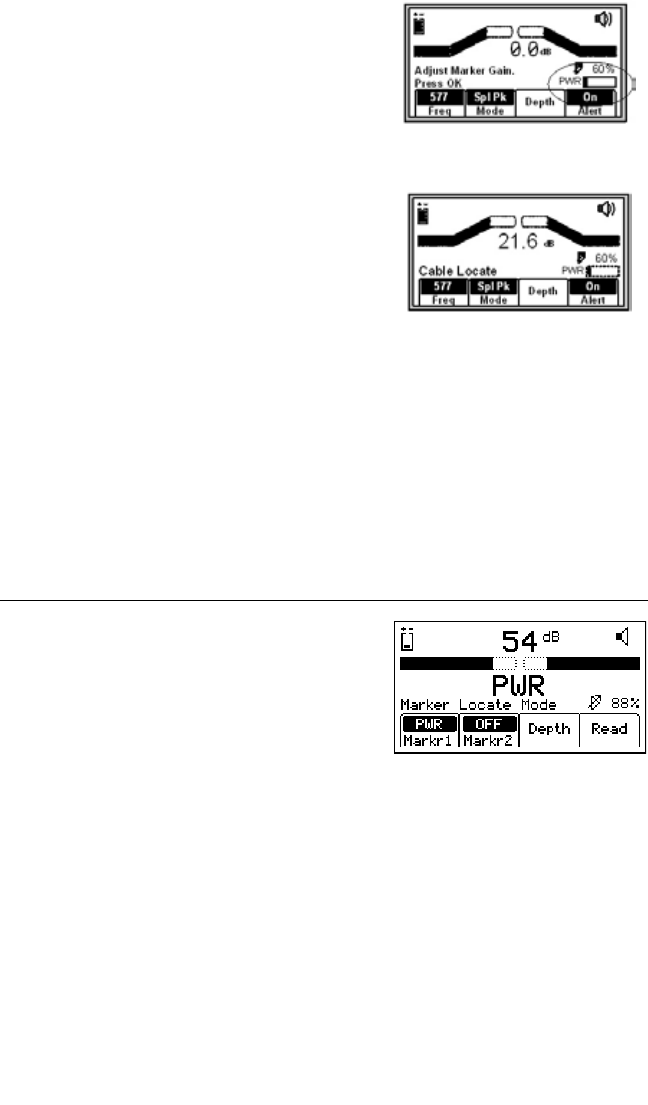
C. Single Marker Locate
1. Press Locate/OK [5]
2. Press Marker [SK]
3. Press Markr 1 [SK Toggle] to select desired
utility.
4. Markr 2 should be OFF.
Note: Only the marker types enabled in the setup
menu will be shown. (See Enabling/Disabling
Marker types, Section 13A). When scanning for
markers, the gain level [12] should be set high.
− When a marker is detected, adjust the Gain
[4] down until the bar graph opens.
− The bar graph will close, the audio will
be steady, and the Signal Strength will be
maximum when the receiver detects a marker
of the specified utility and has pinpointed its
location.