Steps
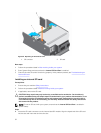
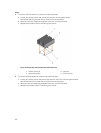
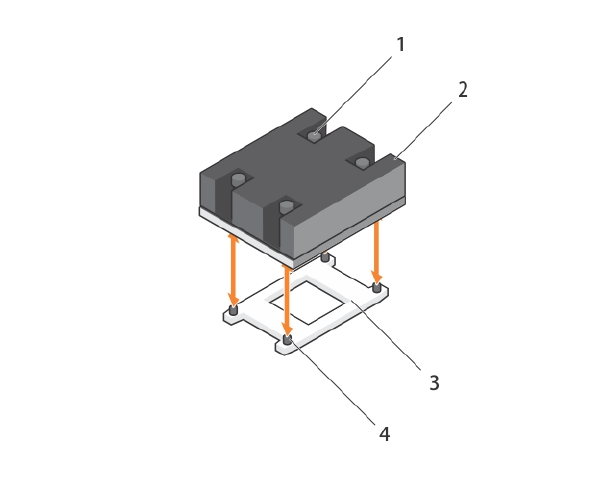
1. To remove a 120 W heat sink, perform the following steps.
a. Loosen one of the screws that secure the heat sink to the system board.
Wait 30 seconds for the heat sink to loosen from the processor.
b. Remove the screw diagonally opposite the screw you first removed.
c. Repeat the procedure for the remaining two screws.
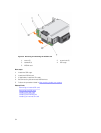
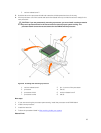
Figure 16. Removing and installing the 120 W heat sink
1. captive screw (4) 2. heat sink
3. processor socket 4. screw hole (4)
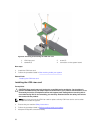
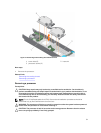
2. To remove a 140 W heat sink, perform the following steps.
a. Loosen one of the screws that secure the heat sink over CPU 1 to the system board.
Wait 30 seconds for the heat sink to loosen from the processor.
b. Remove the screw diagonally opposite the screw you first removed.
c. Repeat the procedure for the remaining four screws.
60


