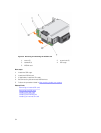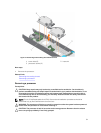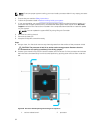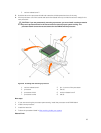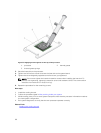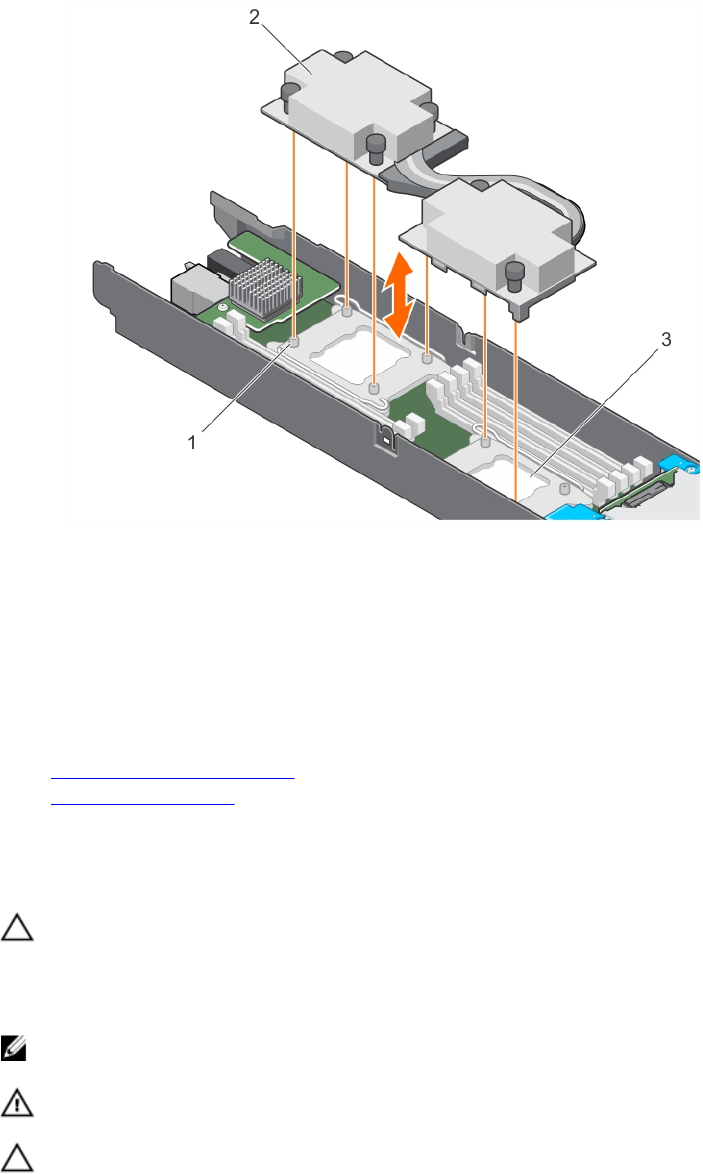
Figure 17. Removing and installing the 140 W heat sink
1. screw hole (6) 2. heat sink
3. processor socket (2)
Next steps
1. Remove the processor.
Related Links
Removing the cooling shroud
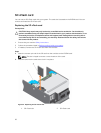
Removing a processor
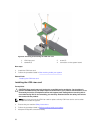
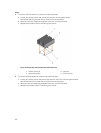
Removing a processor
Prerequisites
CAUTION: Many repairs may only be done by a certified service technician. You should only
perform troubleshooting and simple repairs as authorized in your product documentation, or as
directed by the online or telephone service and support team. Damage due to servicing that is
not authorized by Dell is not covered by your warranty. Read and follow the safety instructions
that came with the product.
NOTE: This is a Field Replaceable Unit (FRU). Removal and installation procedures should be
performed only by Dell certified service technicians.
WARNING: The processor will be hot to touch for some time after the system has been powered
down. Allow the processor to cool before removing it.
CAUTION: The processor is held in its socket under strong pressure. Be aware that the release
lever can spring up suddenly if not firmly grasped.
61


