


Digital Video Recorder
69
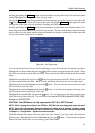
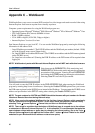
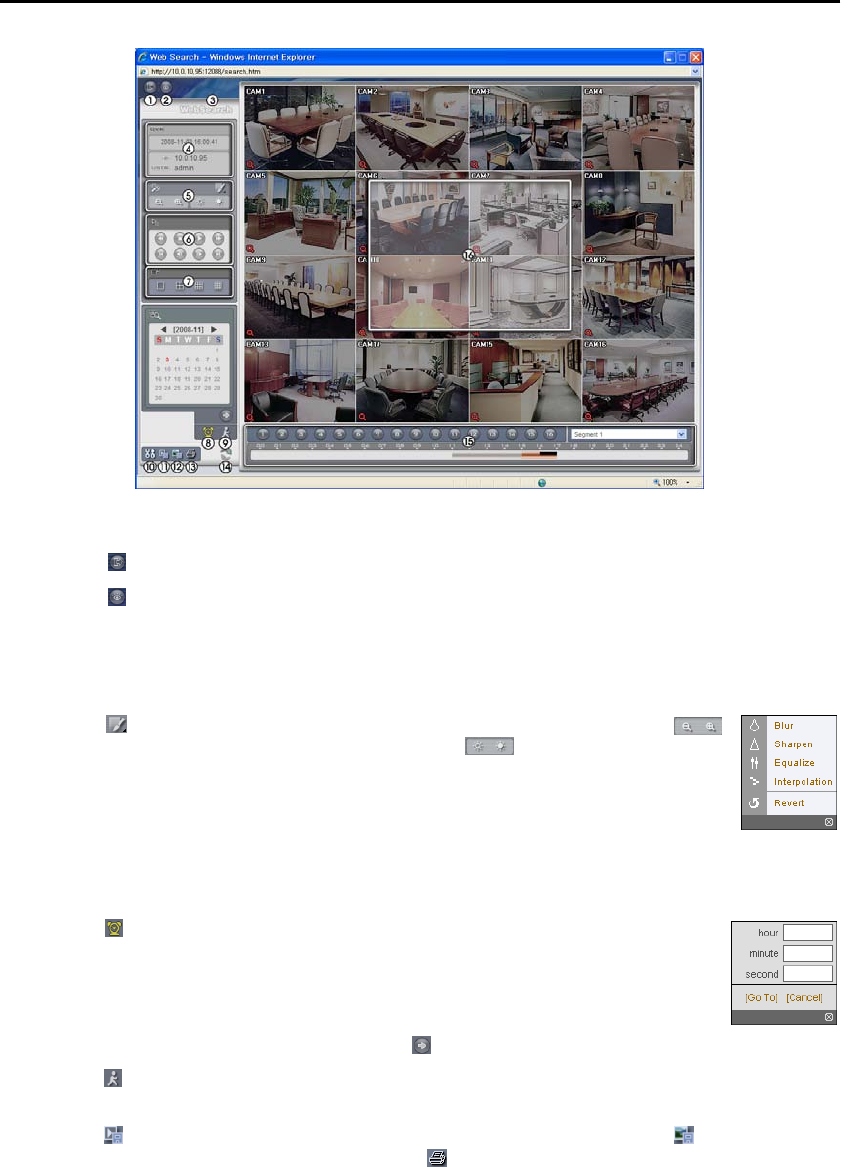
Figure 48 ─ WebSearch screen.
① Click the to log out the WebGuard program.
② Click the to access to the web monitoring mode.
③ Position the mouse pointer on the WebSearch logo to see the version of the WebGuard program.
④ The DVR information window displays the time information of recorded data on the remote DVR and
login information of WebGuard.
⑤ Click the to blur, sharpen, equalize and interpolate playback images. Click the
to zoom out or zoom in the recorded image. Click the to adjust the brightness of
the recorded images.
NOTE: Image processing works only in the pause mode.
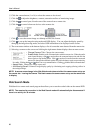
⑥ The playback function buttons include fast backward, pause, play, fast forward, go to the
first image, go to the previous image, go to the next image, and got to the last image.
⑦ Click the screen format to select the desired display mode.
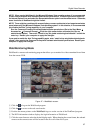
⑧ Click the to enter the time-lapse search mode which allows you to search for recorded
data by time and then play back images found within the time parameters. The Timetable
window located at the bottom displays the time information for the image of the date
selected on the calendar. If more than one video stream in the same time range, you can
select the video stream you want to search. Clicking a specific time displays the image
recorded at that time on the screen. Selecting the
allows you to display an image from a specific time.
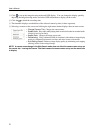
⑨ Click the to enter the event search mode which allows you to search for event log entries using specific
conditions and play back the images associated with those event entries.
⑩ Click the to save any video clip of recorded data as an executable file, or click the to save the current
image in a bitmap or JPEG file format. Click the
to print the current image on a printer connected
to your computer.