Chapter 4 - RASFinder Software
RF300E/RF310E 51
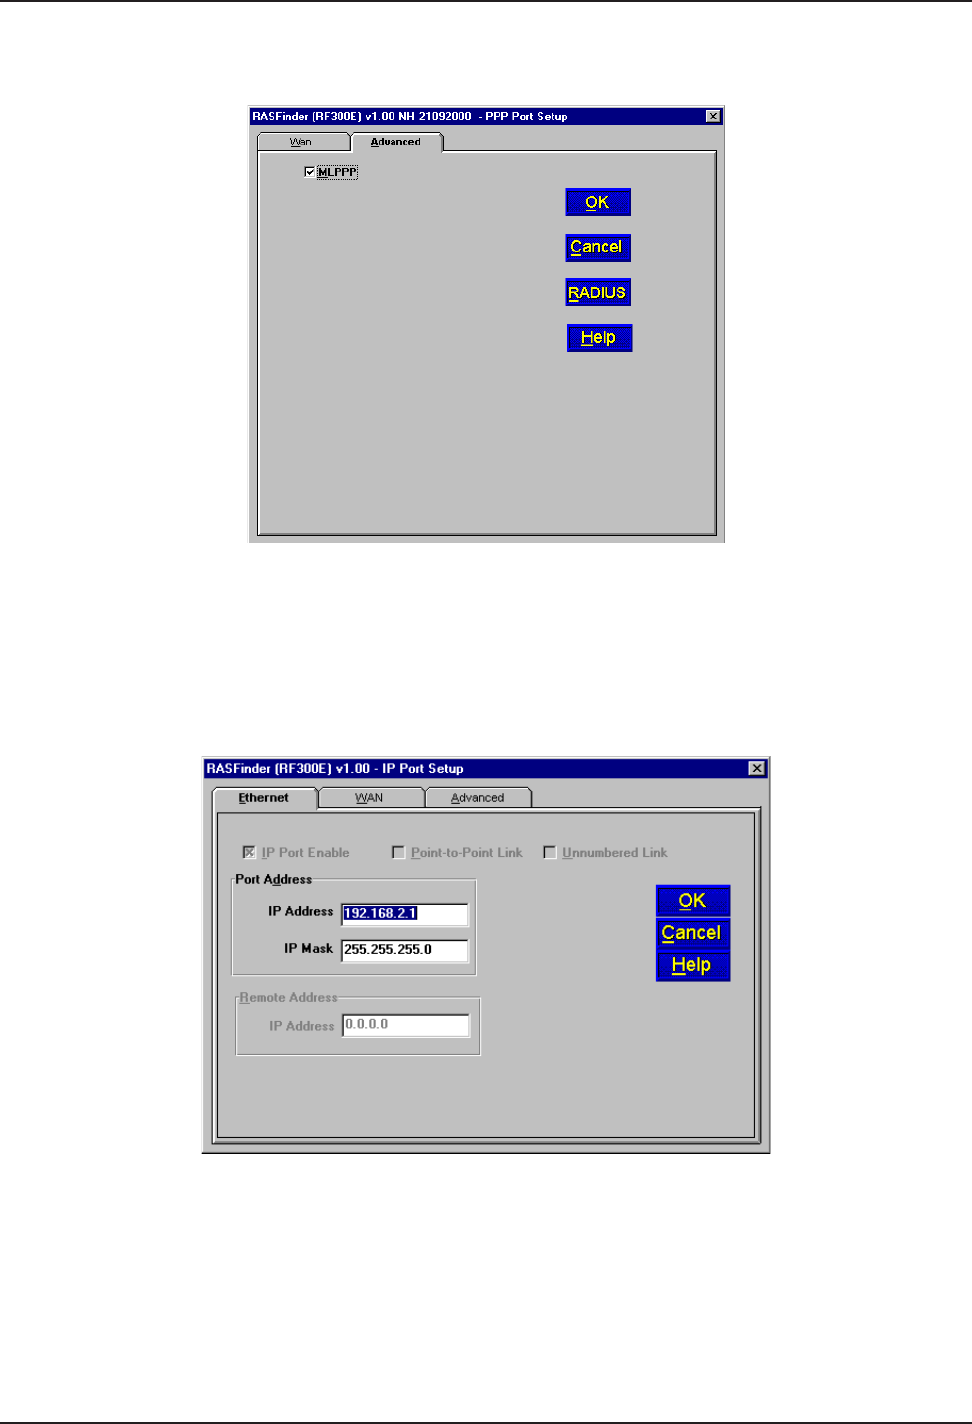
Now, you can decide if you want the B-channels of the BRI line bonded together or if you want each
B-channel to act alone. To bond the two B-channels of a BRI line together, you click on the Advanced
tab and esure that MLPPP (MultiLink Point-to-Point Protocol) option is active.
If you were to bond BRI 1 line in our Router application in Figure 4-3, you would have to change the
IP addresses (WAN 1 from 192.168.2.2 and WAN 2 from 192.168.2.3 on the Corporate LAN to the
same IP address, for example, you could use 192.168.4.10 for both B-channels. At the remote office
LAN you would then have to change BRI 1 line to say 192.168.4.20.
Now, to configure the RASFinder for the routing application as shown in Figure 4-3 and bonding the
B-channels together, you need to click on the IP button on the Main Menu. The IP Port Setup dialog
box is displayed with the Ethernet tab active showing your LAN IP address.
Next, you need to click on the WAN tab to display the Port Address and Remote Address groups for
WAN 1. Wan 1 is highlighted in the List of WAN ports on the right side of the dialog box. The default
WAN IP addresses will be displayed in the dialog box that were set up during the software loading
and initial configuration of the RASFinder. But, now you can change these addresses to fit your
routing application. Above I stated that we could bond the B-channels together, so here is where we
enter that information. For the Corporate LAN with the B-channels of BRI 1 bonded together and an
IP address of 192.168.4.10, you would enter this in the IP Address field for the Port Address group.
Set up your IP Mask accordingly, and then enter your IP Address for the Remote Office in the IP
Address field of the Remote Address group (192.168.4.20).
